
Note: Before you start, see Chapter 3. The 14 NV and 16SV engines require a tachometer and stroboscope to check ignition timing.
Removing
1. Disconnect the negative cable from the battery.
2. Remove the distributor breaker cover as described in Chapter 17.
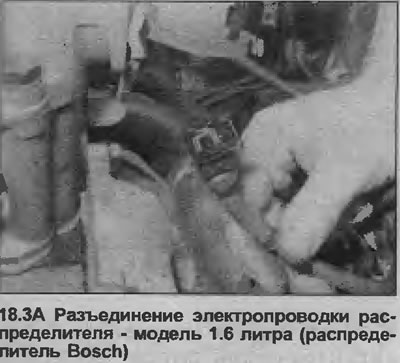
3. Disconnect the distributor wiring (see illustrations).

4. On 14 NV models, disconnect the vacuum tube from the diaphragm assembly on the side of the distributor.
5. If an old distributor is being installed, align the alignment marks between the distributor housing and the camshaft housing so that the distributor is in its original position.
6. Turn the crankshaft. This can be done with a wrench on the bolt on the crankshaft pulley, or put into high gear and push the car back or forward. Install cylinder #1 at ignition timing. Cylinder #1 is considered installed at the time of ignition when:
- A) Matching marks aligned. On 14 NV models, the pointer on the timing belt rear cover should be centered between the two notches in the crankshaft pulley. On 16 NV models, the pointer on the timing belt rear cover should align with the notch in the crankshaft pulley;
- b) The tip of the distributor runner is directed to the clip of the high voltage wire of cylinder No. 1 in the cover of the breaker-distributor
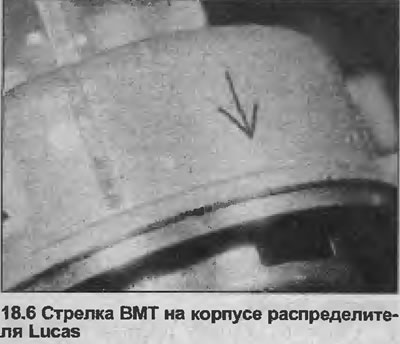
- c) On a Bosch distributor, the distributor slider is aligned with a notch in the distributor body. On the Lucas distributor, the distributor slider is approximately aligned with the TDC arrow marked on the distributor body (see illustration).
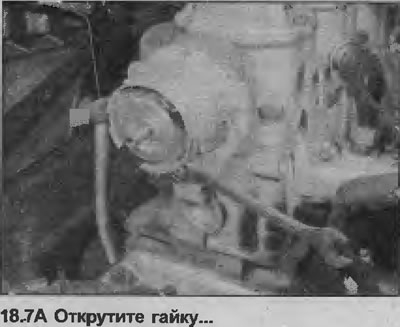
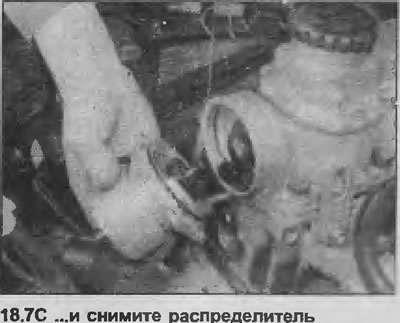
7. Unscrew the nut, remove the clamping strip, then remove the distributor from the camshaft housing (see illustrations).

8. If required, the distributor can be disassembled as described in Chapter 20.
9. Check the condition of the O-ring on the rear of the distributor housing, replace if necessary.
Installation
10. Begin installation by checking that cylinder #1 remains at ignition timing. The corresponding alignment marks must be aligned. If the engine was cranking when the distributor was removed, check that cylinder #1 is on ignition stroke. To do this, remove the spark plug of cylinder No. 1 and cover the hole with your finger. Crank the crankshaft until you feel pressure, it v indicates that the number 1 piston has begun to rise on the compression stroke. Continue to turn the crankshaft until the corresponding alignment marks are aligned.
11. Turn the distributor slider to the position noted in step 6c and hold the slider in this position while installing the distributor. Note that the distributor drive shaft only engages the camshaft in this position. If an old distributor is being installed, align the marks made on the distributor housing and camshaft housing.
12. Install the bar and nut, but do not fully tighten the nut yet.
13. On the Bosch distributor, remove the distributor slider, then install the plastic shield and distributor slider.
14. On 14 NV models, reconnect the vacuum tube to the diaphragm assembly.
15. Connect the electrical wiring of the distributor.
16. Install the breaker-distributor cover as described in Chapter 17.
17. Connect the negative battery cable.
18. Check and, if necessary, adjust the ignition timing as described in Chapter 21.
Visitor comments