


2. Together with an assistant, unscrew the mounting bolts and remove the hood cover (see chapter 11).
3. Remove the air cleaner and air preheater ducts (carburetor models). On injection models, disconnect the air intake duct between the air cleaner and the air manifold.
4. Drain the coolant and remove the radiator (see chapter 2).
5. Disconnect the brake servo cylinder vacuum hose from the intake manifold.
6. Disconnect the throttle actuator and choke cable from the carburetor (or automatic choke wire). On injection models, disconnect the electrical plugs and the brake servo cylinder tube from the throttle body. Disconnect the fuel pipes, making sure that one of them (with a white stripe) is attached to the fuel distributor pipe closest to the generator. Disconnect the crankcase ventilation hose and throttle body cooling hoses. Disconnect the injector wiring (harness N4 near clutch housing). Remove the throttle body/intake manifold (see chapter 3).
7. Disconnect the fuel supply hose leading to the fuel pump (carburetor models) or fuel manifold. Similarly, disconnect the return fuel lines and plug them to prevent fuel leakage (be prepared for fuel spills).
8. Disconnect the electrical wiring from:
- a. generator
- b. starter
- in. distributor
- g. coolant temperature sensor
- d. oil pressure relay (see photo)
- e. inductive pulse sensor (injection models)
- f. fuel injectors.
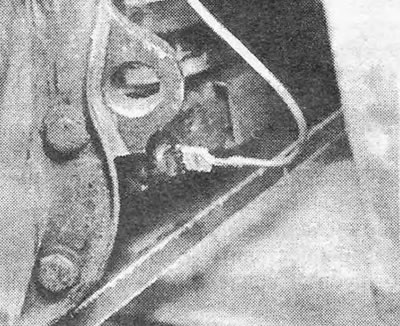
Photo 18.8. Engine oil pressure switch wire.
Pull the wires out of the clamps and move them to the side.
9. Raise and support the front of the car or place it on a pit.
10. Disconnect the exhaust downpipe from the manifold and at the spring loaded ball joint.
11. Unscrew the threaded plug from the end cover of the gearbox housing.
12. Remove the opened retaining ring.
13. Now you have access to the screw with a 12-sided hole in the head. This screw will require a special key (you can try to get by with a hex key).
14. Unscrew and remove the screw.
15. As indicated in more detail in chapter 5, the gearbox drive shaft can be pulled out of the splines of the clutch driven disc. There is a special tool for this (KM449-1 and 22-1), however, you can do without it by borrowing one of the 4 bolts that secure the gearshift cover to the top of the transmission case. Screw this bolt into the end of the drive shaft and, grasping its head, pull the shaft out of the splined hub of the driven clutch disc (don't forget to put the bolt back on the gearshift cover afterwards). This method is not always suitable in the case of a 5-speed gearbox, since the shaft is very tightly fitted and a puller or even a slide hammer is needed to disconnect it.
16. Connect the hoists to the engine and tighten them so as to remove the weight of the engine from the cushions. Support the gearbox with a jack.
17. Remove the generator with its bracket to gain access to the right rear engine support bracket.
18. Disconnect the right front engine support bracket from both the engine and the mount.
19. Disconnect the right rear engine support bracket from both the engine and the mount. On this same bracket there are mounting supports for the generator.
[Text copied from an online resource: OpelBook]
20. Unscrew the mounting bolts and remove the starter.
21. On 1.6 and 1.8 engines, remove the pulley from the front end of the crankshaft (4 bolts). To remove these bolts, you will have to block the engine (by blocking, for example, the starter ring gear).
22. Loosen the screws and remove the cover at the bottom of the flywheel housing (looks towards the camshaft belt) (see photo).
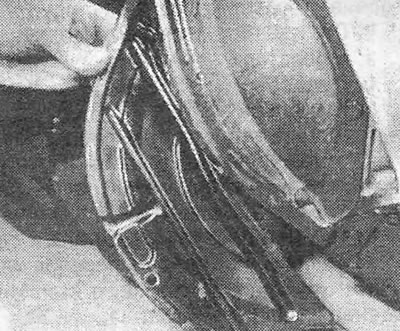
Photo 18.22. Front flywheel housing cover.
23. Support the gearbox with a jack.
24. On the flywheel housing flange, unscrew all the bolts securing the engine to the gearbox. Note that the top two bolts also secure the starter wiring and clutch cable clamps.
25. Disconnect the engine ground wire.
26. Move the engine away from the gearbox so that the mounting pins come out and turn it slightly so that the camshaft belt cover moves towards the engine compartment bulkhead.
27. Raise the engine, being careful not to damage anything, and remove it from the engine compartment.
Visitor comments