
2. Drain the coolant (see section 3). Disconnect and remove the battery.
3. Disconnect the upper and lower radiator hoses and the small ventilation hose located between the top of the radiator and the expansion tank (see photo). On models with an automatic transmission, you will also need to disconnect the oil cooler hoses from the main radiator and plug them to avoid loss of transmission fluid.
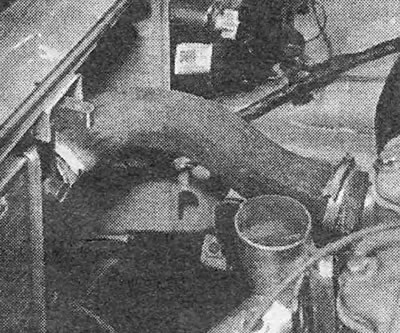
Photo 7.3. Upper radiator hose.
4. Disconnect the wiring from the thermal switch located in the lower right corner of the radiator. Disconnect the fan wiring at the electrical connector (next to the battery).
5. Remove the clips securing the upper corners of the radiator. Pull the radiator back to release it from the upper mountings, lift it from the lower mountings and remove it from the car (see photos).
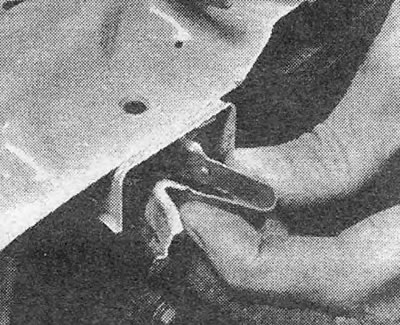
Photo 7.5A. Radiator mounting clamp.

Photo 7.5V. Removing the radiator.
6. Inspect the radiator for leaks, signs of which are stains and corroded areas. If a leak is detected, contact a specialist or replace the radiator. In emergency situations, when a leak is detected while driving, you can use a special tool for sealing leaks in the radiator (e.g. Holts Radwell).
7. Clean the inside of the radiator by flushing (see section 4) and clean the radiator core, removing all debris. Check hoses and clamps.
8. Install the radiator in the reverse order. Check the condition of the rubber radiator mounts and make sure that it is seated correctly on the lower mounting pins. Fill the system with coolant (see section 6). On models with an automatic transmission, check the transmission fluid level and add it if necessary.
Visitor comments