


2. Disconnect the fan wiring.
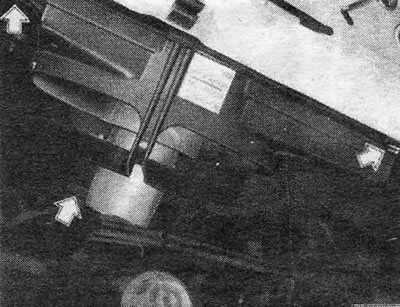
Figure 2.2. Fan shroud securing bolts and fan motor wiring connector - shown by arrows
3. Loosen the bolts securing the fan together with its casing, lift the fan with the casing and remove them from the machine.
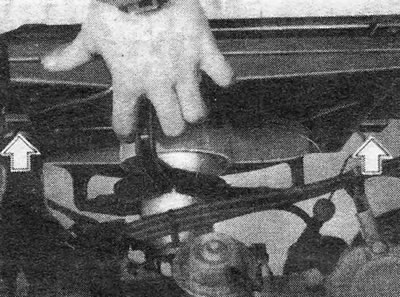
Figure 2.3. Removing the cooling fan with the casing
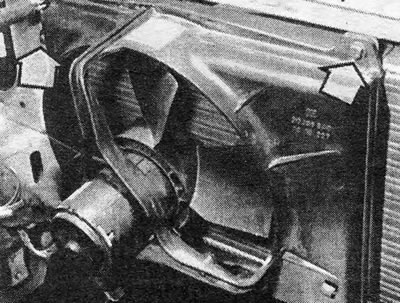
Photo 11.3. Fan assembled with casing. The two bolts securing the fan to the casing are shown by arrows.
4. To disconnect the fan from the casing, unscrew the 3 nuts.
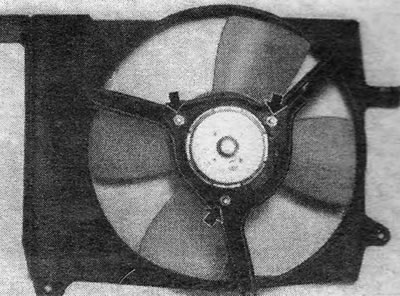
Figure 2.4. Fan motor mounting nuts (shown by arrows)
5. Further work depends on the nature of the problem. If the electric motor is faulty, you should take it to a specialist for repair, since you will not be able to purchase spare parts for it. Alternatively, you can simply replace the electric motor, which may even be more cost-effective than repairing it.
6. The fan is installed in the reverse order. Upon completion, bring the engine to normal operating temperature and check the operation of the fan.
Visitor comments