
Removing
Models without air conditioning
1. Remove the ground wire from the battery.
2. Raise the front of the car and secure it on stands.
3. Drain the coolant from the cooling system by disconnecting the hose from the radiator base.
4. Remove the radiator fan assembly from the rear of the radiator.
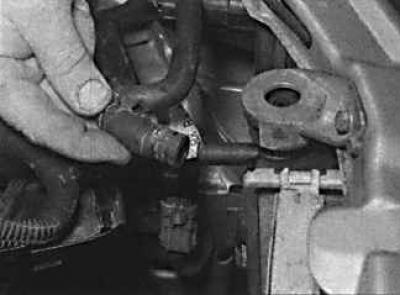
5. Disconnect the expansion tank hose and, if present, remove the small thermostat hose from the top of the radiator.
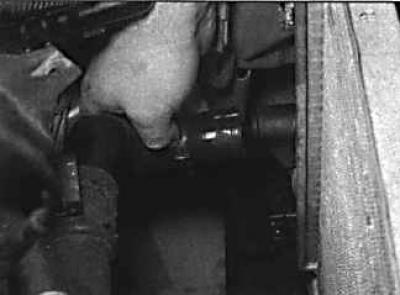
6. Remove the top hose from the left side of the radiator.
7. On models with automatic transmission, disconnect the hoses from the heat exchanger.
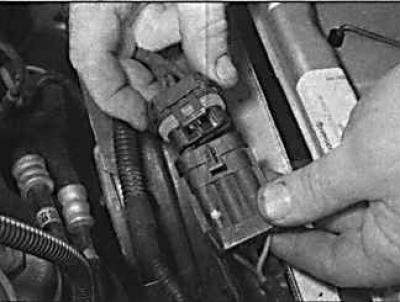
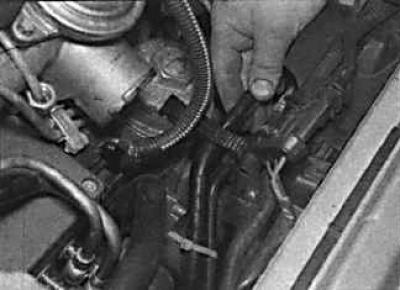
8. Disconnect the electrical connectors from the radiator fan.
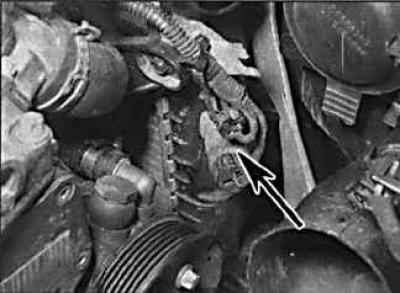
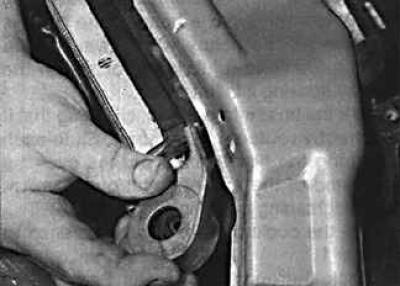
9. Disconnect the electrical connectors from the fan thermal switch (indicated by an arrow).
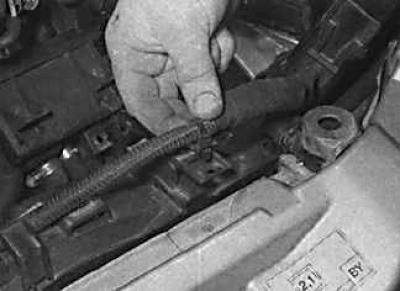
10. Loosen the electrical wires from the top of the radiator.
11. Remove the grille.
12. If equipped, remove the air guides from the left and right side of the radiator and the power steering heat exchanger hose.
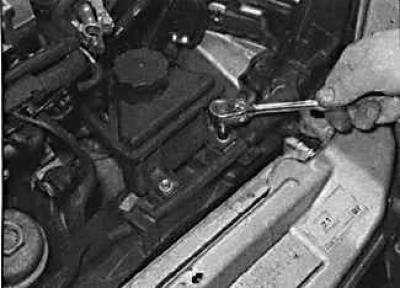
13. On 2.0L diesel models, remove the power steering reservoir bolt from the top of the radiator.
14. Remove the power steering heat exchanger hose.
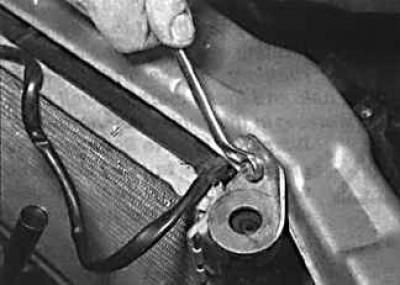
15. Unscrew bolts and remove a suspension bracket of the top part of a radiator.
16. Remove the upper radiator mounts.
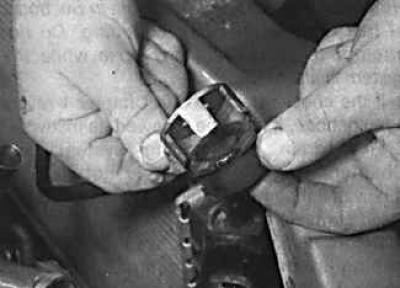
17. Remove the rubber damper from the upper radiator mount.
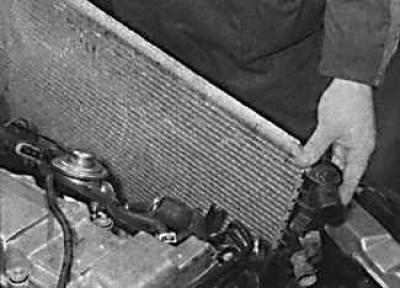
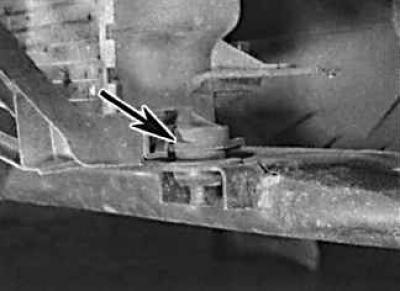
18. Remove the radiator (photo on the left), by lifting it up from the rubber pads in the bottom frame (the location of the rubber pad of the radiator in the front lower frame is indicated by the arrow in the photo on the right). Remove the radiator from the engine compartment.
Models with air conditioning
19. Remove the ground wire from the battery.
20. Raise the front of the car and secure it on stands.
21. Drain the coolant by disconnecting the lower radiator hose.
22. Remove the electric radiator fan assembly from the rear of the radiator.
23. Disconnect the expansion tank hose and remove the small thermostat hose from the top of the radiator.
24. Remove the top hose from the left side of the radiator.
25. On models with automatic transmission, disconnect the hoses from the heat exchanger.
26. Disconnect the electrical connector from the cooling fan and fan thermal switch. Also disconnect the electrical connector from the air conditioning thermal switch.
27. Remove the front bumper.
28. Remove the air conditioning condenser and auxiliary electric fan mounting bolts from the front of the radiator and move them to the side without disconnecting the hoses from them.
29. If necessary, unscrew the evaporator mounting bolt.
30. On diesel engines with a heat exchanger, remove the air supply pipe.
31. Unscrew the bolts and remove the upper radiator mounts, then lift the radiator up from the lower rubber mounts.
Examination
1. If the radiator was removed due to a decrease in throughput, flush it with a jet of water in two directions. Blow out the radiator with compressed air.
2. If the radiator is leaking, do not attempt to weld or solder the leak, as the plastic parts of the radiator will be damaged.
3. Minor radiator leaks can be repaired with radiator sealant.
4. Check the condition of the lower rubber radiator mounts and replace if necessary.
Installation
Installation is carried out in the reverse order of removal, taking into account the following points:
- check that the lower tabs on the radiator are seated in the rubber mounts;
- check that all hoses are properly connected and securely fastened with clamps;
- Finally, add coolant to the cooling system.
Visitor comments