
2. Place the car over a viewing hole. Apply the handbrake.
3. Loosen the slider coupling nut on the front of the driveshaft one full turn.
4. Turn off a forward distributive pipe of system of release from an intermediate part, a fixing arm and a final collector. Also unscrew the mounting bracket from the gearbox.
5. Unscrew the bolts securing the front flexible driveshaft connecting disk to the gearbox output flange.
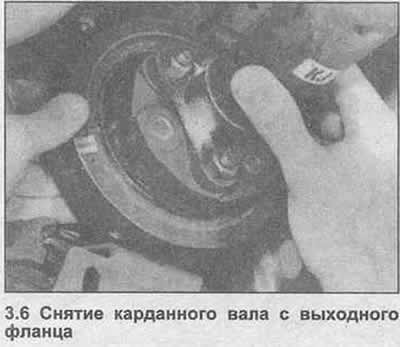
6. Move the driveshaft back from the output flange, tie it on one side (photo).
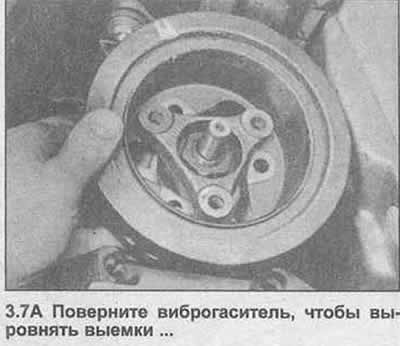
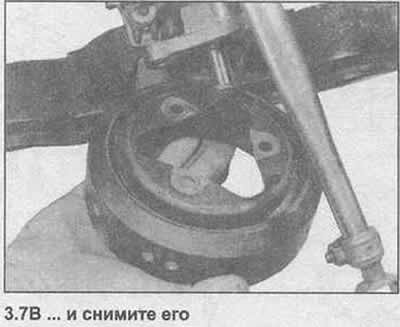
7. Where applicable, remove the vibration damper from the outlet flange by turning it so that the notches line up with the ends of the flange (photo).
8. Disconnect the speedometer drive cable, tie it on one side.
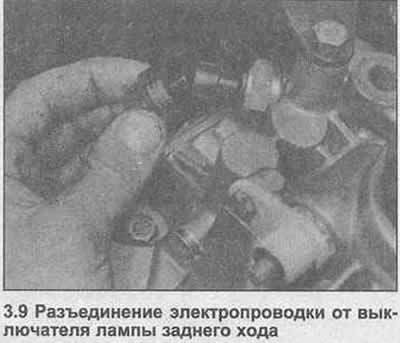
9. Disconnect the electrical wiring from the reversing lamp switch (photo).
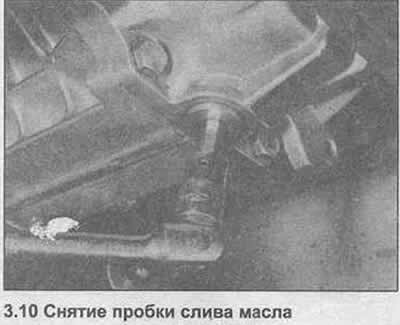
10. Place a container under the gearbox, then using a socket wrench, unscrew the drain plug and drain the oil (photo). Finally, reinstall the drain plug.
11. Measure the distance from the clutch cable jam nut to the end of the cable threads to ensure initial installation during reassembly.
12. Unscrew the locknut and adjusting nut, remove the clutch cable from the release lever and clutch cover. Fasten the cable to the side.
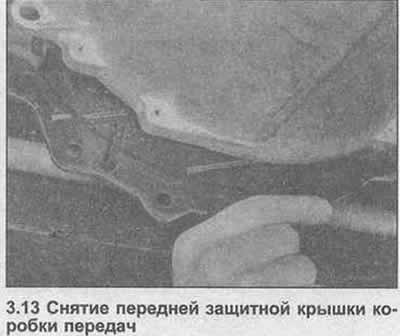
13. Unscrew the protective cover on the front side of the gearbox (photo).
14. Turn off and remove two lower bolts of fastening of a transmission to the engine.
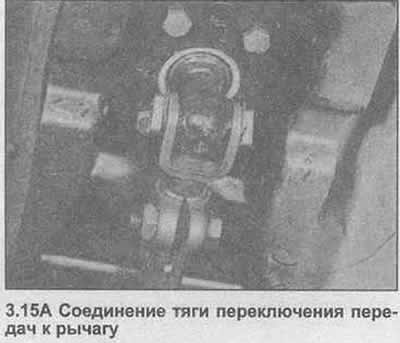
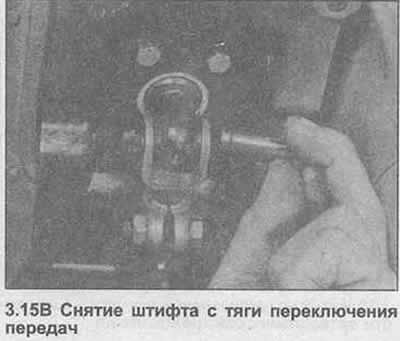
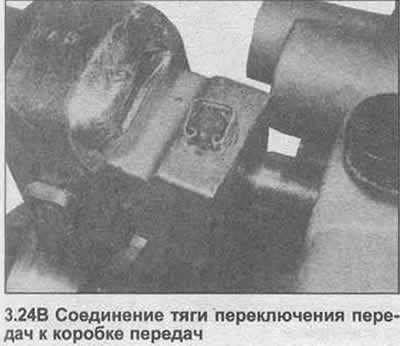
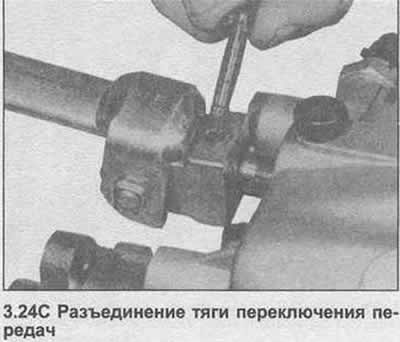
15. Above the propeller shaft, disconnect the shift rod from the shift lever base. To do this, remove the spring clip from one end of the pivot pin and remove the pin (photo).
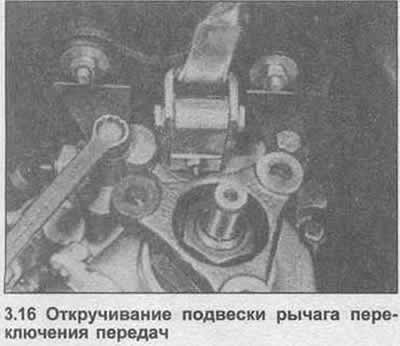
16. Remove the two bolts securing the shift lever hanger to the rear of the transmission (photo).
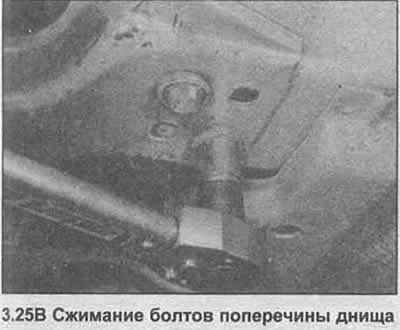
17. To obtain additional working space, unscrew and remove the bottom cross member located behind the gearbox.
18. Support the gearbox with a jack.
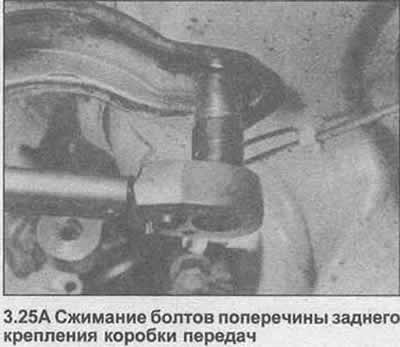
19. Unscrew the cross member of the rear mount from the bottom.
20. Place a thin plate under the oil pan on the front cross member (photo).

21. Lower the transmission until the oil pan rests against the plate.
22. Turn off and remove other bolts of fastening of a transmission to the engine.
23. Shift a transmission back from the engine, then get it from under the car. Be careful not to let the gearbox hang on the input shaft.
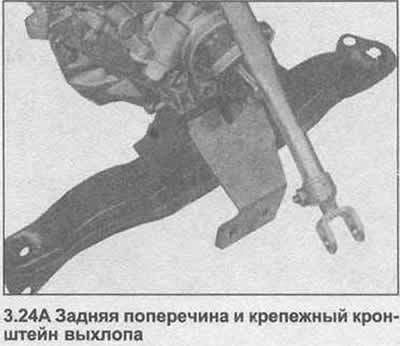
24. If necessary, remove the spring clip, remove the pin and disconnect the shift rod from the shift lever shaft on the gearbox. Also unscrew and remove the cross member and exhaust mounting bracket (photo).
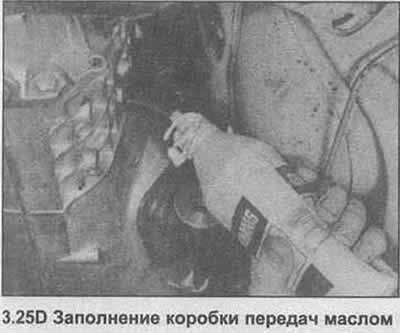
25. Installation is carried out in the reverse order. Check that the release lever and bearing are properly seated, lightly grease the input shaft slots. To facilitate entry of the input shaft and clutch friction plate slots, select 4th gear and slowly rotate the output flange. Note also that the friction disk must be centered as described in Section 5 for the gearbox input shaft to enter the crankshaft bushing bearing. Check and, if necessary, adjust the clutch cable. Tighten all nuts and bolts to the specified torque specification. Before inserting the cross member bolts, apply a locking agent to the threads. Finally, fill the gearbox with the specified grade and quantity of oil, tighten the filler plug (photo).


Visitor comments