
Removing
1. The heatsink can be removed along with the fan assembly if there is no need to disassemble the fan. To remove the fan and fan shroud from the heatsink, see Chapter 12.
2. Drain the cooling system as described in Chapter 2.
3. Disconnect the upper hose and expansion tank from the radiator.
4. Disconnect the negative cable from the battery then disconnect the wiring from the cooling fan switch located at the base on the right side of the radiator.
5. Disconnect the cooling fan wiring connector, noting its location to facilitate installation.
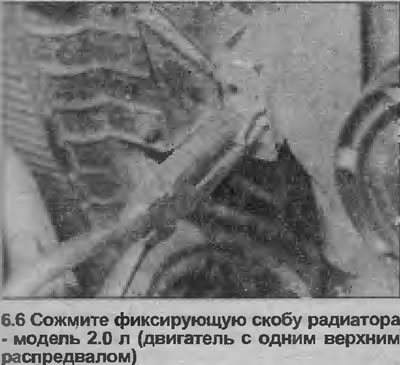
6. Squeeze and remove the two heatsink retaining brackets located at the top corners of the heatsink (see illustration).
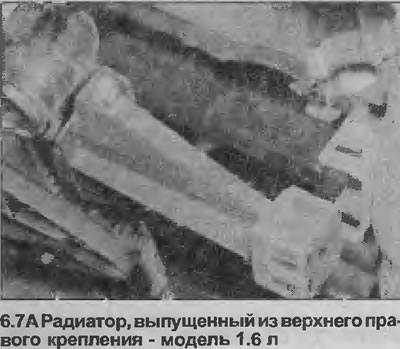
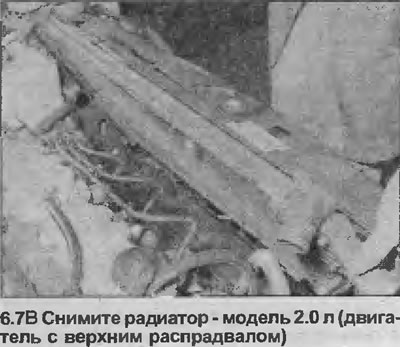
7. Tilt the top of the radiator towards the engine to release it from the top mountings, then lift the radiator to disengage the bottom mounting pins. Remove the radiator from the engine compartment, being careful not to damage its fins (see illustrations).
Installation
8. Inspect and clean the radiator as described in Chapter 8.
9. Installation is carried out in the reverse order, paying attention to the following.
10. Check up a condition of rubber pillows of a radiator and replace them if it is necessary. Make sure the bottom alignment pins are properly seated in their sockets.
11. Fill the cooling system (Chapter 4).
Visitor comments