
Execution sequence
1. We prepare the car for work (see «Preparing the car for maintenance and repair»).
2. Disconnect the cable from the selector and its frame (see «Automatic transmission mode selector cable - replacement and adjustment»).
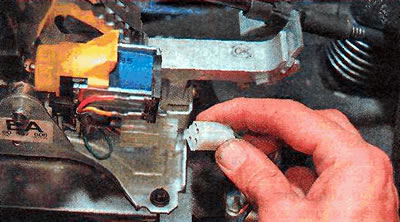
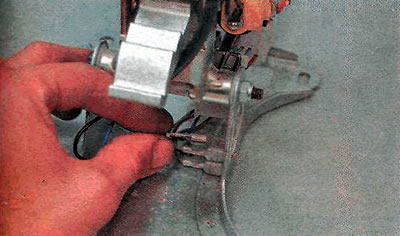
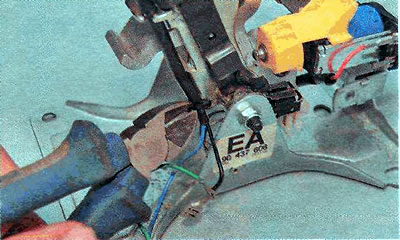
3. We bend the latch...
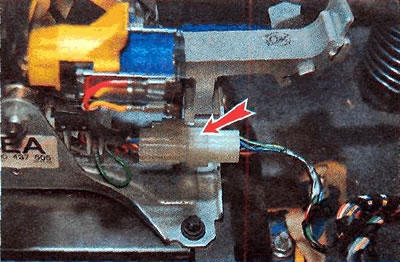
...and disconnect the wiring harness block.
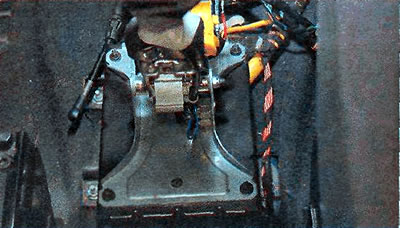
4. Using the TORX E8 key, unscrew the four bolts securing the selector and remove it as an assembly.
Comment. The following shows a complete disassembly of the selector lock mechanism. All removed items are shipped separately. Therefore, you perform only those operations that are necessary to replace a defective element in your particular case. The selector itself is replaced as an assembly.
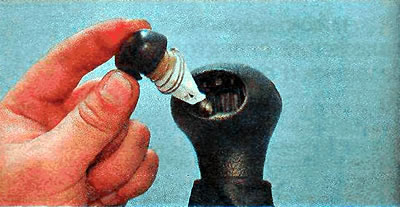
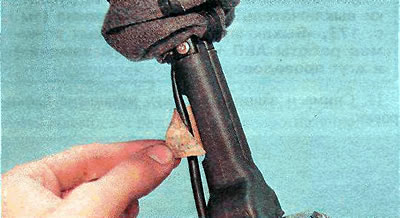
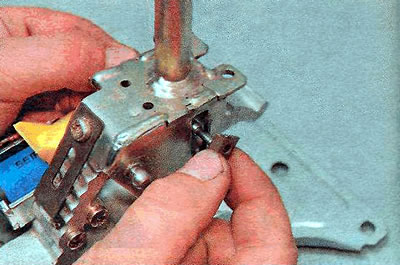
5. We pry with a thin slotted screwdriver...

...and remove the lock button.
6. Disconnect the black and brown wires from the contact jumper.
7. Disconnect the yellow wire from the lock solenoid.
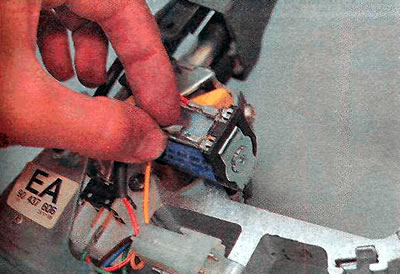
8. Disconnect the green wire from the microswitch.
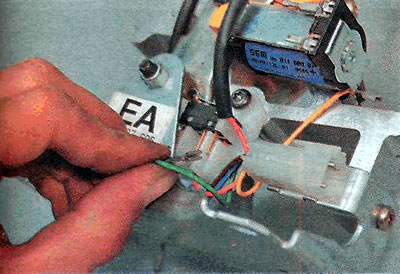
9. Squeeze the latches and disconnect the wiring harness block from the selector frame.
10. Peel off the tape that fixes the wiring harness.
11. Cut the plastic clamp securing the wiring harness.
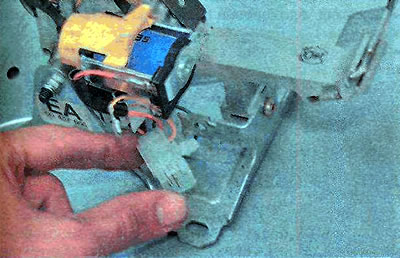
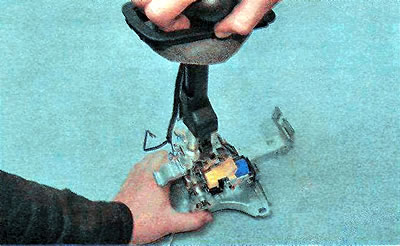
12. Using the TORX T25 key, we unscrew the bolt securing the selector handle...

... and remove the handle assembly with a cover and a wiring harness.
Comment. If necessary, remove the sport mode switch from the handle (see «Switches for special operating modes of the automatic transmission - check and replace») and wiring harness.
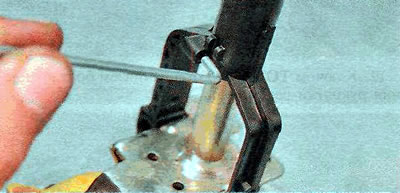
13. Remove the protective cover of the locking mechanism.
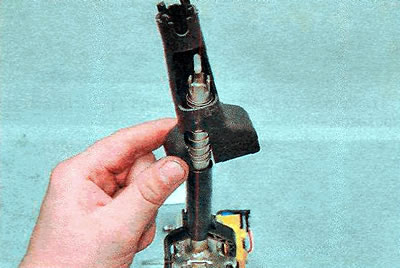
14. We turn down and, shifting to the side, remove the thrust of the locking mechanism.
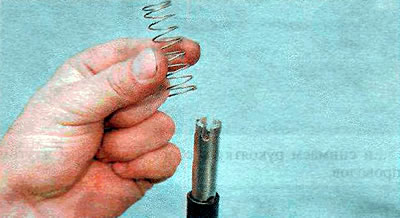
15. Remove the spring.
16. Unbend the paws.
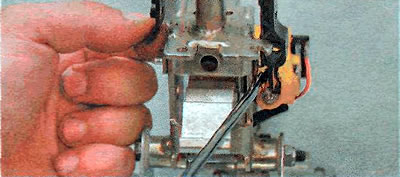
... and remove the fork of the locking mechanism.
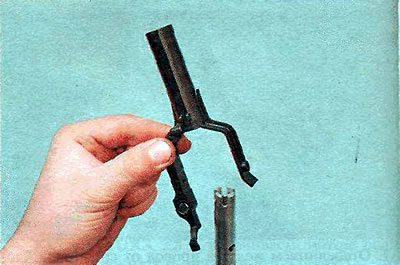
17. Remove the sliders of the axis of the locking mechanism.
18. Remove the axis of the locking mechanism.

19. If it is necessary to replace the selector itself, remove the lock solenoid from its frame (see «Automatic transmission selector lock solenoid - check and replace») and a block of microswitches (see «Automatic transmission selector position microswitches - check and replacement»).
20. Install the parts in reverse order.
Visitor comments