
Recommendation. Before starting work, make sure that the selector cable is properly adjusted (see «Automatic transmission mode selector cable - replacement and adjustment»).
Execution sequence
1. We prepare the car for work (see «Preparing the car for maintenance and repair»).
2. Remove the battery pad (see «Power unit mounts - replacement»).
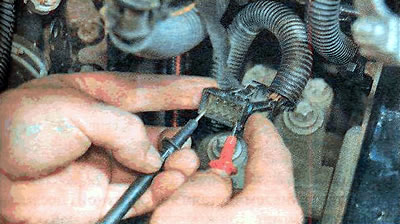
3. Using a slotted screwdriver, pull out the latch and disconnect the sensor wiring harness block.
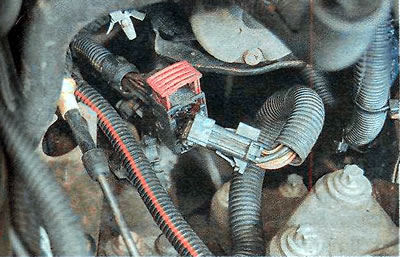
Comment. The terminals of the sensor wiring harness block are numbered as follows.
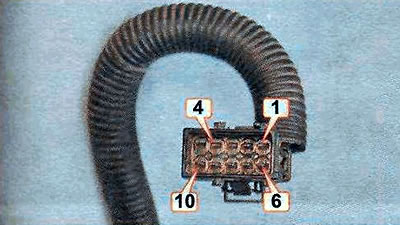
4. If the starter does not turn on, alternately set the selector to positions P and N. Using a multimeter in ohmmeter mode, check the resistance value between terminals 6 and 10.
The resistance value must be minimal (circuit is closed). If the multimeter shows an open circuit (resistance is infinite), it is necessary to replace the sensor (see below).
5. If the reversing lights do not turn on, set the selector to position R. With a multimeter in ohmmeter mode, check the resistance value between terminals 7 and 8. The resistance value should be minimal (circuit is closed). If the multimeter shows an open circuit (resistance is infinite), the sensor needs to be replaced.
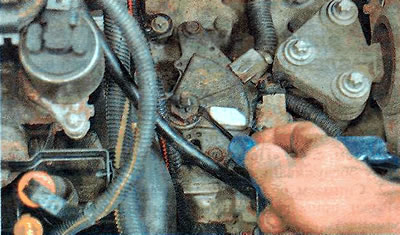
6. To replace the sensor, set the selector to position N and disconnect the selector cable from the sensor lever (see «Automatic transmission mode selector cable - replacement and adjustment»).
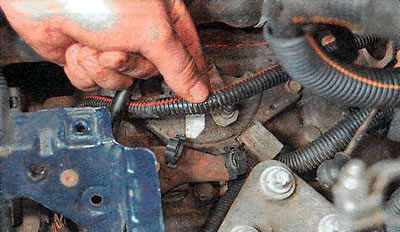
7. We remove the wiring harness from the holders on the sensor housing.
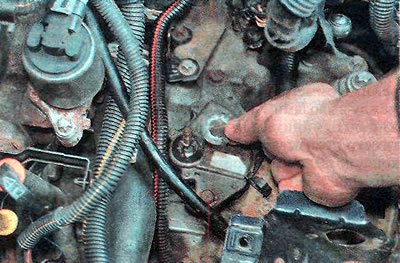
8. Using a 13 mm wrench, unscrew the sensor lever mounting nut (the lever must be kept from moving) and we take it off.

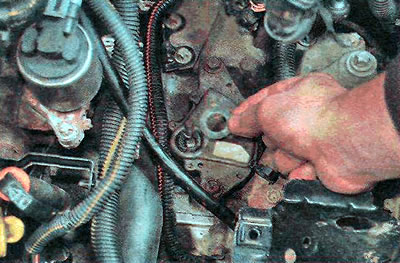
9. With a slotted screwdriver, unbend the edges of the lock washer and with a 17 mm wrench, unscrew the nut of the sensor axis.
10. Remove the lock washer.
11. Remove the insulating washer.
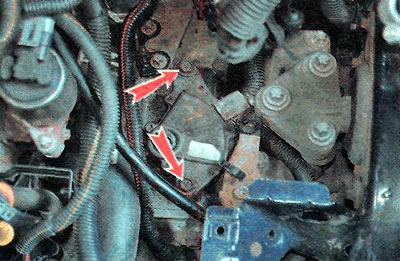
12. Using a 13 mm key, unscrew the two mounting bolts and remove the sensor.
13. Install the parts in reverse order.
Visitor comments