


Contents: Sports mode switch ⬇ Winter mode switch ⬇
The design of the car provides for two special modes of operation of the automatic transmission - sport and winter (see "Controls and instruments"). If any of these modes does not turn on, you must first check and, if necessary, replace its switch, especially since this is not difficult at all.
Note: The winter mode switch is equipped with a backlight lamp and a power indicator lamp. If these lamps fail, the switch must also be replaced.
If the switch is in good working order, it is necessary to diagnose the faults of the automatic transmission and its control unit in a specialized technical center.
Sports mode switch
1. Prepare the car for work (see "Preparing the car for maintenance and repair").
2. Pry it up with a thin slotted screwdriver...
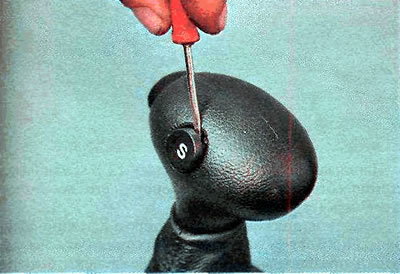
...and remove the switch from the selector.
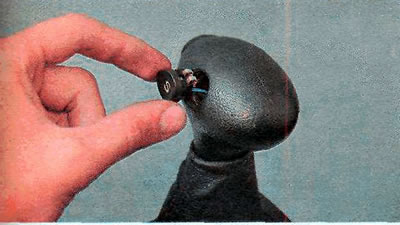
3. Disconnect the terminals of two wires from the switch...
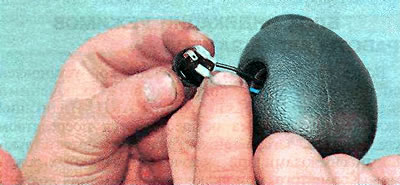
...and finally remove the switch.
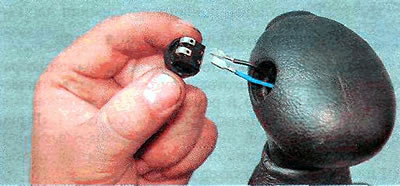
4. Connect the tester to the switch contacts in ohmmeter mode. When you press the switch, the tester should show the minimum voltage value (contacts are closed). If this is not the case, the switch is faulty and must be replaced.
5. Install the parts in reverse order.
Winter mode switch
1. Prepare the car for work (see "Preparing the car for maintenance and repair").
2. Remove the selector cover (see "Parking brake actuator lever - replacement").
3. To contacts A and B of the switch block (the color of the wires is yellow-blue and brown) connect the tester in ohmmeter mode. When you press the switch, the tester should show the minimum voltage value (contacts are closed). If this is not the case, the switch is faulty and needs to be replaced.
To contacts C and D of the switch block (wire colors are gray-black and black), and then to contacts B and D (wire colors brown and black) we apply a voltage of 12 V, and connect contact D to the positive pole of the power source. The switch should light up in both cases. If this is not the case, the switch is faulty and must be replaced.
4. To replace, squeeze the two plastic clips and remove the switch from the trim.
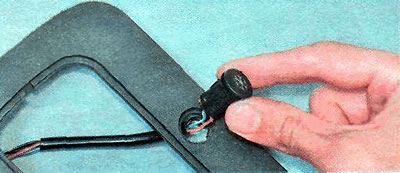
5. Install the parts in reverse order.
Visitor comments