
Execution sequence
1. We prepare the car for work (see «Preparing the car for maintenance and repair»).
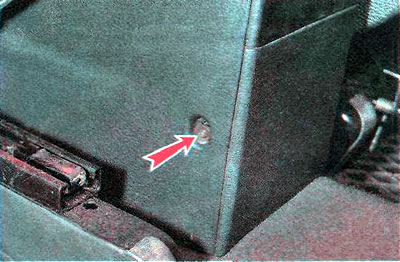
2. Remove the ashtray and cigarette lighter block (see «Cigarette lighter - adjustment and replacement of the cartridge, replacement of the backlight»).
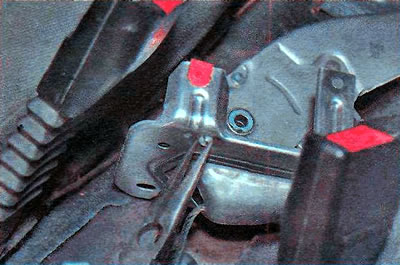
3. Weaken the cable tension by unscrewing the adjusting nut (see «Parking brake - adjustment»).
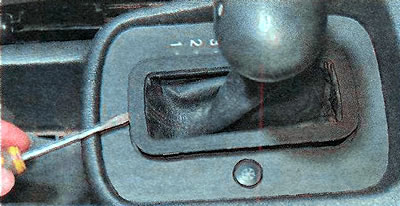
4. On cars with automatic transmission, use a thin slotted screwdriver to pry off the decorative trim of the selector.
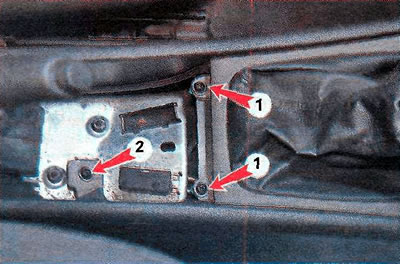
5. On the Astra model, using the TORX T20 key, unscrew two screws 1 fastening the upper decorative lining of the tunnel and lift it up (shown on the example of a car with a manual gearbox, on cars with an automatic gearbox - similarly). Then we unscrew the bolt 2 of the central fastening of the floor tunnel lining.
On the Zafira model, we overcome the resistance S of the latches of the upper decorative lining of the tunnel and lift it up (shown on the example of a car with automatic transmission, on cars with manual gearbox - similarly).
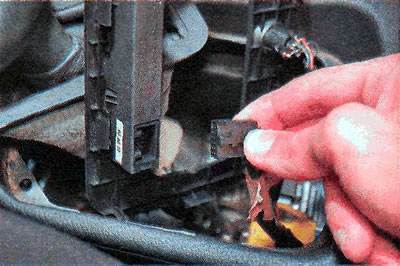
6. On vehicles with automatic transmission, disconnect the wiring harness block of the winter mode switch...
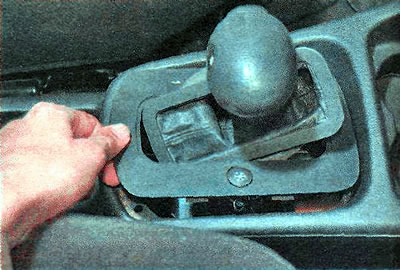
... disconnect the wiring harness block from the on-mode indication unit and finally remove the upper decorative trim of the floor tunnel, carefully removing the decorative edging and the selector handle through it.
7. On the Zafira model, remove the left and right lower trims of the instrument panel (see «Brake light switch - replacement and adjustment»).
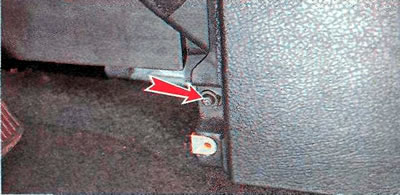
8. Using the TORX T20 key, we unscrew the two screws of the front fastening of the floor tunnel lining on the left and similarly on the right side.
Astra

Zafira
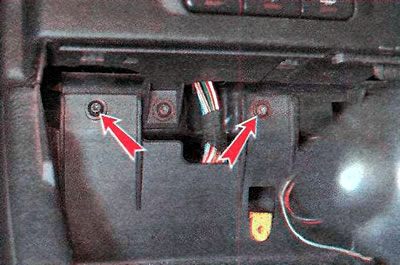
9. On the Zafira model, use the TORX T20 key to unscrew the two screws of the upper fastening of the floor tunnel lining.
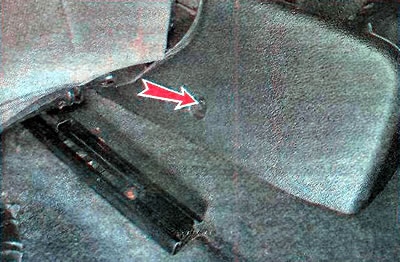
10. We shift the front seats forward and use the TORX T20 key to unscrew the two screws for the rear fastening of the floor tunnel lining on the left and similarly on the right side.
Astra
Zafira
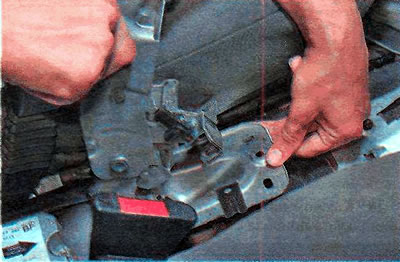
11. Remove the lining of the floor tunnel, moving back and slightly lifting up its rear edge.
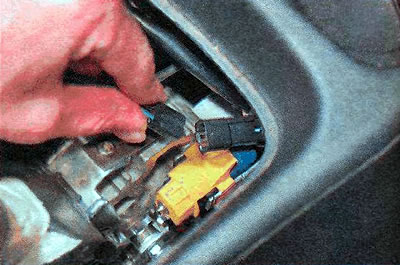
12. Disconnect the wiring harness block from the parking brake warning lamp switch.
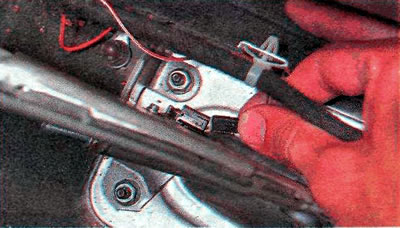
13. If it is necessary to replace the parking brake indicator switch with an 8 mm key, unscrew the mounting bolt and remove the switch.
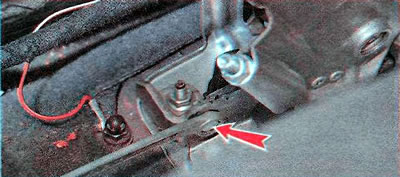
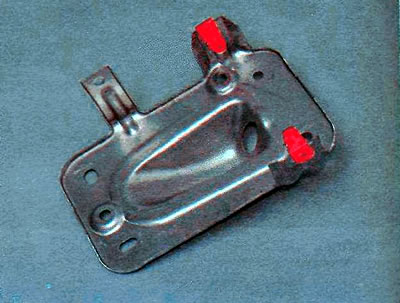
14. Using a 10 mm wrench, unscrew the bolts securing the parking brake drive lever.
15. Raise up the lever with the mounting platform.
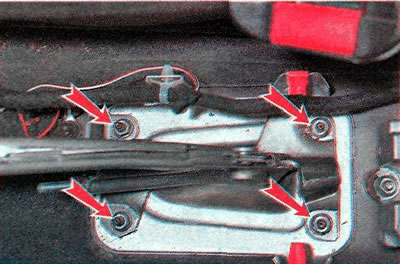
16. Use pliers to compress and press the rear retainer for attaching the lower platform of the lever.
17. Similarly, disconnect the front retainer.
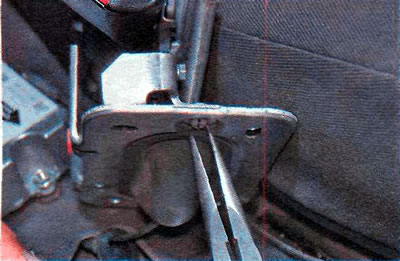
18. Disconnect the lower platform of the lever.
19. We remove the front cable from the parking brake lever and remove the lever...
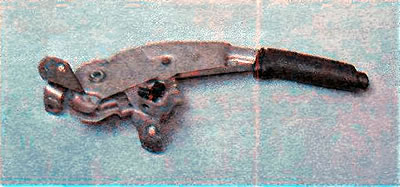
... and then the lower platform of the lever.
20. Install the parts in reverse order.
Visitor comments