
To do the job, you will need a slotted screwdriver with a narrow blade.
Chuck adjustment
1. We prepare the car for work (see «Preparing the car for maintenance and repair»).
2. We remove the F36 fuse from the mounting block located in the passenger compartment (see «Mounting Blocks - Replacing Fuses and Relays»).
3. Bend the clamp contacts with a screwdriver.
Comment. The operation is shown on the removed cigarette lighter cartridge.
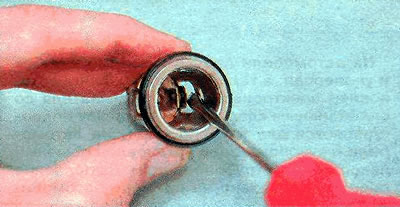
Warning! Do not bend the contacts too much. Perform the adjustment in several stages, bending the contacts a little bit each time.
4. Replace the fuse and check the operation of the cigarette lighter. Repeat the adjustment if necessary.
Replacing the backlight lamp for the cigarette lighter cartridge on the Astra model
1. We prepare the car for work (see «Preparing the car for maintenance and repair»).
2. Having picked up a thin slotted screwdriver, remove the decorative trim.
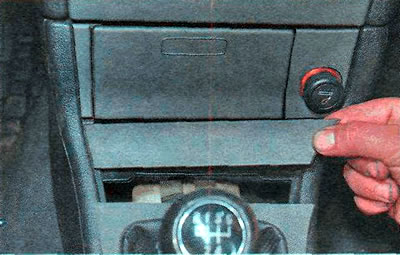
... and remove the decorative trim of the cigarette lighter cartridge.
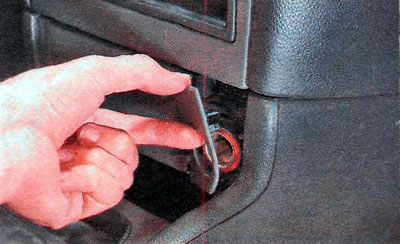
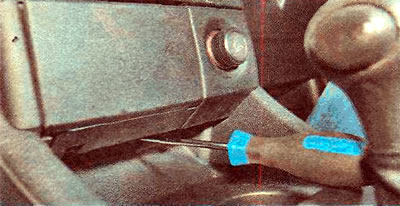
3. We pry with a thin slotted screwdriver -
4. Using the TORX T20 key, unscrew the two screws securing the ashtray and cigarette lighter block.
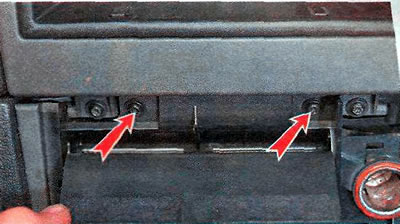
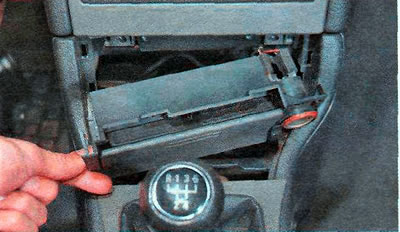
5. We remove the block from the center console.
6. Pulling back, remove the lamp socket from. holder.
7. Remove the lamp from the cartridge.
8. Install the parts in reverse order.
Replacing the cigarette lighter bulb on the Zafira
1. We prepare the car for work (see «Preparing the car for maintenance and repair»).
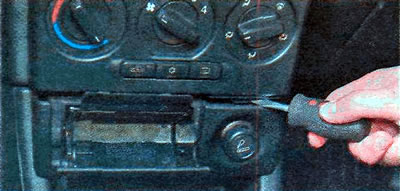
2. Using the TORX T20 key, unscrew the screw securing the ashtray and cigarette lighter unit.
3. Using a slotted screwdriver, press the block down and take it away from the center console.
4. Further work is similar to replacing the lamp on the Astra model (see above).
5. Install the parts in reverse order.
Cartridge replacement
Comment. The operation is shown on the Astra model. On the Zafira model, the operation is similar.
1. We prepare the car for work (see «Preparing the car for maintenance and repair»).
2. Remove the ashtray and cigarette lighter block from the front panel (see above).
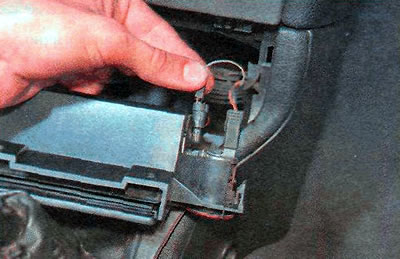
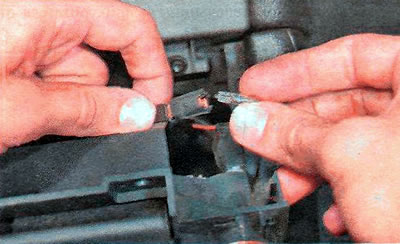
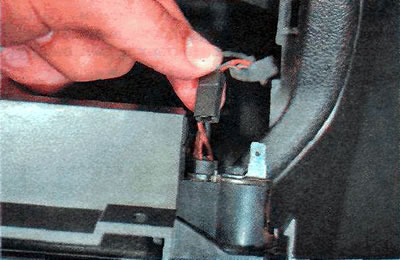
3. Disconnect the wiring harness pads from the cartridge...

...and backlights.
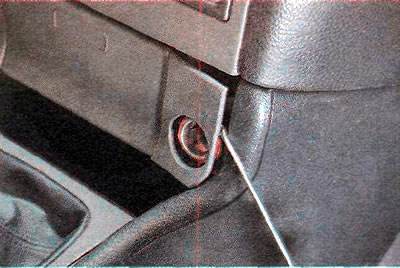
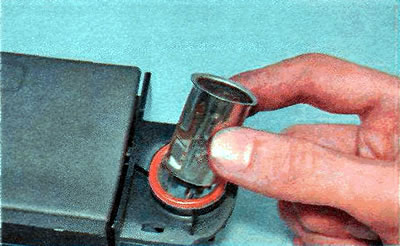
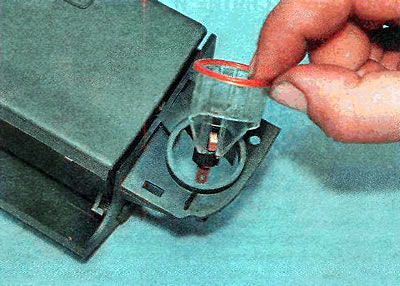
4. We pry with a thin slotted screwdriver...
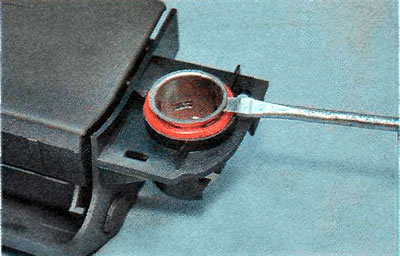
...and remove the cigarette lighter cartridge.
5. If necessary, bend the latch and...
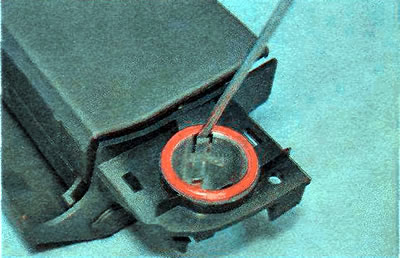
... remove the backlight ring assembly.
6. We install the parts in the reverse order.
Visitor comments