


Contents: Removal the display of the Astra…⬇ Removal the display of the Zafira…⬇ Replacing lamps ⬇ Installation ⬇
The display backlight is provided by incandescent lamps. If the backlight fails, the lamps can be replaced separately. In case of other malfunctions, the display assembly must be replaced.
Removal the display of the Astra model
1. Prepare the car for work (see, "Preparing the car for maintenance and repair").
2. Remove the center console trim (see "Astra climate control unit - checking and replacement").
3. Using a TORX T20 key, unscrew the two mounting screws and disconnect the display.
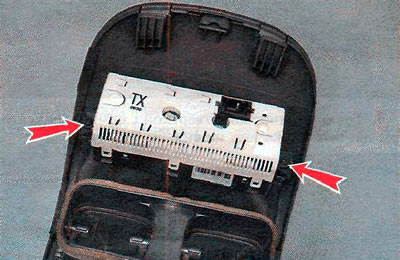
Removal the display of the Zafira model
1. Prepare the car for work (see "Preparing the car for maintenance and repair").
2. Remove the instrument panel cover (see "Instrument cluster - removal and installation").
3. Pull the display towards you and remove it.
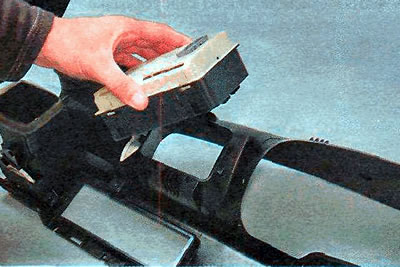
Replacing lamps
1. Remove the center console trim of the Astra model or the instrument panel trim of the Zafira model (see above).
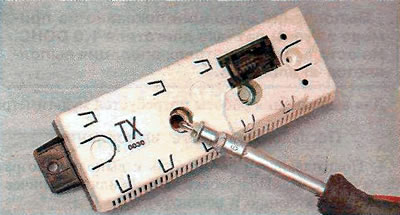
2. Using tweezers, a thin slotted screwdriver or a 6 mm socket wrench, turn the lamp socket counterclockwise and remove it from the display.
Astra
Zafira
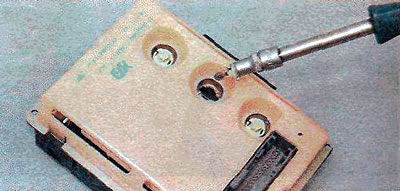
Note. The lamp replacement is shown on displays removed from the trims, but to replace only the lamps, you do not need to remove them from the trims. Depending on the configuration, different displays may be installed on the cars, the number and location of the backlight lamps on which may differ from those shown here. However, the procedure for replacing them is completely similar.
Recommendation: Considering the labor intensity of the work, change all the backlight lamps at once, even if only one has burned out, since after replacing one, another may fail.
Installation
We install the parts in reverse order.
[Material copied from this website: OpelBook.ru]
Visitor comments