
You will need a multimeter to do the job.
Checking and replacing the control unit
1. We prepare the car for work (see «Preparing the car for maintenance and repair»).
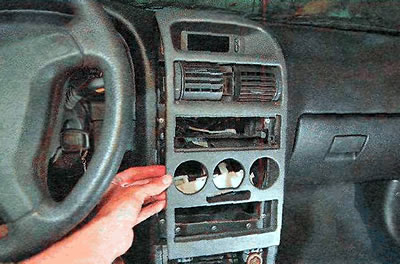
2. We remove the mat from the storage shelf for small items located on the center console.
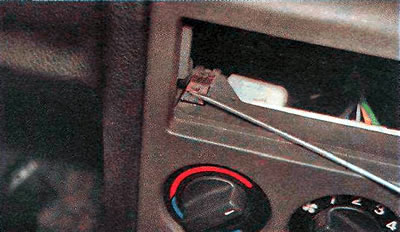
3. With a slotted screwdriver, we squeeze the lower latches, lifting them up.
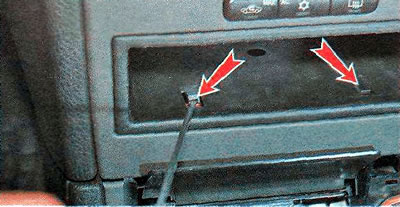
4. Press the upper latches in the same way.
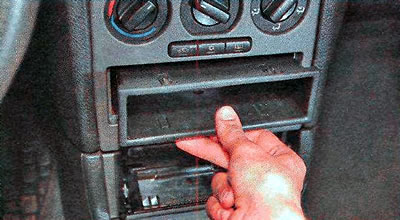
5. Remove the shelf for small items.
6. Remove the alarm switch (see «Alarm switch - check and replace»).
7. Remove the cigarette lighter cover and open the ashtray cover (see «Cigarette lighter - adjustment and replacement of the cartridge, replacement of the backlight»).
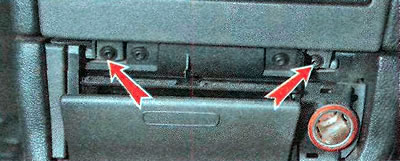
8. Using the TORX T20 key, we unscrew the lower screws of the center console facing panel.
9. Remove the car radio and its installation frame (see «Car radio - removal and installation»).
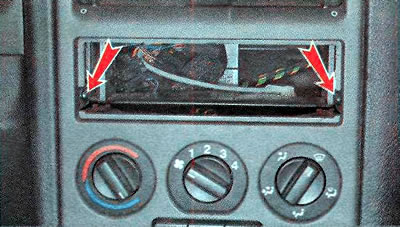
10. Using the TORX T20 key, we unscrew the two side screws of the center console facing panel.
11. Using a slotted screwdriver, disconnect the fasteners of the climate control unit: upper right...

...and the left upper mount.
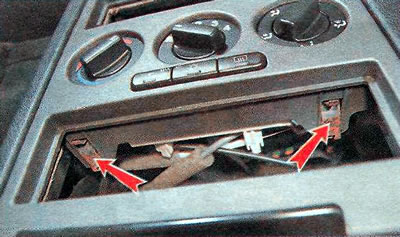
12. Similarly, disconnect the lower mountings of the climate control unit.
13. Slightly recess the air conditioning control unit inside.
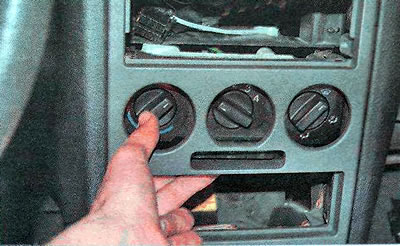
14. We remove the facing panel of the center console assembly with the information display.
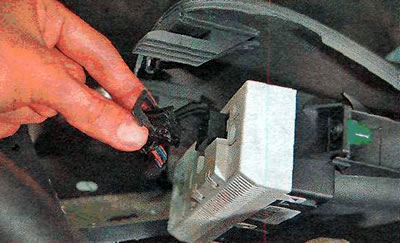
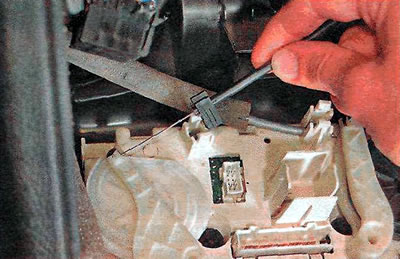
15. Using a slotted screwdriver, pry off and disconnect the block of the wiring harness of the alarm switch.
16. We lower the clamp of the block of the wiring harness of the information display and remove the block.
17. Remove the facing panel of the center console.
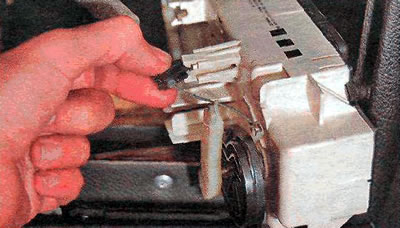
18. Press the side clamps of the electric fan wiring harness block and remove the block from the climate control unit.
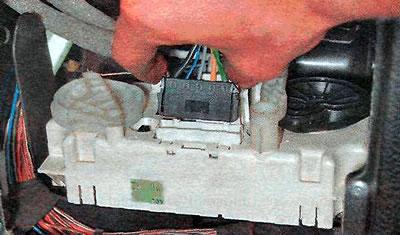
19. We remove the second block of the wiring harness.
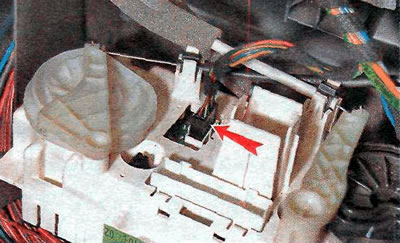
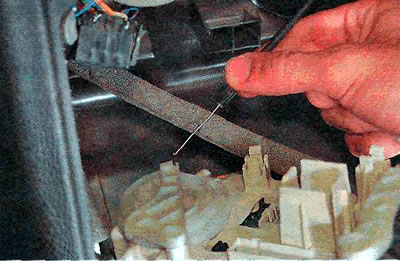
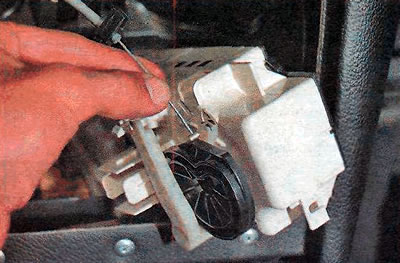
20. Remove the holder for the damper cable that regulates the temperature of the incoming air.
21. Disconnect the cable.
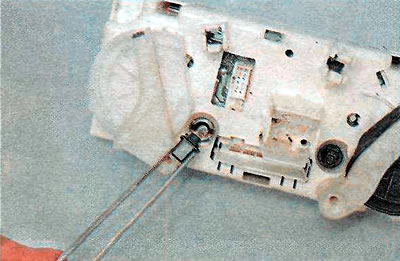
22. We remove the holder and disconnect the upper cable of the air distribution damper drive.
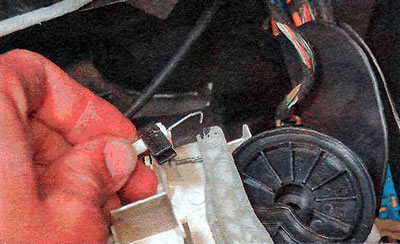
23. Similarly, we disconnect the holder of the lower cable for the drive of the air distribution damper.
24. Remove the cable.
25. Remove the climate control unit.
Comment. To replace the backlight, turn the lamp socket counterclockwise and remove the lamp together with the socket.
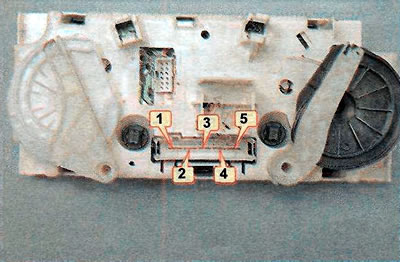
26. With a multimeter in ohmmeter mode, we check the closure of the contacts when switching the speeds of the electric fan. Closing the contacts when turning on various speeds of the electric fan should occur in the following order:
- 1st speed - 1 and 2;
- 2nd speed - 1 and 3;
- 3rd speed - 1 and 4;
- 4th speed - 1 and 5.
If any contacts do not close, replace the climate control unit.
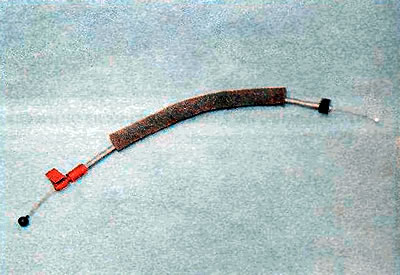
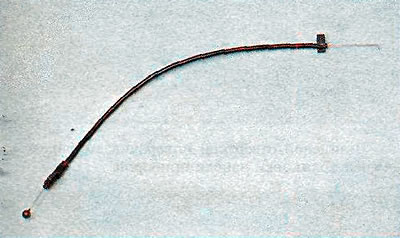
Checking and replacing the climate control cable
1. Remove the lower lining of the instrument panel (see «Throttle pedal - replacement»).
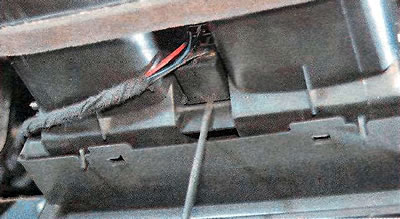
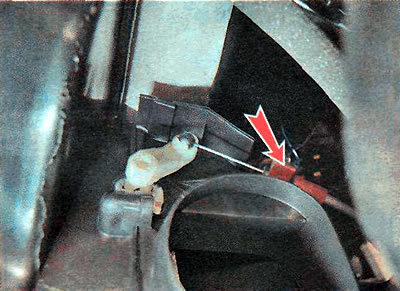
2. We make sure that the air distribution damper drive cable is in good condition and correctly connected.
3. If necessary, disconnect the cable mount by pulling the holder up.
4. We remove the ball tip from the rod and remove the cable.
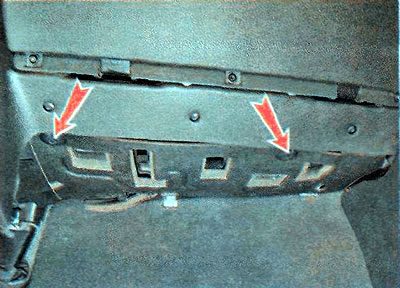
5. Using a slotted screwdriver, we turn the latches of the lower trim of the instrument panel.
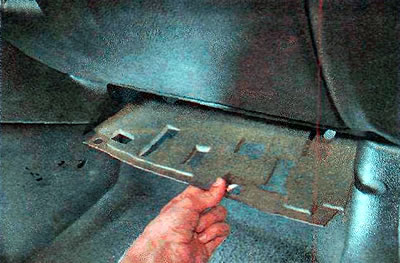
6. Remove the lining.
7. We make sure that the cable for the drive of the damper for adjusting the temperature of the incoming air is in good condition and correctly connected.
8. If necessary, use a 5.5 mm key to unscrew the cable fastening bolt.
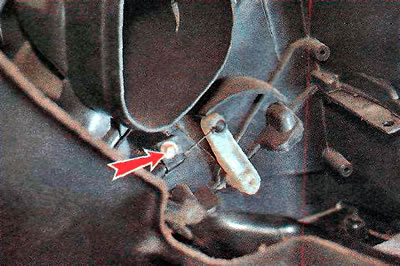
9. We remove the ball tip from the rod and remove the cable.
10. Install the parts in reverse order.
Visitor comments