
Removing
1. Disconnect the negative cable from the battery.
2. Remove the passenger footwell trim, steering column shrouds, and instrument panel upper and lower trim panels as described in Section 11.
3. Remove the clock or trip computer from the dashboard (depending on the model), as described in Section 12.
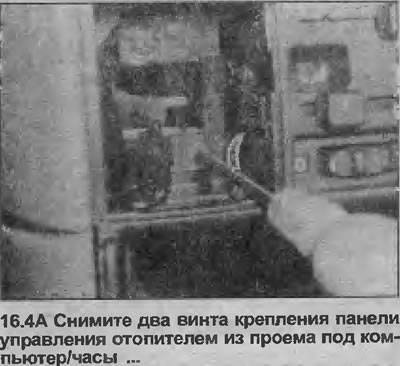
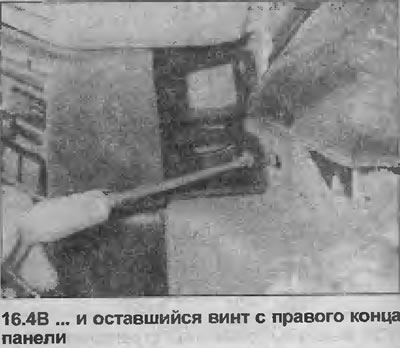
4. Remove the two screws securing the heater control panel from the computer/clock opening and the remaining screw from the right end of the panel (accessible after removal of lower instrument panel trim panel) (see illustrations).
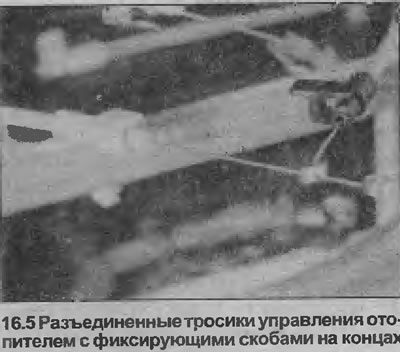
5. Working in the passenger footwell, get to the back of the heater control panel and disconnect the cables from the control levers. Note that each cable is secured with a plastic clip and in some cases an additional metal clip that must be released before the end of the cable can be removed from the control lever (see illustration). Label the cables so you don't mix them up during installation.
6. Remove the heater control panel from the dashboard and disconnect the wiring connectors from it.
Installation
7. Installation is carried out in the reverse order. Finally, move all control levers from one extreme position to another and check the operation of the heater.
Visitor comments