


2. Disconnect the rear flexible brake hydraulic hoses from the hard pipe connections (see Chapter 9) and cap the tubes and hoses to prevent fluid loss.
3. Unscrew the self-locking nut on the fixture at the end of the short handbrake cable at the equalizer. Disconnect the cable from the equalizer.
4. Disconnect the long handbrake cable from the extension on the lever shaft.
5. Release the handbrake cable from the guides by bending them.
6. Remove the coil springs as shown in Section 15.
7. Place a jack, preferably a hydraulic type, under the center of the rear axle.
8. Unscrew and remove the bolts that connect the locking levers to the bottom.
9. Lower the jack and remove the axle assembly from under the vehicle.
10. The axle can now be disassembled if necessary, removing the brake components (Chapter 9) and the short axle and hubs (Sections 12 and 16 of this Chapter).
11. Assembly and installation are carried out in reverse order, but observe the following requirements:
(A) Tighten all nuts and bolts to the specified torque value, but wait to tighten the rear axle pivot bolts until the vehicle is free to stand and loaded with the equivalent weight of the driver and front seat passenger.
(B) Bleed the hydraulic system by referring to Chapter 9.
(C) Adjust the handbrake.
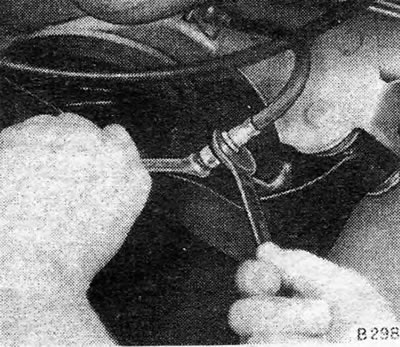
Figure 10.25. Disconnecting the rear brake hose
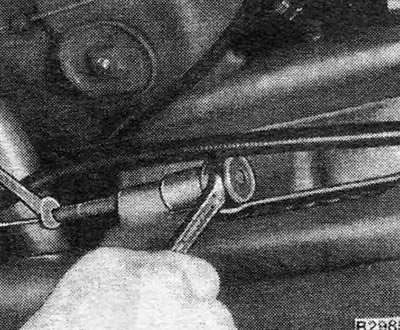
Figure 10.26. Disconnecting the short handbrake cable
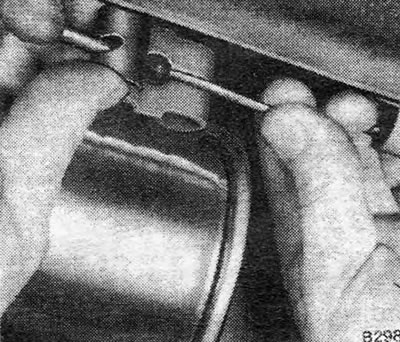
Figure 10.27. Disconnecting the long handbrake cable
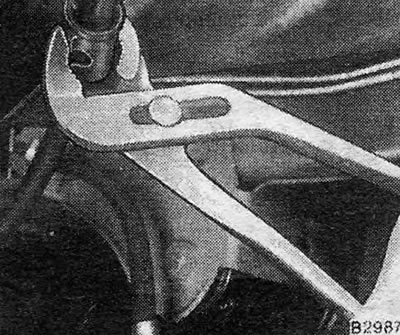
Figure 10.28. Bending the handbrake cable guide
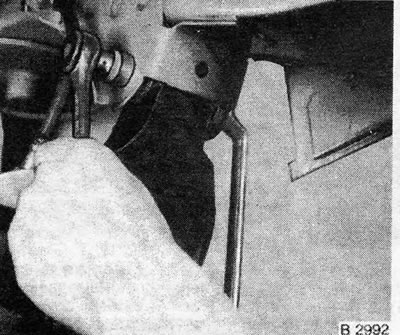
Figure 10.29. Unscrewing the locking lever axle bolt
Visitor comments