
2. For models equipped with a level control system, it is important that the pressure in the system is released before removing the shock absorber (s) - see Section 21 (paragraph 3).
Models "salon" / "hatchback".
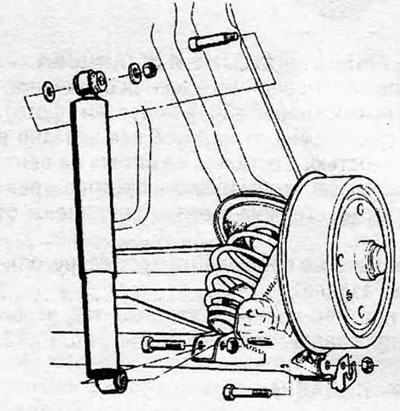
3. Open the trunk or tailgate and remove the cap that covers the upper shock mount.
4. Unscrew the opened nut/nuts/ and remove the washer and rubber gasket (photo).
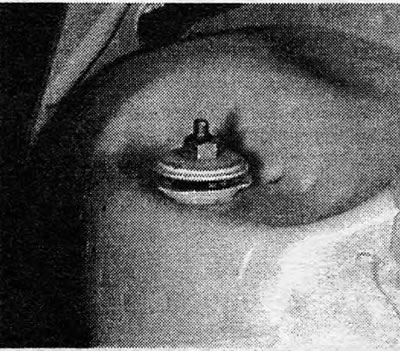
Photo 13.4A Rear shock absorber upper support.
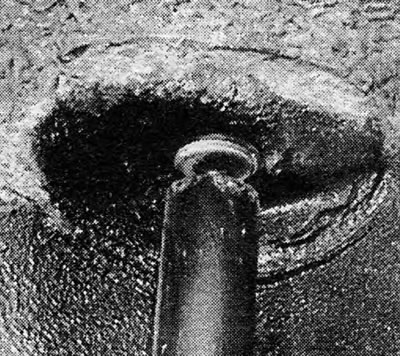
Photo 13.4B Rubber gasket on the upper support of the rear shock absorber.
5. Place the rear wheels of the vehicle on the repair ramp. If it is not there, then lift and support the rear of the car securely, but be prepared to apply light pressure to the shock absorber by jacking up the axle bracket (photo).
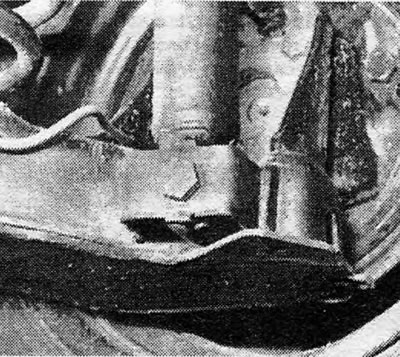
Photo 13.5 Rear shock absorber lower support ("salon" / "hatchback").
6. Disconnect the level control system coupling from the shock absorber, if installed (after the pressure is released).
7. Disconnect the lower shock absorber mount from the rear axle and then remove it from the vehicle.
8. To check the shock absorber assembly, clamp it vertically in a vise so that the vise holds it by its lower support eye.
9. Fully extend and compress the shock absorber six or seven times. Any signs of jerking or lack of resistance will indicate a need for replacement.
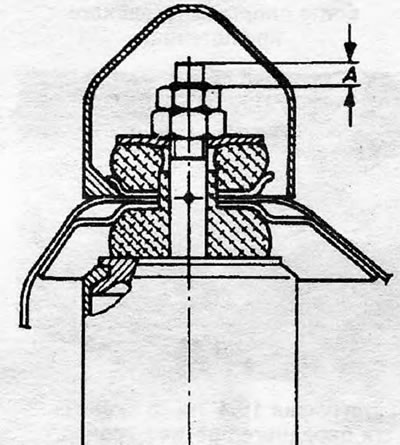
10. Assembly is carried out in reverse order. On models equipped with a level control system, check that the pressure line is correctly installed on the shock absorber. Tighten the lower mounting bolt to the specified torque, and also tighten the upper mounting nut until the tip protrudes as shown in Fig. 10.16, 10.17 or 10.18.
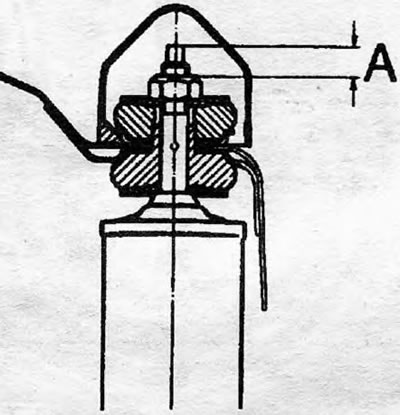
Pic. 10.16. The rear shock absorber upper mount is a standard type. A=9 mm (0.35 inch).
Pic. 10.17. The rear shock absorber upper mount is a two-nut retaining type. A=6 mm (0.24 inches).
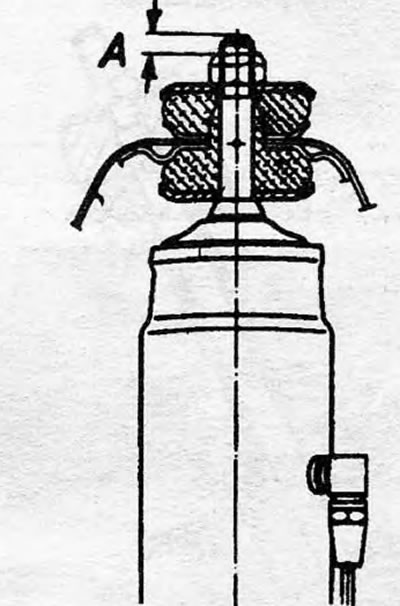
Pic. 10.18. The rear shock absorber upper mount is a load leveling type. A=6 mm (0.24 inches).
11. Connect, where necessary, the level control hose to the shock absorber coupling, increase the pressure again and check the system for air leaks (Section 20).
Models "station wagon".
12. Rear suspension design on models "station wagon" similar to the design of other models. The main difference is in the shock mounts, with the shocks angled to increase cargo room.
13. Remove the mounting nuts and bolts from the upper and lower mounts, remove the gaskets, and remove the shock absorber.
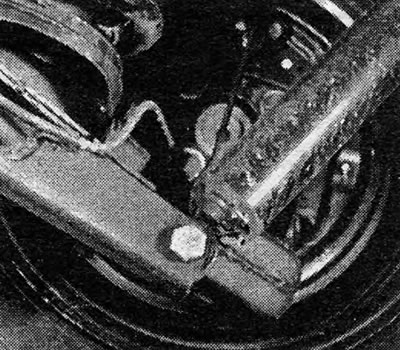
Photo 13.13A Rear shock absorber lower support ("station wagon").
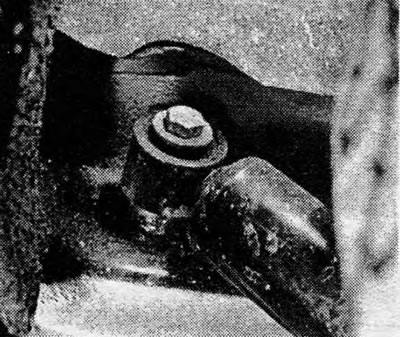
Photo 13.13B Upper rear shock absorber support ("station wagon")
14. Reassemble in the reverse order, tightening the fastening nuts to the specified torque value. Please note that if the top mounting pin is sheared due to over-tightening, it will need to be drilled out and a new one installed.
Pic. 10.19. Rear shock absorber mounts - "station wagon"
Visitor comments