
2. After removing the stand from the machine as described in Section 3, secure it by using a vice grip on the short axle holder.
3. Install a suitable spring compressor onto the spring rings. Such devices can be obtained at most stores that sell auto accessories. Tighten the compressor until all tension has left the spring and then, as an extra precaution, tighten the belt or chain around the compressor (photo).
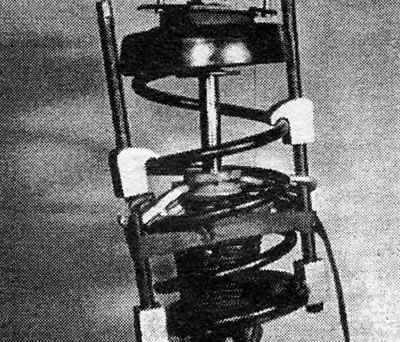
Photo 5.3 Coil spring strut with compressor and belt.
4. Unscrew and remove the top nut of the rack spindle and remove the top support (photo).
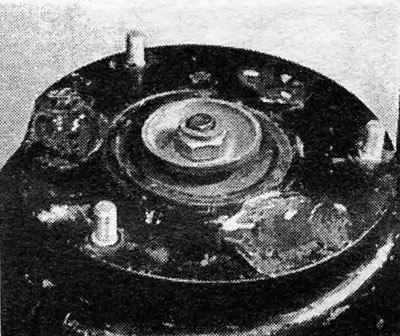
Photo 5.4A Upper support plate of the rack.

Photo 5.4B Upper strut spring seat.
5. Remove the upper spring seat. Note the removable bearing. Remove the thrust washer and spring recoil stopper (photo).
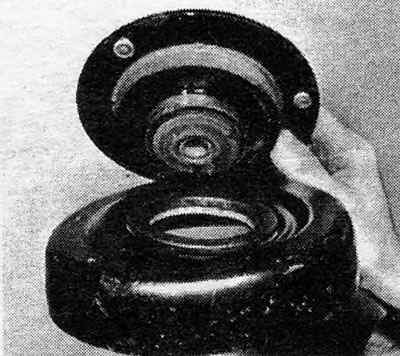
Photo 5.5A Removing the strut support plate from the top spring seat.
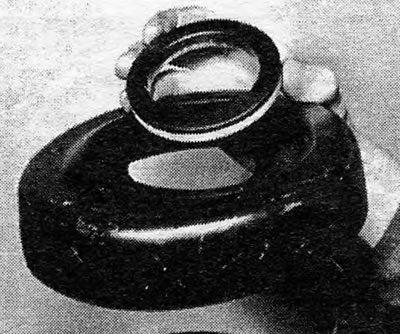
Photo 5.5V Upper strut bearing.
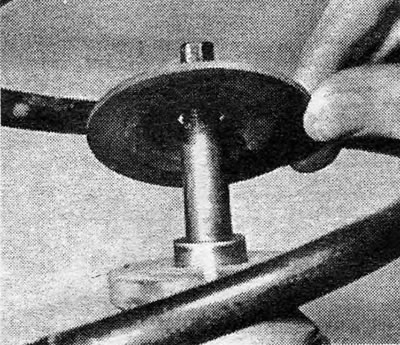
Photo 5.5С Thrust spacer of the strut and spring recoil stopper.
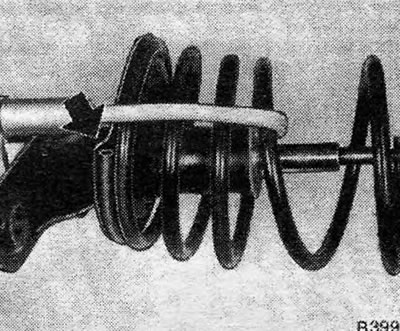
6. Gently release the spring tension by unscrewing the compressor nuts evenly.
7. Remove the compressor and coil spring (photo).
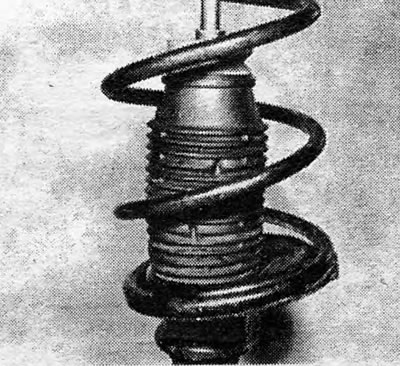
Photo 5.7 Rack bellows.
8. Remove the strut bellows.
9. Unscrew the nut from the top end of the post. This nut is very tight and you may find it easier to clamp the nut in a vice and screw the post off it using a long rod as shown (photo).
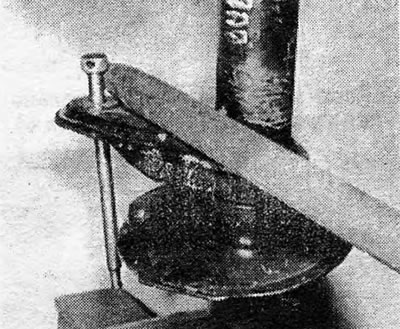
Photo 5.9A Method for unscrewing the strut nut.
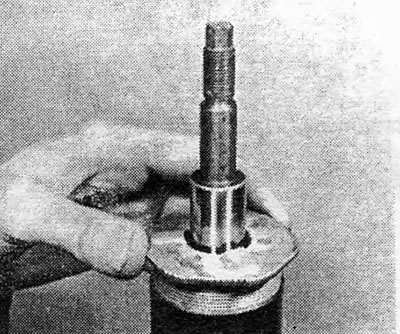
Photo 5.9B Removing the strut nut.
10. Remove the hydraulic shock absorber cartridge and discard it (photo).
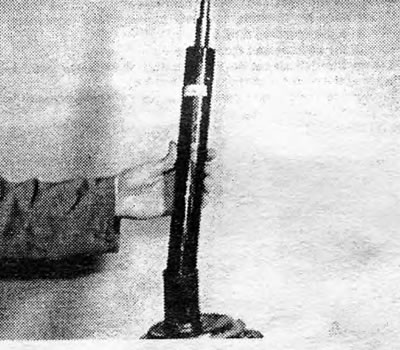
Photo 5.10 Removing the strut cartridge.
11. Reassemble by inserting a new cartridge and tightening the nut to the specified torque.
12. Reinstall the bellows and stopper.
13. Install the coil spring so that the end of its lower coil is correctly located in the seat channel (Pic. 10.4).
Pic. 10.4. Installing the lower coil of the strut spring: The arrow indicates the correct location of the spring.
14. Install the compressor and compress the spring enough so that you can install the upper support.
15. Install the upper support with bearing. Make sure the bearing is installed correctly and install the retaining shims as shown (Pic. 10.5).
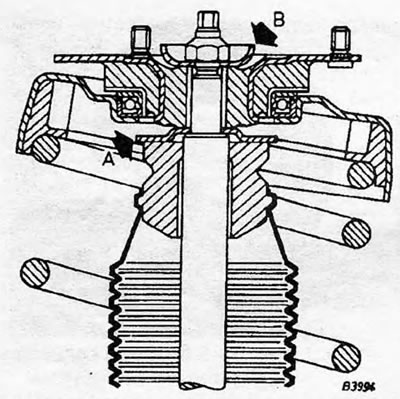
Pic. 10.5. Sectional view of the upper part of the front suspension strut: A and B - Bearing retaining spacers
16. While tightening the mounting nut to the specified torque, support the stand spindle to prevent it from rotating.
17. Carefully release the spring compressor and remove it.
Visitor comments