
2. Always unhook the rigid tube from the flexible hose first, and then release the end of the flexible hose from the retaining clip. To do this, pull out the locking plate using a pair of pliers.
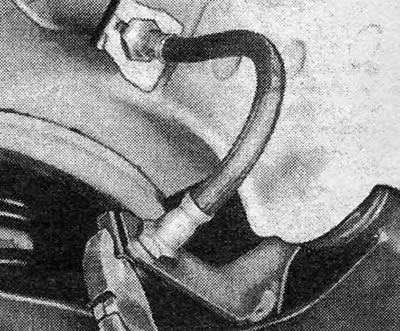
3. Now unscrew the flexible hose from the caliper or connector. The calipers use a banjo style hose connector. Always use a new seal when installing the hose.
4. When assembly is complete, check that the flexible hose does not rub against the tire or other adjacent components. Its position can be changed to eliminate this condition by removing the snap ring from the retaining clip and turning the hose in the desired direction no more than one quarter turn.
5. Bleed the hydraulic system (Section 20).
6. Wipe steel brake lines clean regularly and inspect them for rust or gouges caused by pebbles.
7. Inspect how the tubes are installed in their insulated snap ring mountings and, if necessary, bend the spring wheel tabs to achieve proper installation.
8. Check that the tubes do not touch any adjacent component or rub against any part of the machine. Where this is the case, carefully bend them to the side.
9. Any part of the tube that is rusted or frayed must be replaced. It is possible to purchase brake couplings of the required length and with couplings at the ends from most dealers; They can also be made to order from many auto accessory suppliers. When installing new tubes, use the old tubes as a guide for how to bend them, and do not bend them more than necessary.
10. After connecting the circuit, the system, of course, must be purged.
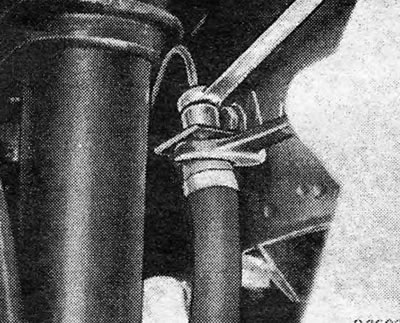
Pic. 9.39 — Unscrewing the coupling of the tubes at the connection with the flexible hose
Pic. 9.40 — Removing the flexible hose retaining ring from the support bracket
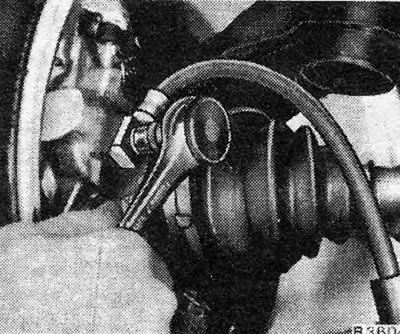
Pic. 9.41 — Unscrewing the banjo caliper coupling bolt
Visitor comments