
2. Raise the rear of the vehicle and remove the wheels and brake drums.
Short cable.
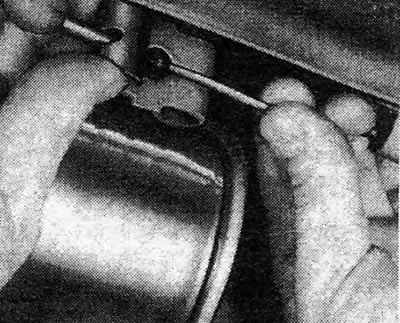
3. Measure the length of the protruding thread at the fixture at the end of the cable to facilitate assembly later, and then unscrew the adjusting nut from the cable at the equalizer.
4. Disconnect the cable from its guide on the rear axle. On latest models (since 1985) The handbrake cable guide tube has been eliminated and the cable runs through two rings that are held in place by a bracket welded to the rear axle. In this case, disconnect the cable from the rings (photo). Please note: When you order new cables, please include chassis numbers; This is important to ensure that you get exactly the cables you need.

Photo 27.4 Short cable for handbrake and ring (indicated by arrows)
5. Press the cable collar out of the rear brake plate.
6. Unhook the handbrake cable from the shoe and pull the cable through the backplate.
Long cable.
7. Unscrew the nut from the threaded fixture on the cable equalizer.
8. Disconnect the cable from the guide under the chassis. If necessary, bend the guide's retaining tabs.
9. Disconnect the cable from the equalizer and guide or rings (what is necessary - see paragraph 4) on the rear axle.
10. Disconnect the cable from the brake shoe.
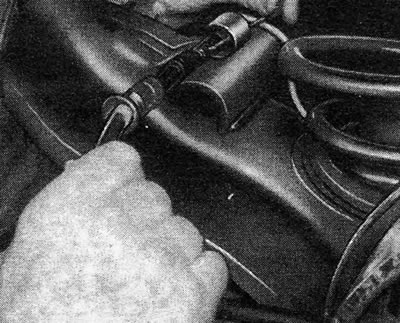
11. Press the cable collar out of the back plate and remove the cable after you disconnect it from the extension on the handbrake lever rod (photo).
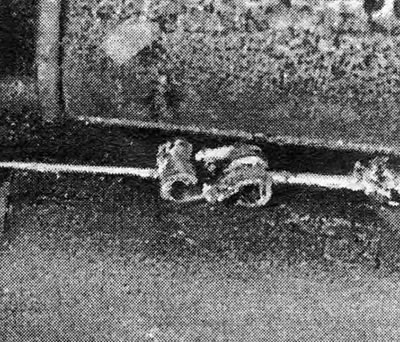
Photo 27.11 Handbrake lever extension rod - cable
Both cables.
12. Install both cables in the reverse order. Check and adjust the cables as indicated in the previous Section, first returning the fixture at the end of the short cable to the same condition as it was before disassembly.
Pic. 9.66 — Releasing the handbrake cable from the rear axle guide
Pic. 9.67 - Device at the end of a long cable

Pic. 9.68 - Bend the cable guide retaining loops
Visitor comments