
2. Disconnect the long cable from the extension cord.
3. Disconnect the extension from the handbrake control lever rod.
4. Remove the ring from the rod.
5. Remove the front passenger seat.
b. If necessary, release and remove the rails on which the seat slides and move them back.
7. Where necessary, release and remove the plastic covering from the handbrake lever. The handbrake - floor mounting bolts can be accessed through the slots in the mat. If there are no slits, then either carefully cut them out, or release and roll the rug. Unscrew the handbrake lever and remove it with the rod until it becomes possible to disconnect the wire of the handbrake warning switch (photo).
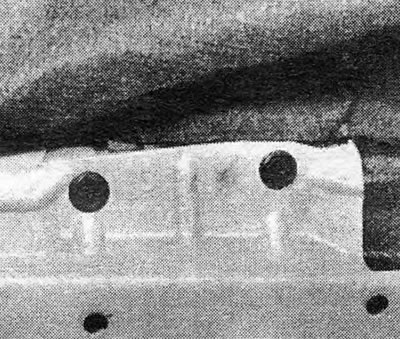
Photo 28.7 - Handbrake lever mounting bolts
8. A worn ratchet can be replaced by removing the collar from the control lever (Pic. 9.69).
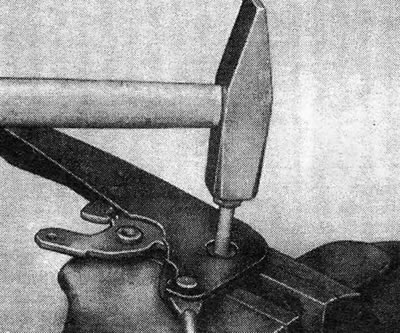
Pic. 9.69 — Removing the segment retaining cuff
9. Place the new collar that came with the ratchet into the lever to provide some clearance between the ratchet and the lever.
10. A new pawl can be installed if the original king pin is drilled out (Pic. 9.70).
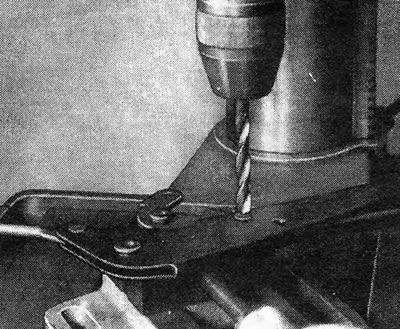
Pic. 9.70 — Drilling the pin of the handbrake lever pawl
11. Install the new pin so that the pawl can still move freely.
12. Assembly is carried out in reverse order. When finished, adjust the handbrake as indicated in Section 26.
Visitor comments