
2. On the front side of the handbrake cable, loosen the adjustment nut on the handbrake lever stem and back away from the compensator.
3. Remove using the lever, lift the rubber protective boot and remove it from the handbrake lever rod.
4. On manual transmission models, unfasten the gear lever boot on the center console inside the vehicle and pull it up over the gear lever until it is turned out. Untie and remove the protective cover. Remove the screws and remove the gear lever cover.
5. On models with automatic transmission, unfasten the selector lever, panel and flexible lining. Remove the screw, raise the selector lever and disconnect the illumination lamp.
6. On models with an on-board computer, remove the facing and position indicator on the central console.
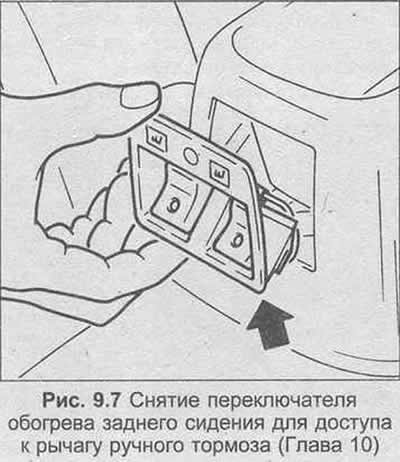
7. On models with rear seat heating, remove the control switch in the center console using the lever from the panel.
8. Use a lever to remove the trim from the center console tray and remove the two exposed screws.
9. Remove the four front fixing screws and remove the central console.
10. On models with power windows, disconnect the two multi-pin plugs.
11. Remove the four screws and lift the handbrake lever guard bezel over the lever (photo).
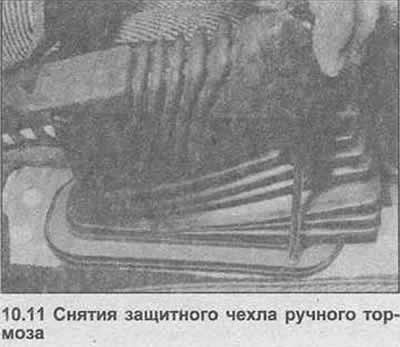
12. Remove a protective cover of the lever of a manual brake.
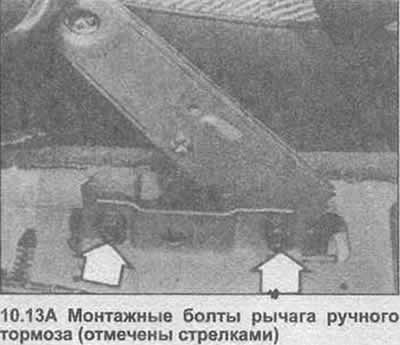
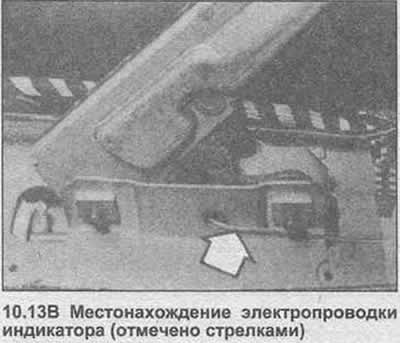
13. Turn off bolts of installations of the lever of a manual brake, then disconnect electroconducting from the indicator (photo).
14. Remove the handbrake lever from the vehicle.
15. Installation is carried out in the reverse order, but in conclusion, adjust the handbrake cable as described in Chapter 8.
Visitor comments