
2. The front and rear hydraulic lines are completely independent, so if the master cylinder has not been removed or the brake fluid has been changed, only the circuit that has been broken needs to be bled.
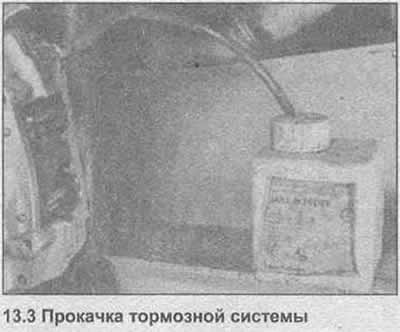
3. There are several types of brake bleeding kits. Follow the kit manufacturer's instructions when performing the bleeding procedure (photo).
4. During pumping, do not allow the level of brake fluid in the reservoir to drop below the minimum mark and use only new fluid for refueling. Never reuse liquid.
5. Before starting, check that all tubing and flexible hoses are in good condition and that all hydraulic connections are tight.
6. If there is no special brake bleeding kit, then take a clean reservoir, a suitable length of plastic or rubber tube, which sits tightly on the bleeder valve and new brake fluid.
7. Clean the area around the bleeder valve on one of the front brake calipers and remove the dust cap. Connect one end of the tube to the bleeder port and dip the other end into a reservoir, adding some brake fluid first to submerge the end of the tube.
8. Open the bleed screw half a turn. The assistant presses the brake pedal and then slowly releases it. Clamp the bleeder screw at the end of each downstroke of the brake pedal to prevent air and old fluid from being drawn back into the system. Continue this procedure until only clean brake fluid without air bubbles comes out of the system. Finally, tighten the bleed screw.
9. Remove the tube, install the dust cap and repeat this procedure on the remaining front brake caliper.
10. Repeat the procedure on the rear brake calipers, bearing in mind that on models equipped with ABS, it will take at least fifteen pedal strokes to bleed the rear brake circuit.
11. When priming is complete, top up the fluid level in the reservoir and install the cap.
Visitor comments