
General description
1. If any component of the hydraulic brake system has been removed, the system must be bled after installation.
2. If a component of one of the circuits was removed, then only this circuit needs to be pumped. If the master cylinder or pressure control valve has been removed, or a drop in fluid level has caused air to enter the system, the system must be bled completely (both circuits).
3. There are three pumping methods (see below). Opel recommends using a pressure bleeding kit.
Pumping - a method for two people
4. Prepare a clean glass reservoir, a suitable length of plastic or rubber tubing that fits snugly on the bleeder port. You will need the help of a second person.
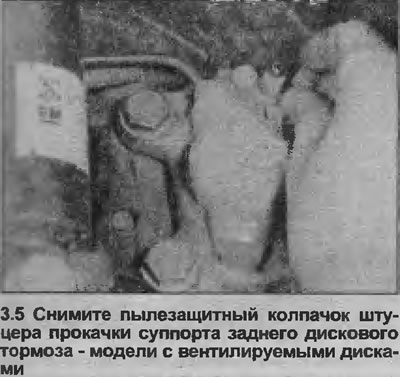
5. Remove the dust cap and clean the bleeder port and adjacent surface of the appropriate caliper or wheel cylinder (see illustration). Place the tube prepared for pumping onto the fitting. If a full hydraulic system is being pumped, start bleeding each circuit from the front wheel (models without ABS), on models with ABS, bleed the front circuit first.
6. Make sure the master cylinder reservoir is full. Release the vacuum from the booster by depressing the brake pedal several times.
7. Immerse the other end of the plastic tube into the reservoir, after pouring Brake Fluid into it to close the end of the tube. The reservoir must be installed approximately 300 mm above the bleeder port.
8. Open the bleeder valve half a turn and ask an assistant to slowly depress the brake pedal until it stops and release it. Clamp the bleeder valve at the end of each downstroke to prevent air and fluid removed from the bleeder from being drawn back into the system.
9. Watch the end of the tubing immersed in the reservoir. When air bubbles stop coming out of it, securely tighten the bleeder screw. Ask the assistant not to release the pressed pedal while you tighten the fitting.
10. Add liquid to the reservoir. Throughout the bleeding procedure, maintain the fluid level in the reservoir at least above the holes connecting to the master cylinder. If the holes open, air will enter the system and the pumping will have to be repeated.
11. Bleed the diagonally opposite rear brake in the same way (models without ABS).
12. Remove the plastic tube from the fitting. Never fill the system with liquid drained during pumping.
13. At the end of pumping, bring the liquid level in the reservoir to normal. Step on the brake pedal and make sure it goes smoothly and without "failures", indicating the presence of air in the system.
Bleeding - with non-return valve
14. There are a number of accessory kits available for this bleeding method. It is recommended to use one of these kits as they make priming much easier and also reduce the risk of vented air and fluid being drawn back into the system.
15. Proceed as described in points 5 and 6.
16. Connect the appropriate tube of the bleed kit to the union, then unscrew the union a half turn. Press the brake pedal all the way down and slowly release it. The kit's non-return valve will prevent expelled air from being drawn back into the system. Repeat this procedure until the fluid coming out of the fitting is free of air bubbles. Clamp the bleed screw and remove the tube.
17. Proceed as described in paragraphs 11-13.
Bleeding - Using a pressure bleeding kit.
18. Kits are available from parts stores and are usually powered by a compressed air tank.
19. Attach a sealed, fluid-filled kit container to the master cylinder reservoir and compressed air reservoir. Perform pumping by opening each fitting in turn (in the above sequence) and draining the liquid until it is free of air bubbles.
20. This method has advantages because a large amount of fluid prevents air from entering the master cylinder during bleeding.
21. Pumping under pressure is especially effective when pumping "complex" systems, or when the system is completely bled during the next fluid change. Opel recommends using this method.
22. Start pumping as described in points 5 and 6, then proceed as indicated in points 11-13.
Visitor comments