
2. Clean dust and dirt from the shoes, guard and inside the disc drum.
3. Check the thickness of the shims on the shoes and if it is less than specified in Specifications, replace the shoes on both sides.
4. Also check the surface inside the drums. They usually shouldn't wear unless the handbrake sticks.
5. Disconnect the lever return spring on the guard, then disconnect the handbrake cable.
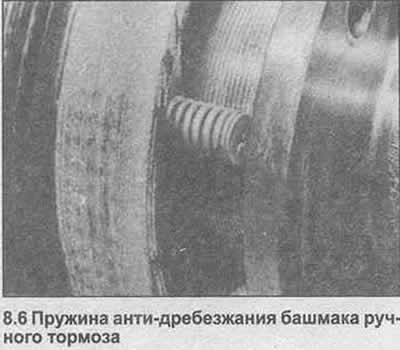
6. Using a screwdriver, unscrew and remove the anti-chatter spring through the hole in the bushing flange (photo).
7. Mark the position of the brake shoes. Also note the position of the return springs.
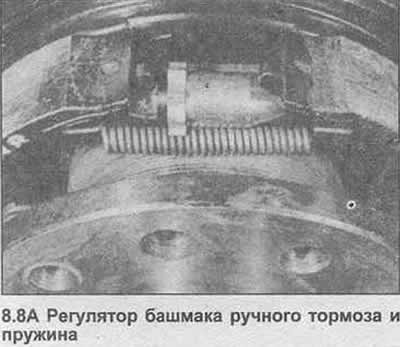
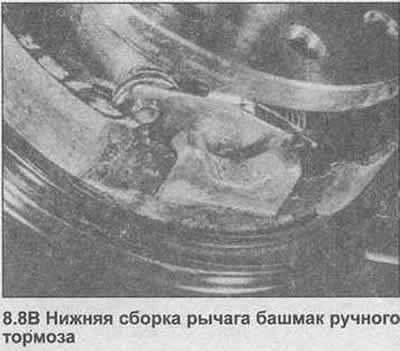
8. Using a lever, remove the brake shoes from the regulator and lever and disconnect the return springs (photo).
9. Remove the regulator and lever.
10. Clean the shield, springs, regulator.
11. Apply a small amount of brake lubricant to the adjuster threads, then screw to the minimum length.
12. Attach one brake shoe to the guard with the anti-rattling spring.
13. Install the lever correctly.
14. Install the remaining brake shoe and with the anti-rattle spring.
15. Hook the lower return spring onto the brake shoes.
16. Install the adjuster between the top ends of the shoes, then engage the top return spring.
17. Install the handbrake cable and return spring to the back of the shield.
18. Install the rear brake disc as described in Chapter 7, but do not install the wheel.
19. Repeat the procedure given in steps 5-18 on the opposite side of the vehicle.
20. To clamp the discs in the center when assembling the shoes, clamp the wheel while tightening the bolts crosswise using shims approximately 10.0mm thick.
21. At the end of the handbrake cable, completely loosen the cable adjustment nut on the handbrake lever shaft.
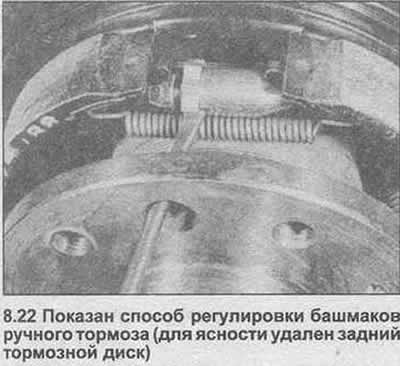
22. On each rear disc, insert a screwdriver through the hole in the hub and turn the adjuster up until the disc/drum is secured. Screw out the adjuster until the disc/drum turns freely (photo).
23. Install the rear wheels.
24. Raise the handbrake lever out of the opening to the sixth notch, then tighten the cable adjustment nut under the car until both rear wheels are blocked. The adjustment nut is of auto-lock type. Check the adjustment by releasing the lever and applying the handbrake several times.
25. Lower the car on the ground.
Visitor comments