


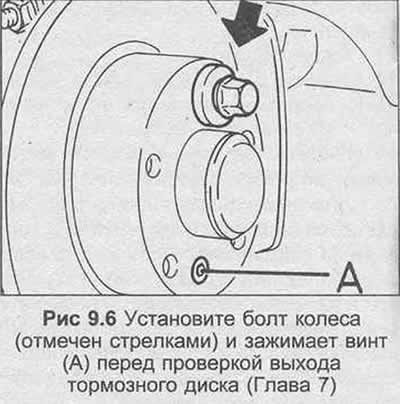
2. Check that the brake disc mounting screw is tightened, then install and clamp the wheel using a spacer of approximately 10.0 mm thickness.
3. Rotate the brake disc and inspect it for deep scoring or gouging. Light scoring is acceptable, but if it is excessive, the disc should be removed and reconditioned on a machine if tolerances allow.
4. Using feeler gauges, check the disk output, which should not exceed the value given in the Specifications. Check the output in several positions around the disk.
5. If the output is excessive, remove the disc and check that the disc-hub surfaces are completely clean. Install the disc and check the output again.
6. To remove the brake disc, first remove the brake pads.
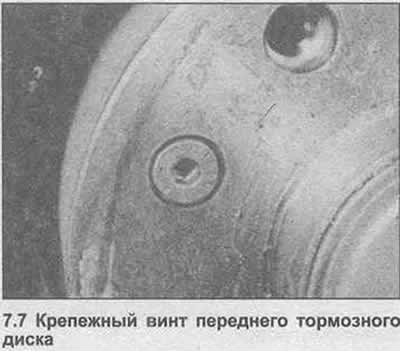
7. To remove the front disc, remove the mounting screw (photo), then lift the disc out of the hub. On some models, it may be necessary to unscrew the cage from the caliper.
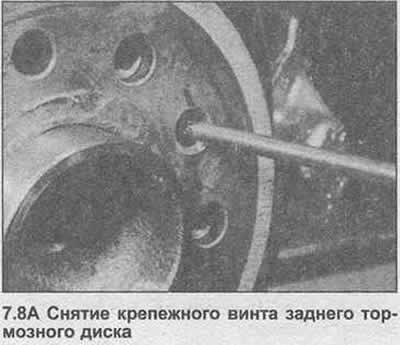
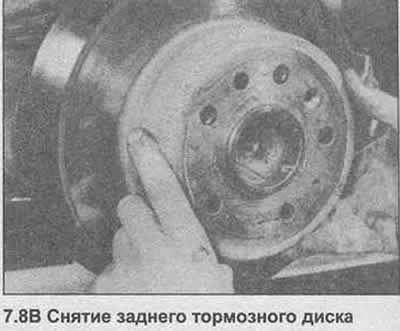
8. To remove the rear disc, unbolt the brake caliper from the trailing arm and pull it away from the disc, being careful not to damage the solid brake tube. Remove the mounting screw and lift the disc out of the hub (photo).
9. Installation is carried out in the reverse order, but make sure that the mating surfaces of the disc and hub are completely clean and coat the mounting screw with a small amount of thread locking fluid before installing it. Install the brake pads.
Visitor comments