
A defective gasket can cause power loss, coolant leakage, oil leakage, or coolant ingress into oil. This can also cause a decrease in compression in two adjacent cylinders. In addition, a defective gasket can cause bubbles to form in the coolant. For diagnostics, you need to remove the cap of the expansion tank and start the engine. Strongly bubbling coolant is an indication of a defective cylinder head gasket.
Removing
Caution: Remove the cylinder head only when the engine is cold (room temperature 20°C).
Disconnect the ground cable from the battery.
Remove air filter.
Disconnect the lower coolant hose from the radiator, drain the coolant into a container, it may be needed again.
Remove the top hose from the thermostat housing.
Loosen and crimp the lower coolant pump hose.
Pull the fuel line off the fuel pump.
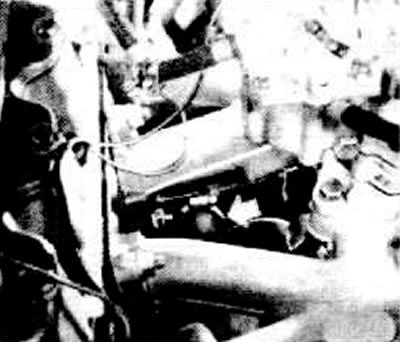
Mark and remove all cables and electrical wires from the carburetor.
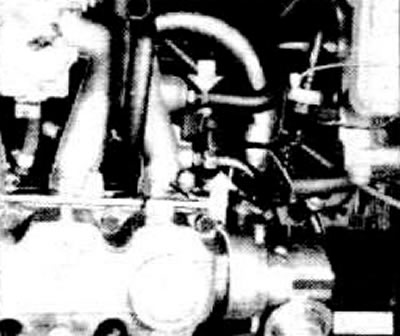
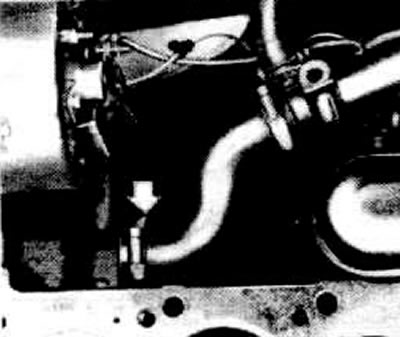
Crush the heating and vacuum hoses from the intake manifold.
Disconnect the wire from the temperature sensor on the suction pipe.
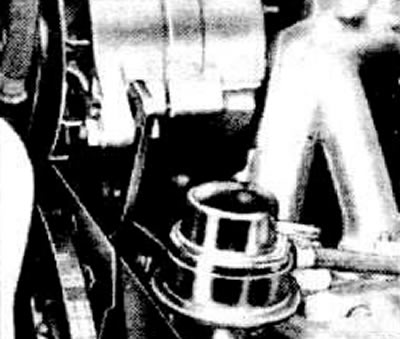
Remove toothed belt guard.
Remove toothed belt.
Caution: The toothed belt must not be bent or twisted too much.
Attention: To facilitate installation, the piston of the first cylinder should be installed on the ignition coil, see point 23.6.
Mark and remove wire connectors to spark plugs
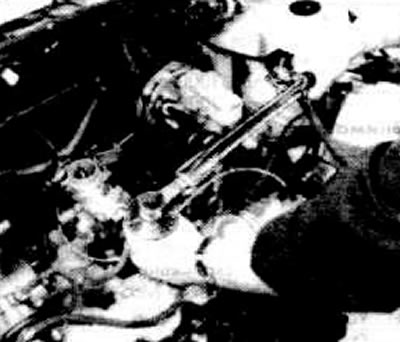
Remove the ignition distributor see point 23.6.
Disconnect the coolant pipe retainer from the intake manifold.
Disconnect the alternator tensioner and remove the V-belt.
Unscrew the exhaust pipe from the exhaust manifold, see point 8.1.
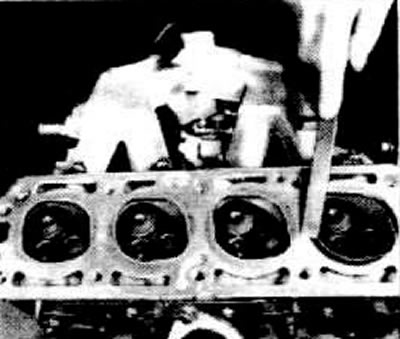
Loosen all cylinder head screws in a spiral, from outside to inside, first a quarter turn, then half a turn. Only then can the screws be completely unscrewed.
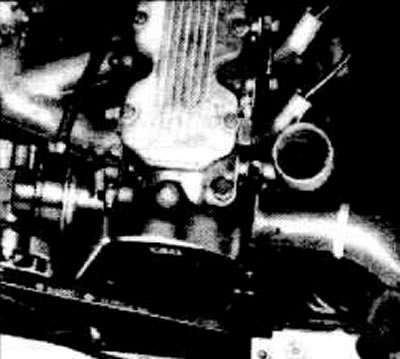
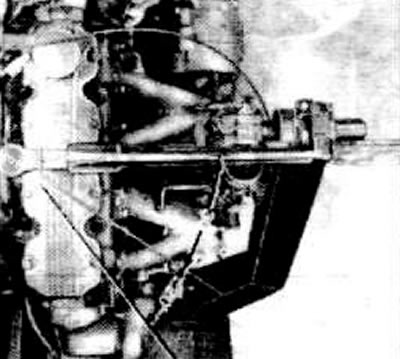
Remove the camshaft housing.
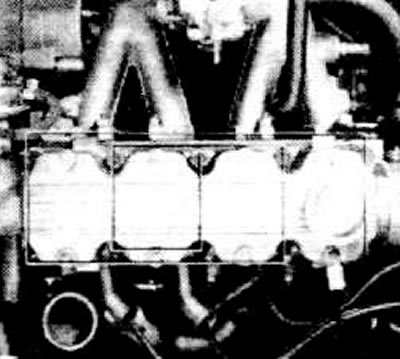
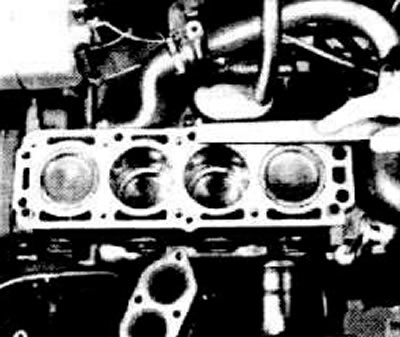
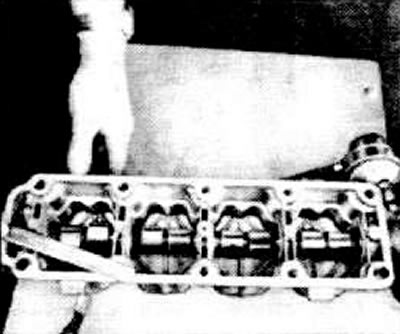
Raise the cylinder head and remove the head gasket.
Installation
Connect the lower coolant hose to the water pump.
Clean the mating surface of the cylinder block from the remnants of the old gasket.
Check the mating surface of the cylinder block for deformation, see paragraph 1.20.
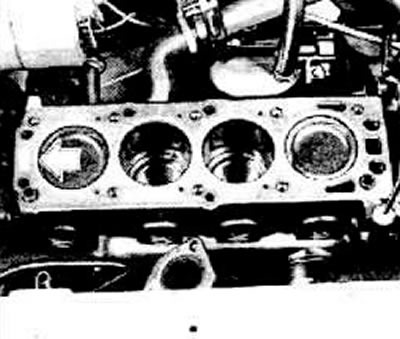
Put a new gasket without sealant on a grease-free mating surface, do not forget about the mark "Oben" (arrow). The gasket for 1.2-liter engines contains 2 slots on the side of the flywheel.
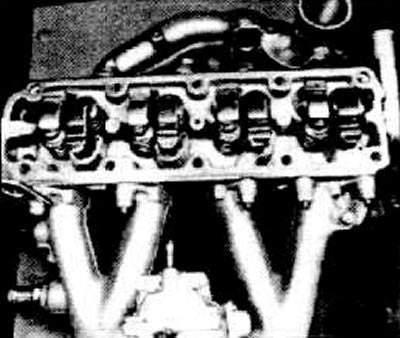
Remove levers and pressure elements.
Pull out the hydraulic valve clearance compensators.
Clean the mating surface of the cylinder head.
Check the mating surface of the cylinder head for deformation, See paragraph 1.19.
Clean the mating surfaces of the cylinder head and camshaft housing.
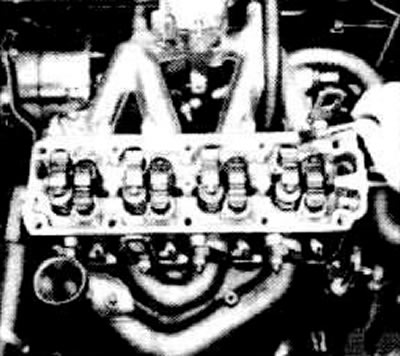
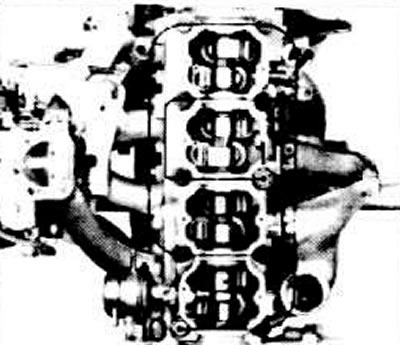
Install the cylinder head.
 |  |
Lubricate the valve clearance compensators with engine oil and install. Lightly grease pressure elements and levers with MoS paste2 and install them.
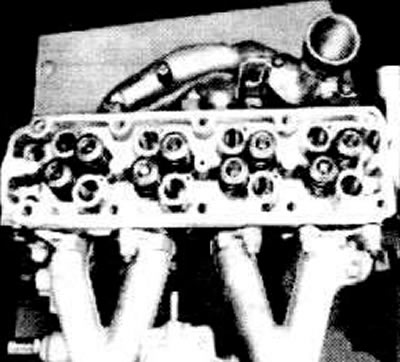
Clean the mating surface of the camshaft housing and apply some OPEL ET-#1503166 sealant, See Fig. A9304.
Spread sealant evenly.
Caution: Replace all cylinder head bolts. Lubricate the bolts with engine oil.
Install the camshaft housing and tighten the cylinder head bolts evenly in a spiral pattern from the inside to the outside.
Attention: At each repair it is necessary to apply new bolts of a head of the block of cylinders. Lubricate the bolts with engine oil.
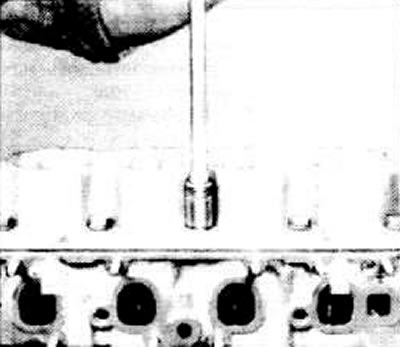
Caution: The cylinder head bolts must be tightened in 4 steps. An accurately working torque wrench is required to tighten the bolts.
Using this wrench, tighten the bolts in a spiral from the inside to the outside with a torque of 25 Nm. Start from 1st.
But in the second pass, tighten the bolts in a spiral from the inside to the outside longer but 60°with a hard wrench.
But the third pass - another 60°, in a spiral.
On the fourth - further 60°in a spiral (engines 1.2-/1.3-l - 30°).
In order to observe the angles of 60°and 30°when tightening, it is expedient to place appropriate marks on the camshaft housing cover. To do this, put the key on the bolt and mark with chalk at an angle of 60°/30°. HAZET supplies a special angle disc for adjusting the angle of rotation.
Caution: With a hot engine, tighten the cylinder head bolts again.
The cylinder head bolts must be tightened with great care. If possible, the accuracy of the torque wrench should be checked in advance.
Install and tension the toothed belt, see point 1.3.
Install the toothed belt guard.
Install and tighten the V-belt, see point 22.3.
Install low pressure hose and heater.
Connect all electrical connections to the oil temperature and oil pressure sensors and to the ignition coil.
Install the distributor and adjust the ignition timing, see point 23.6.
Install the protective cover of the breaker, and the cover of the distributor.
Connect spark plug cables.
Attach the coolant pipe clamp to the exhaust pipe.
Secure the coolant hose to the thermostat housing with a clamp.
Where available, screw the brake booster low pressure hose onto the exhaust manifold while holding the hex nut at the rear.
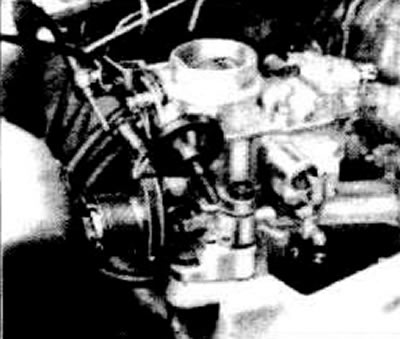
Connect the hoses to the fuel pump cap and to the carburetor and secure with hose clamps.
Install the throttle control cable.
Install the air damper actuator.
Screw downpipe to exhaust manifold.
Pour coolant into expansion tank see point 3.2.
If the cylinder head gasket has been damaged, the oil should be changed.
Install the air filter see paragraph 4.44.
Check engine oil level, top up if necessary.
Connect ground cable to battery.
Check ignition timing see point 23.9.
Warm up the engine (up to an oil temperature of 60°.) Tighten cylinder head screws.
Tighten the cylinder head bolts further 30°in a spiral from the inside to the outside, see above.
In this case, a welding electrode can be used, which is mounted on a torque wrench at an angle of 30°-50°. Further tightening of the bolts is not required.
Check coolant level, see point 3.2.
Adjust idle speed, see p. 4.11, 4.24, 4.39, 5.1.
Visitor comments