


Contents: Removal ⬇ Installation ⬇
Removal
Crush the cylinder head, see p. 1.5.
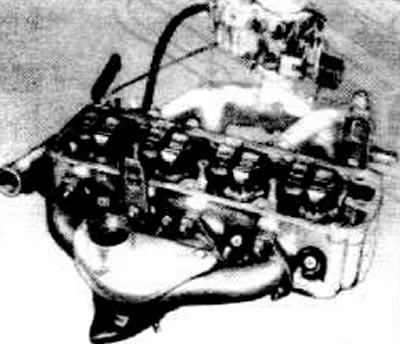
Place the cylinder head on two wooden blocks.
Remove the intake manifold with the carburetor and the exhaust manifold.
Remove the valve levers and pressure elements.
Remove the hydraulic valve clearance compensators.
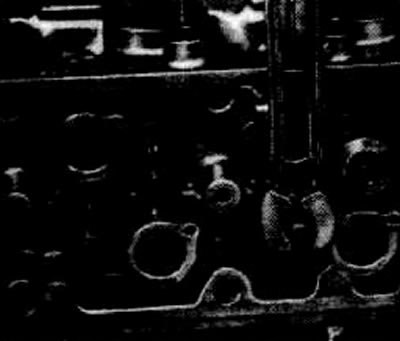
Remove the valves using a suitable valve spring compressor. To do this, compress the valve springs and pull out the crackers.
Note: When replacing valves, be sure to replace the oil deflector caps. If these timing mechanism parts are to be used again, they must be installed in their original places. In order to avoid confusion, it is recommended to prepare a layout board.
Remove the rotary support on the exhaust valve, the steel washer on the intake valve and the oil deflector cap
Installation
Before installing the valves, wet the valve stems in engine oil. Insert the valves into the cylinder head guide bushings.
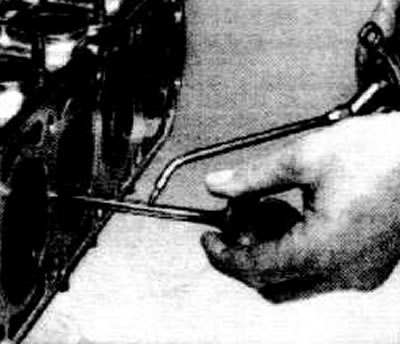
Install the valve pivot bearings onto the exhaust valves.
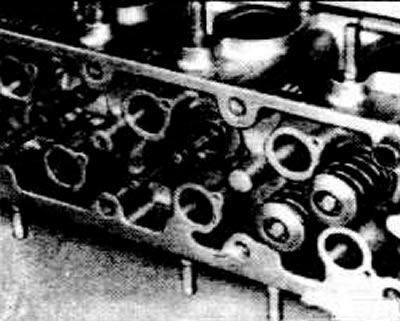
Use new valve stem seals, see paragraph 1.17.
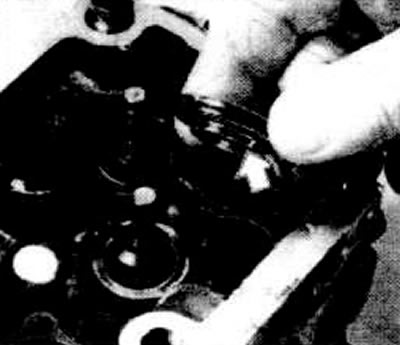
Place the intake valve spring support washer as shown in the figure and place the valve stem cap on the valve stem.
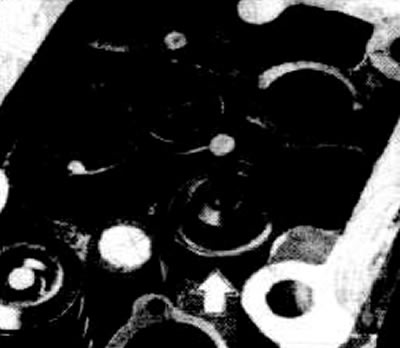
Ensure that the support washer (arrow) is in the correct position.
Attention: In case of incorrect installation of the support washers of the intake valve springs, the height of the spring is reduced by 2.6 mm. The consequence of this is the breakage of the mechanism parts.
Install the spring and valve plate.
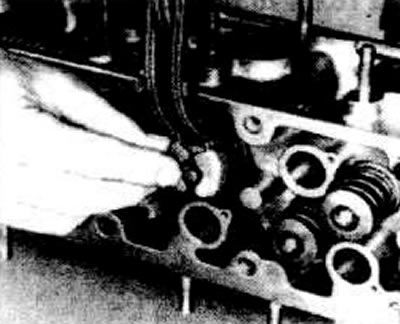
Using a suitable tool, compress the valve spring and insert the crackers.
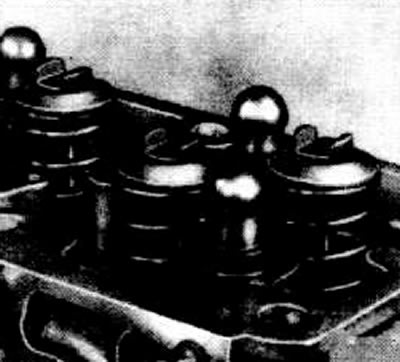
Install hydraulic valve clearance compensators and pressure elements.
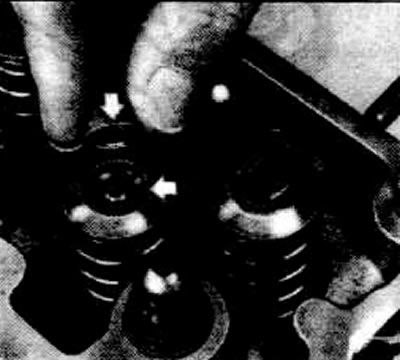
Note: When installing the pressure elements, ensure that the rounding is aligned with the rounding (see arrow).
Install the levers. The sliding surfaces should be lubricated with MoS ₂ paste.
Screw the intake manifold and exhaust manifold to the cylinder head with new gaskets.
Install the cylinder head, see p. 1.5.
Visitor comments