


Contents: Removal ⬇ Engine installation ⬇
The engine is pulled out upwards without the gearbox. To do this, you need to use a crane. If there is no current, then this can be done with the help of 2-3 people. Since some connections need to be loosened on the bottom side, either a lifting platform or a jack is needed to lift the car. When working in the engine compartment, be sure to cover the wing for protection.
Caution: When working, remember that when the engine is hot, the coolant fan may turn on spontaneously. Risk of damage.
Caution: If the engine has been disassembled or replaced, check the ignition timing to avoid engine damage. In particular, for vehicles with a mileage of over 40,000 km, check the centrifugal and vacuum ignition timing regulators. If the test results are unsatisfactory, replace the ignition distributor.
Removal
Disconnect the ground (-) cable from the battery.
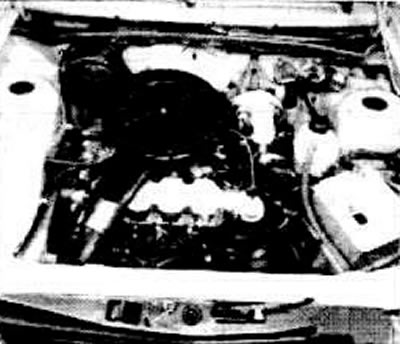
Remove the air filter, see paragraph 4.44.
Remove the lower coolant hose from the radiator.
Drain the coolant into a container, as it may be needed again.
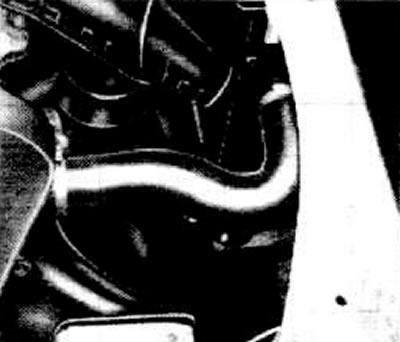
Disconnect and remove the upper coolant hose from the radiator and thermostat.
Disconnect and remove the lower coolant hose, the hose to the expansion tank and the heater hoses.
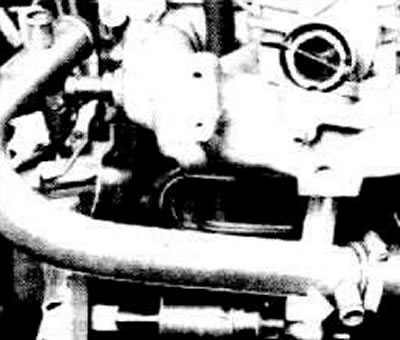
Remove the heater and vacuum hoses from the intake manifold.
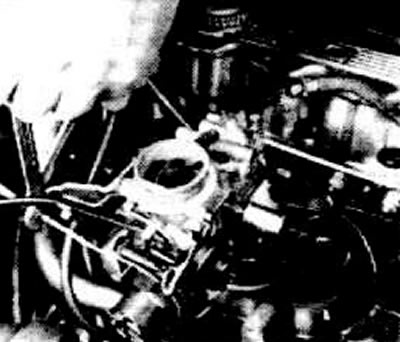
Remove the cables from the carburetor.
Disconnect and remove the pressure and return fuel lines.
Mark all electrical wires leading to the engine with electrical tape and remove them.
Remove the generator.
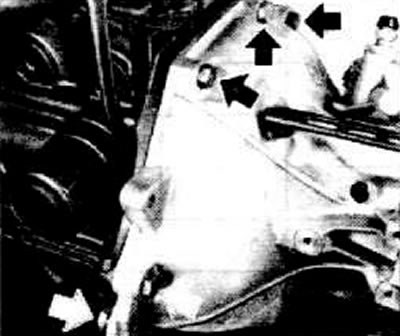
Remove the front upper clutch dome bolts.
Raise the car (for example, with a jack).
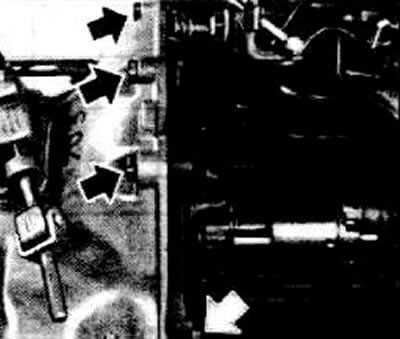
Remove the rear upper clutch dome bolts.
Pull the gearbox input shaft out of the gearbox bearing shield, see p. 9.1.
Disconnect the ground cable from the gearbox.
Remove the torsional vibration damper from the drive gear of the toothed belt (1.6-/1.8-l engines).
Remove the clutch cover.
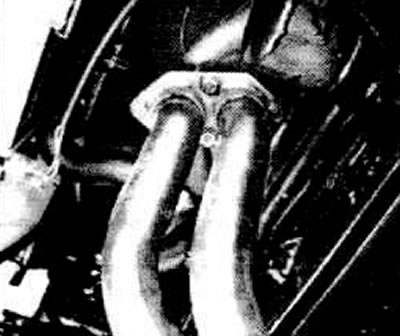
Unscrew the intake pipe from the manifold and from the rear engine mount bracket.
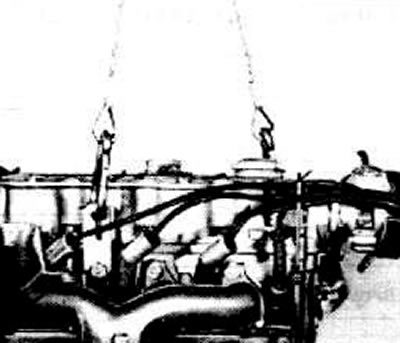
Attach the sling to the engine eyelets and hang it on the crane. If the crane cannot be used, then put the sling on a strong pipe and place the pipe on the trestles.
Unscrew the lower screws in the clutch dome.
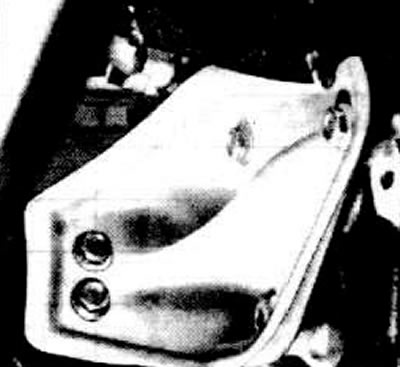
Remove the front right engine mount.
Remove the rear right engine mount.
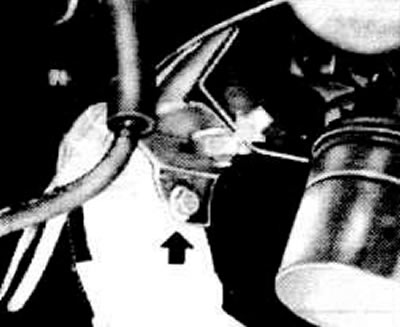
Press the engine away from the clutch dome and turn it slightly.
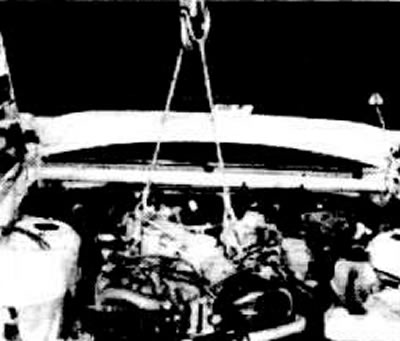
Remove the engine upwards. If there is no crane, the engine can be removed with two assistants.
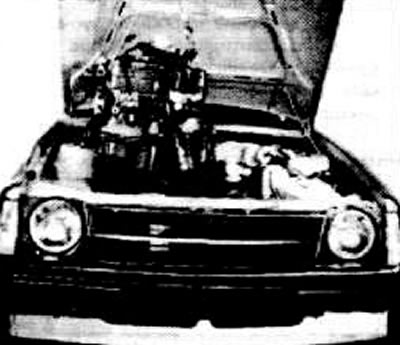
Engine installation
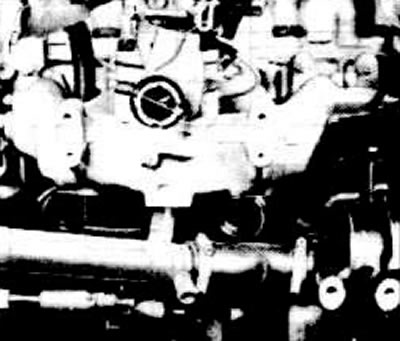
Before installing the engine, secure the lower coolant hose to the water pump.
Carefully lower the engine into the engine compartment.
Insert the upper and lower screws into the clutch dome and tighten them to 75 Nm.
Screw the ground cable to the gearbox.
Secure the clutch cover. In doing so, support the differential with a jack.
Remove the jack. Install the generator, tighten the V-belt, see item 22.1.
Install the rear right engine mount and tighten the screws to 65 Nm.
Install the front right engine mount, secure it to the engine block with a force of 40 Nm, to the muffler block with a force of 60 Nm.
Install the torsional vibration damper on the drive gear of the toothed belt.
Screw the intake pipe to the exhaust manifold, see p. 8.1.
Remove the sling and lower the vehicle.
Connect all electrical wires as labeled.
Install the drive shaft, see p. 9.1.
Install all coolant and heater hoses and secure them with clamps.
Connect the pressure and return fuel hoses. Do not mix up the hoses.
Fill with coolant, remove air from the cooling system, see item 3.2.
Install the throttle and choke cable, see item. 4.17, 4.25, 4.37.
Article published on the website (OpelBook.ru)
Connect the ground cable to the battery.
Install the air filter, see paragraph 4.44.
Check the engine oil level Start the engine and check for leaks.
After reaching operating temperature, check the coolant level and top up if necessary, see p. 3.2.
Adjust idle speed, see p. 4.11.
Adjust the ignition timing, see item 23.9.
Visitor comments