
OpelBook.ru
Cars AvtoVAZ Cars Mitsubishi Cars BMW Cars Mercedes Cars Nissan Cars Toyota Cars Chevrolet
English Русский
Български
Беларускі
Український
Српски
Hrvatski
Română
Polski
Slovenský
Magyar
 |  Sitemap  |  Contacts  |    


Main Astra Corsa Insignia Kadett Omega Vectra Zafira Others Articles
Kadett D (1979-1984) Kadett E (1984-1995)
  • Main
  • Kadett
  • Kadett D
  • Transmission
  • Clutch
  • Removal and installation the clutch

Removal and installation the clutch (Opel Kadett D)

            0

Contents: Removal ⬇ Installation ⬇
The clutch can be removed with the gearbox and engine installed. A special tool is required for removal. The picture shows the F16 gearbox.

Removal


Place the car on jack stands.
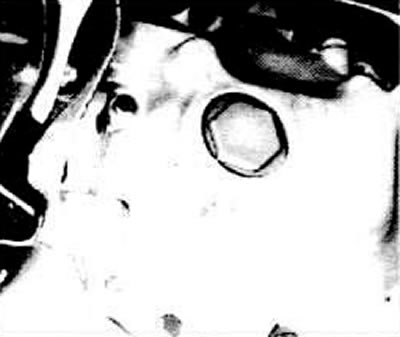
Place the car on jack stands.


Unscrew the bearing shield cover.
Unscrew the bearing shield cover.


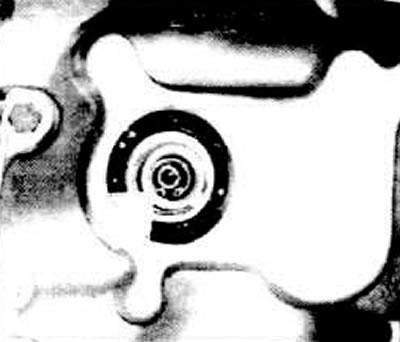
Remove the retaining ring (arrow). Unscrew the cylindrical screw.

Remove the transmission drive shaft using a special tool.

If you don't have a special device for extracting the drive shaft of the gearbox, make a temporary one. To do this, you will need a steel plate measuring 10x10 cm and about 7 mm thick, with an 8 mm hole drilled in the center. Insert a M7x60 screw into the hole and screw it into the drive shaft of the gearbox. Using two crowbars, pry the steel plate from below and remove the shaft.
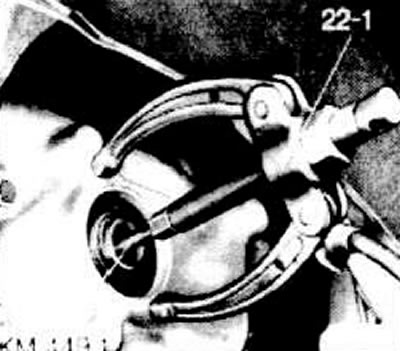


If you don't have a special device for extracting the drive shaft of the gearbox, make a temporary…


Install the special device KM-449-1 with the stop 22-1 to extract the gearbox drive shaft. Screw the device KM-449-1 into the shaft and remove the shaft using the stop 22-1.
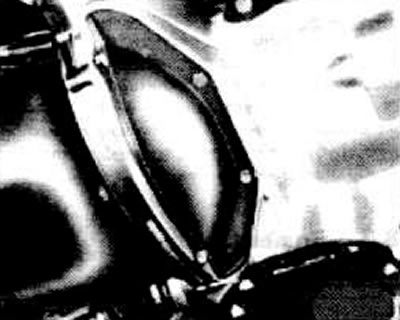
Install the special device KM-449-1 with the stop 22-1 to extract the gearbox drive shaft. Screw…


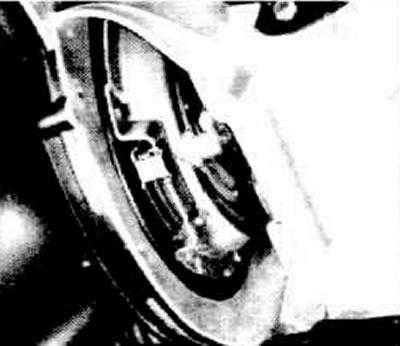
Unscrew the clutch cover from the gearbox housing.
Unscrew the clutch cover from the gearbox housing.


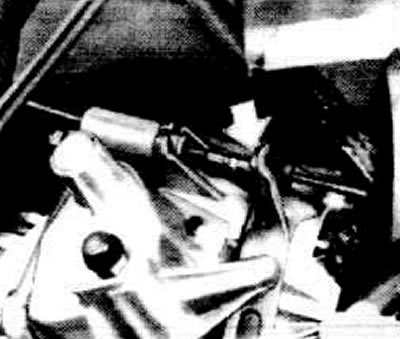
Use a screwdriver to remove the safety clip from the screw portion of the clutch cable and remove the clutch cable from the release lever.


Use a screwdriver to remove the safety clip from the screw portion of the clutch cable and remove…


Press down with a crowbar and snap in place with three KM450 clamps (arrow).

Note: Distribute them around the circumference.


Unscrew the clutch basket from the flywheel and remove it.

Installation


Caution: Before installing the driven disk, check whether the release bearing clutch gasket is dirty. If dirty, replace it.


The clutch assembly together with the installed driven disk is secured to the flywheel with screws.

The markings on the clutch and flywheel must align (arrow).
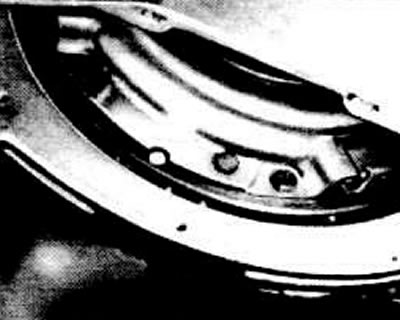
The markings on the clutch and flywheel must align (arrow).


Article published on the website: www.opelbook.ru

The long part of the clutch disc hub should face the gearbox.

Clean and lubricate the clutch splines with general purpose grease.

Slightly lift the clutch disc and align it with the gearbox drive shaft. Carefully, by hand, insert the gearbox drive shaft into the splines of the clutch disc and gear block. In this case, the splines of both spline cuts of the shaft must enter the corresponding spline cuts of the clutch disc and gear block.


Slightly lift the clutch disc and align it with the gearbox drive shaft. Carefully, by hand, insert…


Secure the clutch to the flywheel with a torque of 15 Nm.
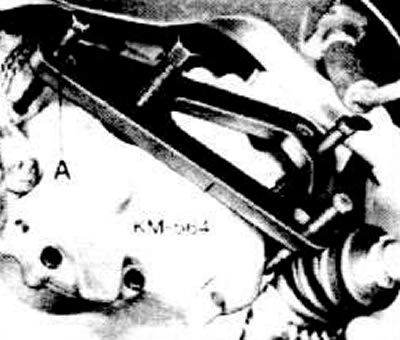
Secure the clutch to the flywheel with a torque of 15 Nm.


Screw the cylindrical screw into the gearbox shaft and press the shaft with KM-564 into the gear block until it stops. Do not hammer the shaft to avoid damaging the splines

Lock the roller with a new retaining ring.
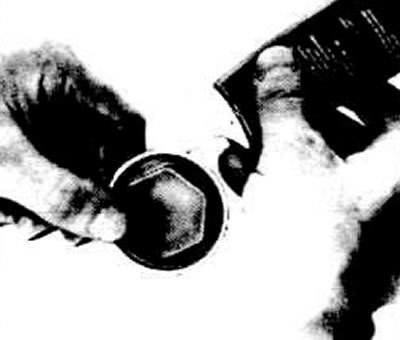
Lock the roller with a new retaining ring.


Screw the cover to the bearing shield, lubricate it with sealant or lay PVC tape, and tighten with a torque of 50 Nm. After tightening, the distance between the upper edge of the cover and the plane of the bearing shield should be a maximum of 4 mm, to achieve sufficient sealing.


Using a crowbar, loosen the clutch and remove 3 KM-450 clamps.

Screw the clutch cover to the clutch housing with a torque of 7 Nm.

Install the cable on the release lever and secure the safety clip to the screw thread of the cable.

Adjust the clutch pedal, see p. 9.4.


This article is available at russian, bulgarian, belarusian, ukrainian, serbian, croatian, romanian, polish, slovak, hungarian
Checking the article: Kornev Georgy

Share information:

Previous articles
Opel Kadett D: Clutch
Next articles

Clutch — design description
Replacing the release bearing and clutch release lever
Replacing the clutch cable
Clutch adjustment
Clutch malfunctions and how to fix them


See similar ones from other Opel car manuals:
▶ General information about the clutch Opel Astra F (1991-1998, petrol)
▶ Checking the clutch pedal adjustment Opel Corsa B (1993-2000)
▶ Brake and clutch fluids Opel Insignia A (2008-2017)
▶ Clutch specifications Opel Omega A (1986-1993)
▶ Checking the clutch cable Opel Vectra A (1988-1995, petrol)
Link to this page in different formats

Visitor comments


No comments yet


How much will 33 + 33 =


Kadett E (1984-1995) 
  • General information
  • Vehicle description
  • Operation and maintenance
  • OHV power unit
  • Engine design
  • Check and repair
  • Engine work
  • OHC power unit
  • Engine design
  • Engine repair
  • Ignition system
  • Cooling and lubrication
  • Supply system
  • Fuel injection «LE-Jetronic»
  • Fuel injection «LE3-Jetronic»
  • Motronic ML4.1 system
  • Motronic M1.5 system
  • Motronic M2.5 system
  • Transmission
  • Clutch
  • Gearbox F10 and F13
  • Gearbox F16 and F20
  • Automatic gearbox
  • Drive shafts
  • Chassis
  • Front suspension
  • Rear suspension
  • Steering
  • Brake system
  • Electrical equipment
  • Equipment and devices
  • Electrical circuits
Kadett D (1979-1984) 
  • General information
  • Car care
  • Maintenance
  • Power unit
  • Gasoline engines
  • Lubrication system
  • Cooling system
  • Power system (gasoline)
  • Carburetor Solex 35 PDSI
  • Carburetor Varajet II
  • Carburetor 1B1
  • Fuel injection (gasoline)
  • Diesel engines
  • Fuel system (diesel)
  • Transmission
  • Clutch
  • Manual gearbox
  • Chassis
  • Front suspension
  • Rear suspension
  • Steering
  • Brake system
  • Wheels and tires
  • Body
  • Body elements
  • Doors and windows
  • Electrical equipment
  • Equipment and devices
  • Lighting system
  • Power devices
  • Ignition system
  • Electrical circuits
OpelBook.ru © 2017–2026 · Mobile version · · Sitemap: EN BG BY UA RS HR RO PL SK HU · Feedback · Site search
Astra F, petrol · Astra G, petrol · Astra G · Astra H · Astra J, petrol · Corsa B · Corsa C, petrol · Corsa C · Insignia A · Kadett D · Kadett E · Omega A · Omega B · Omega B2 · Vectra A, petrol · Vectra A · Vectra B, petrol · Vectra B · Vectra C · Zafira A, petrol · Frontera A, petrol · Frontera B · Ascona C · Vivaro A ·
We want your visit to be comfortable 🤝! We use cookies 🍪 to make that happen.