


Note: Some engines use a modified ignition distributor drive. Therefore, when replacing the distributor, please note that you cannot use a new camshaft and an old model ignition distributor and vice versa. Otherwise, you must replace the camshaft and the ignition distributor together. The following table shows starting from which engine numbers the modified distributor drive is installed.
| Engine | Structural design | Engine number |
| 1,6 S | Manual gearbox | 14215067 |
| 1,6 S | Automatic transmission | 14218108 |
| 1,6 S | Manual transmission/air conditioning | 14195153 |
| 1.8 E | Manual gearbox | 14048651 |
| 1.8 E | Automatic transmission | 14053806 |
Withdrawals
Caution: In vehicles with "MULTEC", "Ecotronic", "EZL", "EZF", "Motronic" before removing, mark the installation position of the ignition distributor on the camshaft, for example with two marks using a center punch.
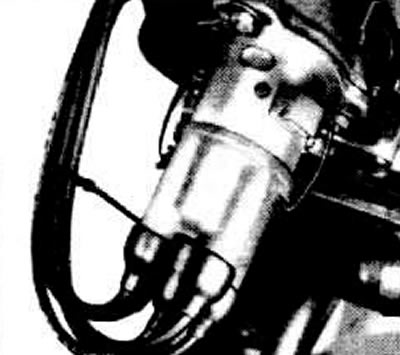
Remove the distributor cap. To do this, depending on the model, either press the fastening bracket with a screwdriver or unscrew the cap.
Set the engine to the ignition point before TDC for cylinder 1. To do this, turn the crankshaft belt pulley until the mark on the pulley coincides with the pointer, at the same time the distributor runner nose should be opposite the mark on the edge of the distributor housing, otherwise turn the crankshaft another 1 turn forward. The mark on the edge of the distributor housing is visible if you lift or remove the condensate collector cover.
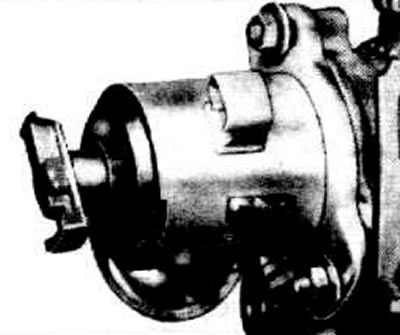
Remove the runner and condensate collector.
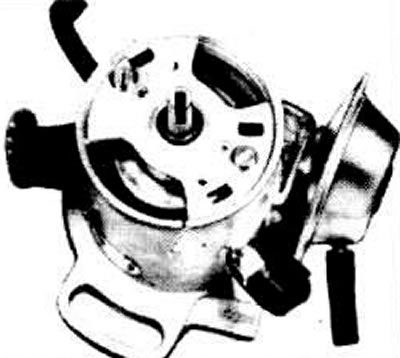
The groove in the distributor shaft should now point to the mark on the edge of the distributor housing.
Unscrew the nut and remove the ignition distributor.
Do not change the engine position (do not rotate the crankshaft).
Installation
Before installation, make sure that the piston of cylinder 1 is in the ignition position (see p. Removal).
Place the runner on the distributor shaft and turn it so that the nose aligns with the mark on the housing (arrow).
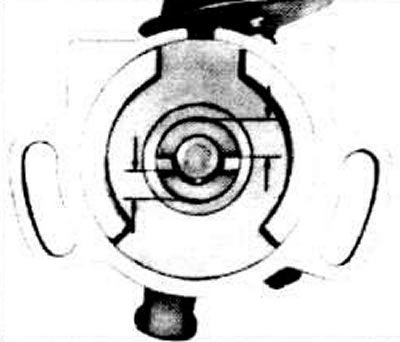
The camshaft lobes are located eccentrically.
The drive grooves in the camshaft are eccentrically located. This ensures that the ignition distributor is installed in the correct position.
Install the ignition distributor and tighten the hex nut by hand.
Remove the distributor runner, put on the condensate collector, put on the runner. In doing so, make sure that the runner fits into the groove of the distributor shaft retainer. Check by slightly turning the distributor runner back and forth.
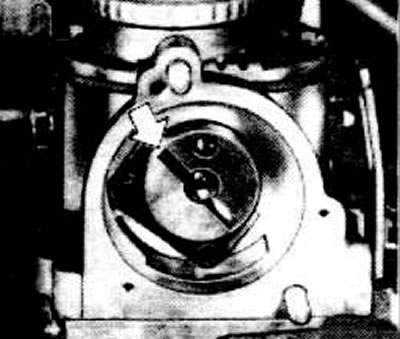
Connect the cable and vacuum hose.
Adjust the ignition timing.
Tighten the distributor lock nut.
Note: Make sure that the protective tubes on the ignition leads 1, 2, and 3 fit perfectly and that the leads do not rub at the top.
Removal: OHV 1.0L Engine
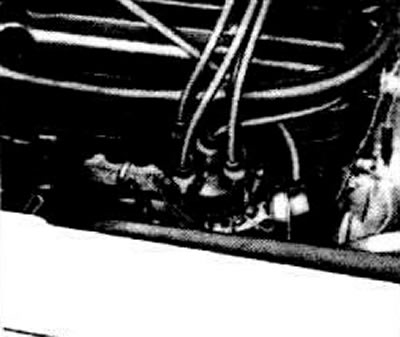
Remove the distributor cap, disconnect the wire from terminal 1 of the distributor.
Set the crankshaft to the ignition position of the 1st cylinder using a V-belt or an open-end wrench on the crankshaft pulley or by moving the car with 4th gear engaged.
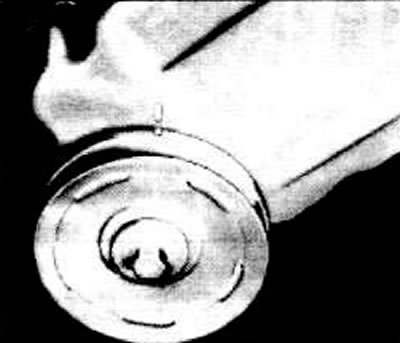
To do this, turn the crankshaft until the slot on the belt pulley and the mark on the housing cover align.
At the same time, the distributor runner must be facing the notch on the distributor body.
(Text copied from an online resource: www.OpelBook.ru)
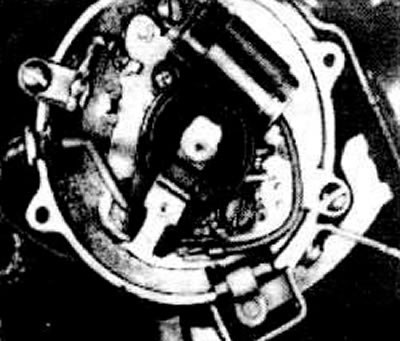
Do not change the position of the engine crankshaft any more, unscrew the distributor mounting plate, remove the low pressure hose from the ignition distributor and remove the ignition distributor.
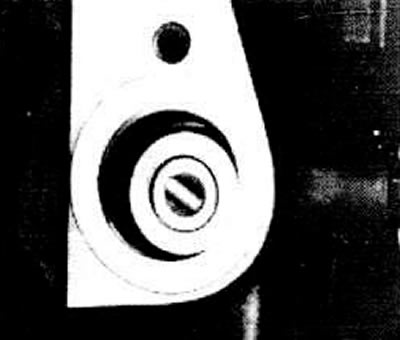
Note: To facilitate installation of the distributor, the basic adjustment must be left unchanged.
Immediately cover the hole in the cylinder block with a rag.
Installation: OHV engine 1.0 l
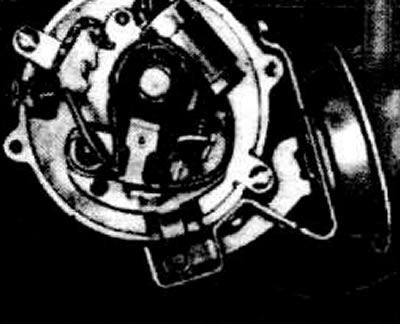
Before installing the distributor shaft, set the advance to approximately 20°. To do this, turn the distributor runner as shown in the figure.
Install the distributor, tighten the clamping plate by hand.
Before installation, check the distributor cap for cracks. Check the wear of the contacts. Clean the contacts and cover.
Check the carbon contact insert and spring for wear and ease of movement. Install the distributor cap. If the ignition cables were removed, install them in the sequence 1-3-4-2.
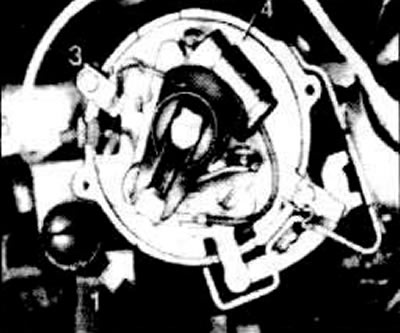
Remove the distributor cap. There is a notch stamped on the distributor housing. When installing the distributor cap, the ignition cable for cylinder 1 should be above the notch in the distributor cap. Next, looking at the distributor, clockwise, are the ignition cables for cylinders 3-4-2.
Attach the hose to the vacuum device on the ignition distributor.
Connect the battery ground cable.
Connect the wire to terminal 1 of the ignition distributor.
Adjust the ignition timing.
Tighten the distributor clamp.
Visitor comments