


OHV Engine 1.0L
During operation, the contacts of the breaker burn out. In addition, the polymer sliding element wears out. Because of this, the contact gap decreases. The ignition power weakens.
Removal
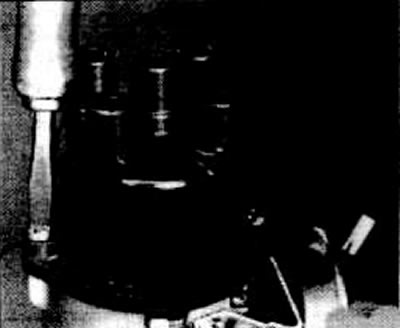
Remove the protective cap, unscrew the distributor cap.
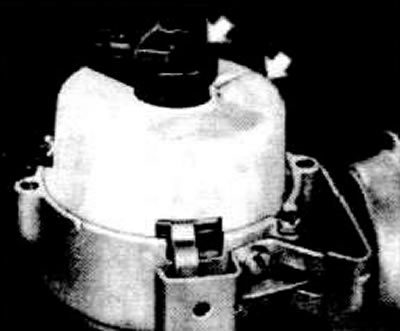
Remove the distributor runner and the moisture-proof cover.
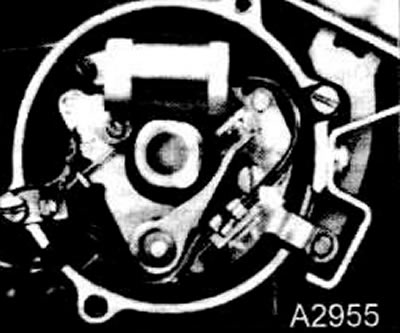
Unscrew the distributor contact from the contact plate (arrow).
Installation
Install new breaker contacts and lightly tighten the mounting screw.
Adjust the breaker contact using a 0.4 mm flat feeler gauge, namely, the feeler gauge should move with difficulty between the contact planes.
Caution: Before adjustment, turn the engine crankshaft by the bolt so that the distributor shaft cam lifts the breaker contact as much as possible. The plastic slider of the breaker lever should rest against the highest point of the cam.
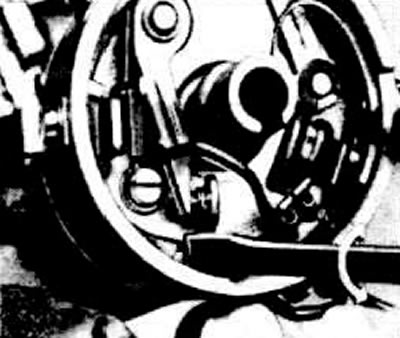
To adjust the breaker contacts, a screwdriver is inserted into the thickenings of the plate so that it simultaneously engages with the breaker groove.
Note: Then, if possible, adjust the breaker contacts with a device for measuring the closed state angle, see item 23.8.
Tighten the contact plate mounting screw.
Lubricate the cam (A) and the thickened part of the breaker hammer with special grease.
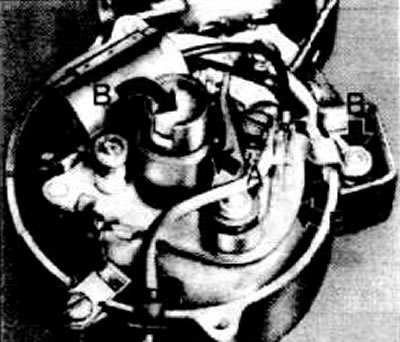
Lubricate the sliding parts of the contact group and the lubricating cloth (B) in the cam with one drop of engine oil.
Caution: Do not allow grease to come into contact with the contact surfaces, otherwise the engine will not start.
Install the distributor cap and distributor rotor.
Insert the distributor runner into the groove of the distributor shaft retainer using rotating movements.
Check the distributor cap. Replace the faulty cap. Clean the distributor cap inside and out.
Pay attention to the perfect fit and condition of the carbon contact. Install the distributor cap and screw it on with screws.
Install the protective cap.
Adjust the ignition.
Visitor comments