


Contents: Low and high beam ⬇ Side lights ⬇ Front direction indicators ⬇ Fog light ⬇ Brake light, direction indicator,…⬇ License plate light ⬇ Interior light. Underhood light.…⬇ Reading lamps ⬇
When replacing lamps, the corresponding light sources must be switched off.
Do not touch the glass of the lamp with bare hands (dark spots remain on it). In case of accidental contact, wipe these areas with a clean towel, if necessary, wash with alcohol or an alcohol-containing solvent.
Attention! It is advisable to adjust the headlight beam angle at a service station using special equipment.
Set the headlight range adjuster to position "O".
When replacing lamps, follow the specifications on their base; exceeding the specified power is not allowed.
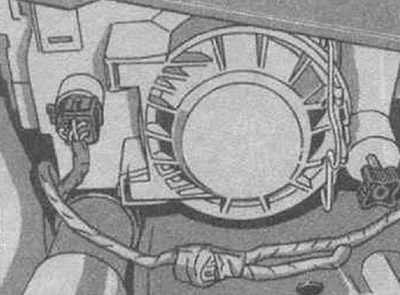
Low and high beam
1. Open and secure the hood.
2. Disconnect the wire clamp of the headlight protective cover.
3. Pull inward and remove the cover.
4. Disconnect the plug with the wiring from the lamp base.
5. Squeeze the holder clamp and remove it.
6. Remove the lamp from the reflector.
7. Insert the new lamp so that the protrusion on the socket fits into the recess in the reflector.
8. Insert and secure the holder clamp, connect the plug with the wiring to the socket, put on the protective cover of the headlight, secure with a wire clamp.
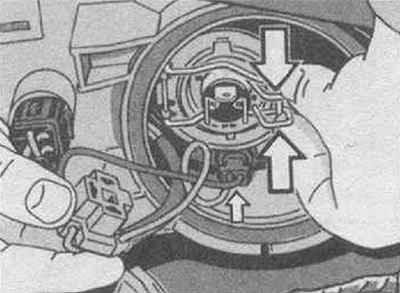
Side lights
Remove the parking light bulb (indicated in the figure by a small arrow) from the cartridge, insert a new one so that the two contact projections on the base fit into the recess in the cartridge.
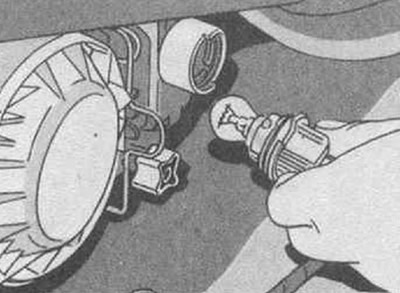
Front direction indicators
1. Remove the lamp with the socket from the reflector housing by turning it to the left.
2. Remove the lamp from the socket.
3. Insert the new one and turn it to the right to lock it in place.
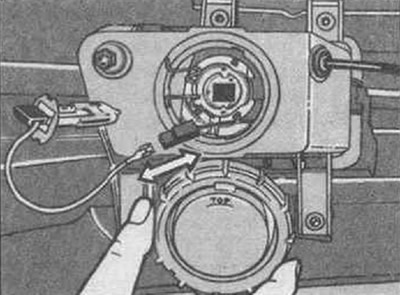
Fog light
Take it only by the base! Do not touch the glass. If you accidentally touch it, it may darken, in this case, wipe it with a clean towel, if necessary, wash it with alcohol or an alcohol-containing solvent.
1. Loosen and remove the headlight protective cover by turning it to the left.
2. Loosen and remove the spring clamp of the holder.
3. Pull the lamp out of the socket and disconnect the wiring.
4. When replacing and installing a new lamp, the recesses in its base must coincide with the fixing protrusions in the reflector.
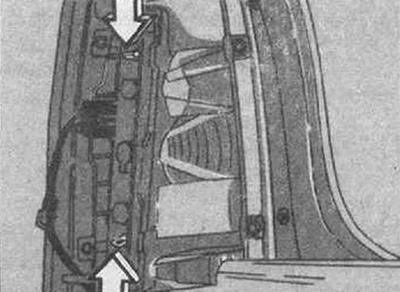
Brake light, direction indicator, side light, rear fog light and reversing light
Sedan:
1. Remove the diffuser, press the locking levers (arrows indicate the top and bottom), remove the panel with lamps.
2. The order of the lamps, from top to bottom:
- Stop signal,
- Direction indicator,
- Dimensions,
- Fog light,
- Reverse.
3. Remove the faulty lamp from the socket.
4. Insert the new one. Set the panel with lamps to the original position and fix it.
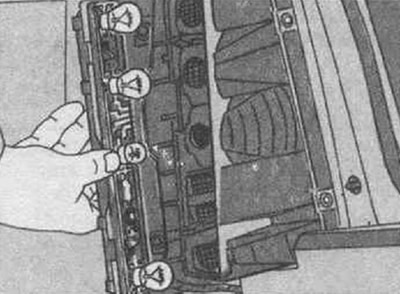
Station wagon:
1. Remove the diffuser, press the lock, pull the panel with lamps down.
2. The order of arrangement of lamps from top to bottom:
- Stop signal,
- Direction indicator,
- Reverse,
- Side light/fog light
3. Remove the burnt-out lamp from the socket.
4. Insert a new one, return the panel with lamps to its original position, pull the latch down and fix it.
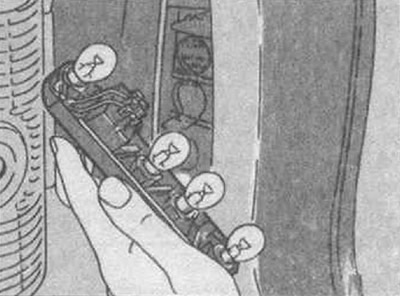
License plate light
Sedan:
1. Open the trunk, unscrew the mounting screws with a screwdriver and remove the backlight housing with the lamp.
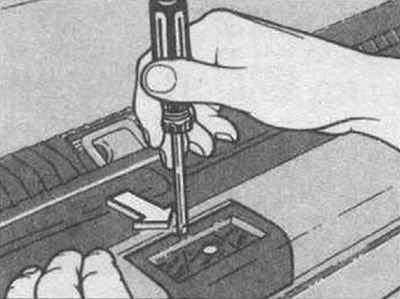
2. Press the locking tab and unfasten the base part with the lamp from the housing.
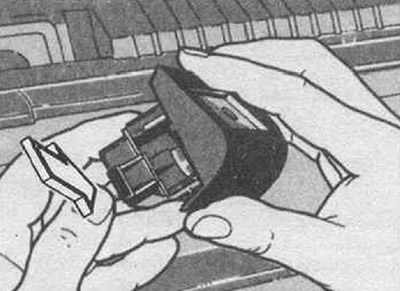
3. Remove the lamp from the socket.
4. Insert a new one.
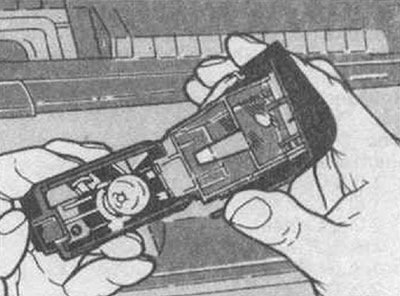
Station wagon:
1. Open the trunk, unscrew the mounting screws with a screwdriver and remove the backlight housing with the lamp.
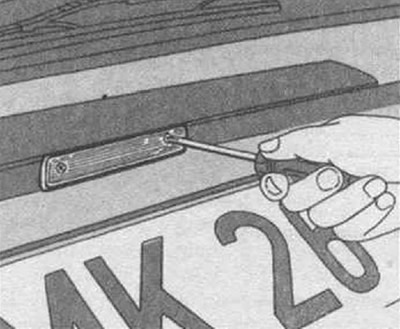
2. Press the lamp towards the terminal with the spring and remove it.
Material copied from this portal: OPELBOOK.ru
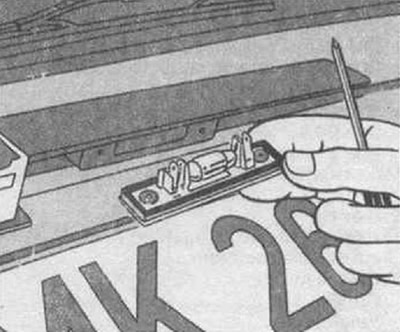
3. Insert a new one.
Interior light. Underhood light. Trunk light
When replacing the interior light bulb, first close the doors to disconnect it from the electrical system.
1. Remove the lampshade with a screwdriver. Be careful not to damage the roof trim! Remove the diffuser cover.
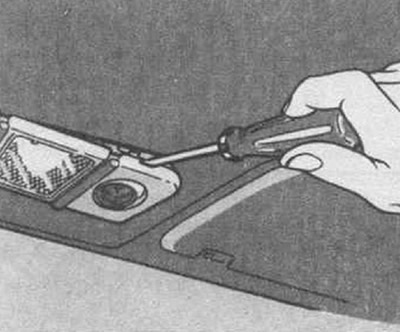
2. Press the lamp towards the spring terminal and remove it.
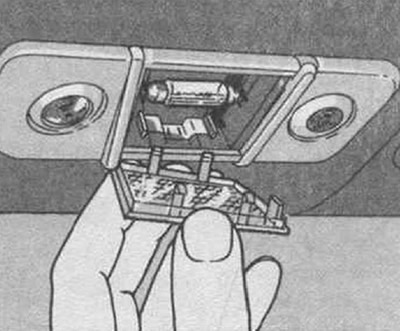
3. Insert a new one.
Reading lamps
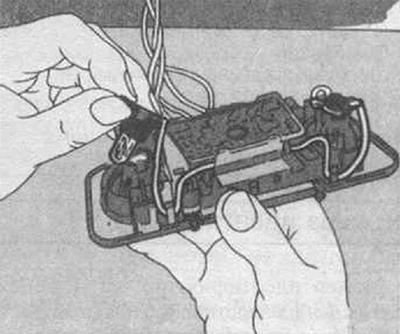
1. Use a screwdriver to remove the interior light.
2. Pull the cartridge out of the holder.
3. Remove the lamp from the socket.
4. Insert a new one.
Visitor comments