
Execution sequence
1. We prepare the car for work (see «Preparing the car for maintenance and repair»).
2. Remove the engine trim (see «Decorative overlay of the engine - removal and installation»).
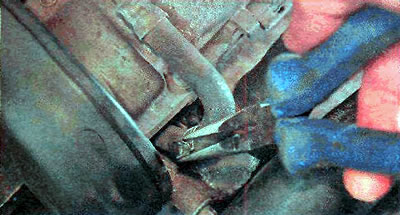
3. Compress the clamp with pliers and disconnect the hose for supplying crankcase gases to the throttle space.
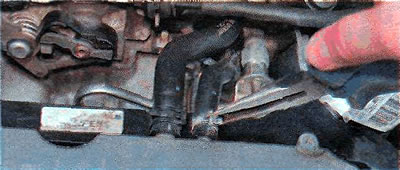
4. In the same way, disconnect the hose for supplying crankcase gases to the space in front of the throttle valve.
5. Disconnect the wiring harness block from the coolant temperature sensor (see «Coolant temperature sensor - check and replace»).
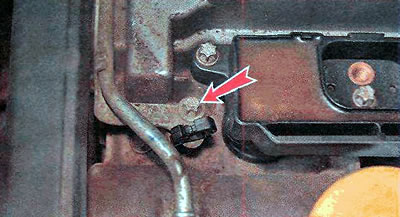
6. Using the TORX E10 key, we unscrew the bolt securing the coolant supply line to the throttle assembly, located on the inlet pipeline.
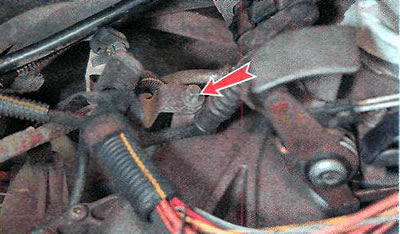
7. With the same key, unscrew the bolt securing the line on the cylinder head cover.
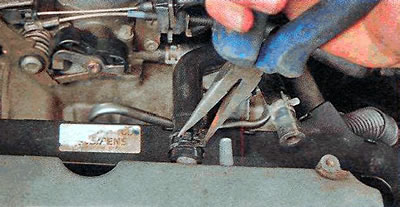
8. Compress the clamp with pliers and disconnect the line, while a small amount of coolant may spill out.
9. Remove the ignition module (see «Ignition module - check and replace»).
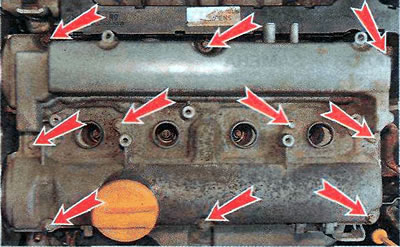
10. Using the TORX E10 key, unscrew the ten bolts securing the cylinder head cover.
11. Pulling up, remove the cylinder head cover.
12. Remove the gasket from the grooves in the cylinder head cover.
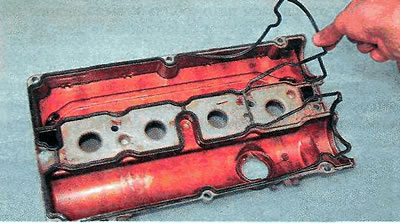
13. We clean the mating surfaces of the cylinder head and cover from old sealant and gasket residues.
Warning! Use only special sealant for vehicles equipped with exhaust oxygen sensors. Using conventional sealant (with a high content of silicone) may damage the sensors.
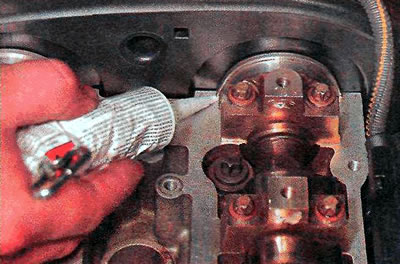
14. We install the parts in the reverse order. Before installing the cover, apply a thin layer of sealant to the front camshaft bearing caps.
15. We check and, if necessary, bring the coolant level to normal.
Visitor comments