
A pit or overpass is required to complete the job, as well as a high temperature sealant that is safe for oxygen sensors (e.g. Loctite 242).
Execution sequence
Comment. The work is shown on the example of removal and installation on a car with a 1.6 DOHC engine and a manual transmission. On vehicles with other engines and equipped with automatic transmission, the operation is similar.
1. We prepare the car for work (see «Preparing the car for maintenance and repair»).
2. Drain the oil (see «Lubrication system - oil and oil filter change»).
3. Remove the exhaust pipe muffler (see «Downpipe - replacement»).
4. We remove the two plastic plugs of the clutch housing.
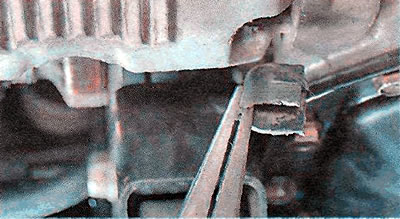
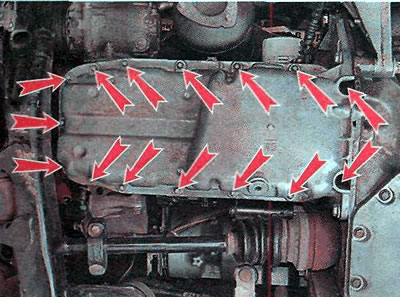
5. Using the TORX E10 wrench with an extension, unscrew the fifteen bolts securing the oil pan to the engine block.
6. We turn off all the bolts securing the gearbox to the engine oil pan (see «Gearbox - removal and installation»).
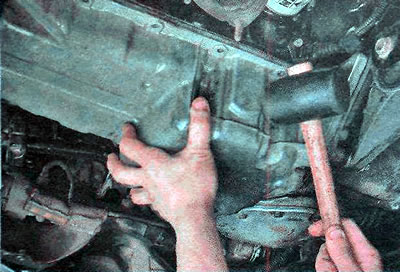
7. Lightly tapping on the pallet with a hammer with a rubber striker, we separate the pallet from the engine block.
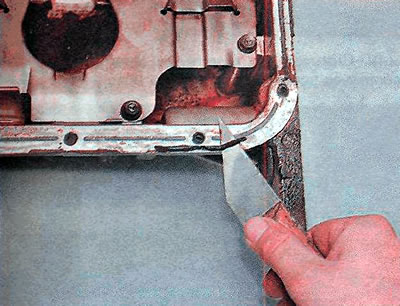
8. We clean the mating surfaces of the oil pan and cylinder block from the old sealant.
9. If there is a large amount of oil deposits in the crankcase, it must be cleaned. For ease of cleaning with a TORX wrench, we unscrew the eight mounting bolts and remove the bulkhead of the oil pan.
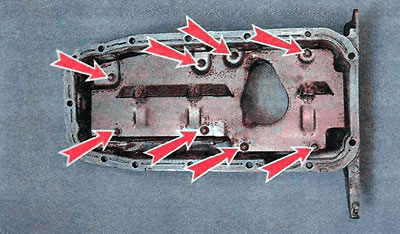
10. We clean the oil pan and its partition from oil deposits.
11. Install the partition of the engine crankcase.
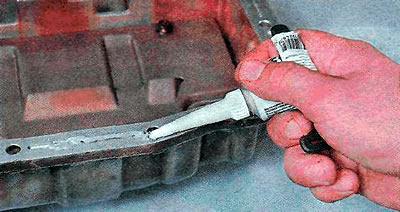
12. Apply sealant to the mating surface of the oil pan.
13. We install the oil pan and tighten the bolts of its fastening to the prescribed torque (see «Reference data»).
Comment. The two sump-to-cylinder block bolts under the clutch housing plastic plugs are longer than the others.
14. Further assembly is carried out in the reverse order.
15. Fill with oil (see «Lubrication system - oil and oil filter change»).
16. We start the engine and make sure there are no oil leaks at the junction of the engine block and the oil pan.
Visitor comments