
Execution sequence
1. We install the car on a viewing ditch or overpass (see «Preparing the car for maintenance and repair»),
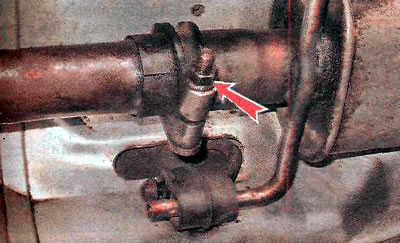
2. With a metal brush, we clean the coupling clamp of the intermediate muffler from dirt and loose rust and treat it with a penetrating lubricant.
3. Using a 13 mm key, loosen the clamp.
Comment. At the top, the clamp is welded to the muffler.
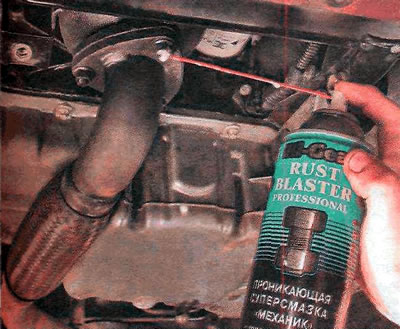
4. With a metal brush, we clean the nuts of the intake pipe and the oxygen concentration sensor from dirt and loose rust and treat them with a penetrating lubricant (shown on the example of a car after 2000 of manufacture).
5. Remove the oxygen concentration sensor installed in the exhaust pipe (see «Oxygen Sensors - Replacement»).
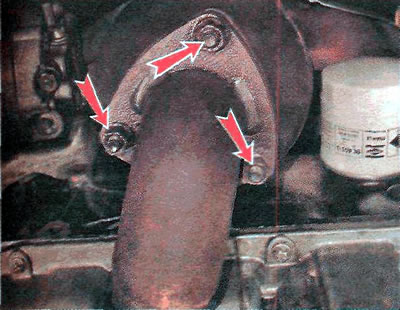
6. On cars after 2000, with a 14 mm socket wrench, unscrew the three nuts securing the exhaust pipe to the catalytic converter...
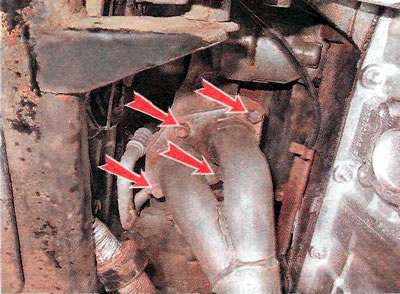
... on cars up to 2000 release, unscrew one nut and three bolts securing the exhaust pipe to the exhaust manifold.
Warning! After unscrewing the fasteners, it is necessary to support the front part of the front exhaust pipe.
Recommendation. To facilitate unscrewing the nuts for fastening the intake pipe, you can heat them up with a gas burner, observing fire safety measures (see «Safety measures for car maintenance and repair»).

7. We remove the gasket between the exhaust pipe and the catalytic converter on cars after 2000 of release...

...or on cars up to 2000 of release.
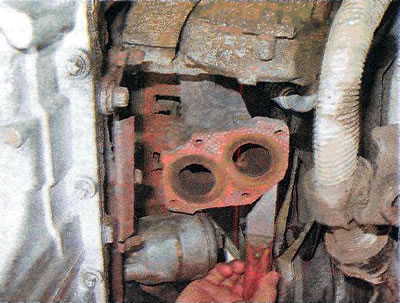
When assembling, it must be replaced with a new one.
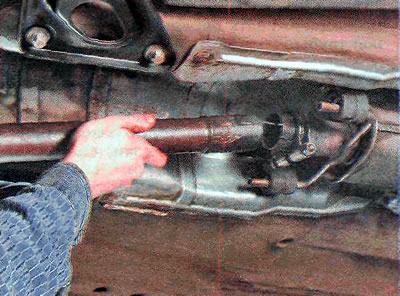
8. Remove the exhaust pipe by disconnecting it from the intermediate muffler (shown on a vehicle after 2000).
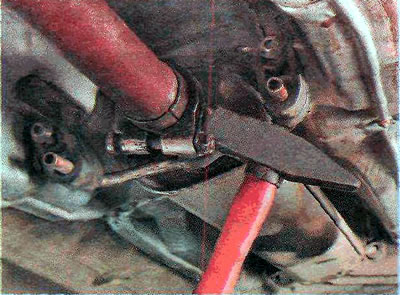
Recommendation. To facilitate the separation of the muffler pipes, apply a few blows with a hammer around the circumference of the clamp and at the pipe connection.
9. Install the parts in reverse order.
Visitor comments