
Execution sequence
1. We prepare the car for work (see «Preparing the car for maintenance and repair»).
Comment. For the convenience of working on the Zafira model, it is necessary to remove the ventilation grill and the top panel of the motor shield (see «Front wiper drive Zafira - check and replace»).
2. Disconnect the wiring harness block from the absolute pressure sensor in the intake manifold (see «Absolute pressure sensor in the intake manifold of engines 1.4 and 1.6 DOHC - replacement»).
3. Disconnect the wiring harness block and hoses for supplying coolant, crankcase gases and fuel vapors from the adsorber from the throttle assembly (see «Throttle assembly - removal, gasket replacement and installation»).
4. Disconnect the pipeline from the fuel rail (see «Nozzles - check and replacement»).
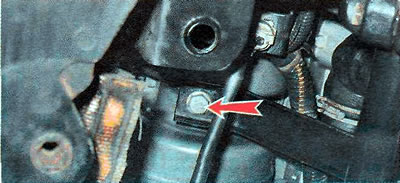
5. We unscrew the bolt of the lower receiver bracket with a 13 mm socket wrench.
6. Remove the top bracket of the generator (see «Alternator - replacement»).
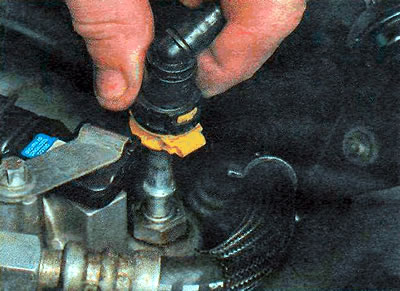
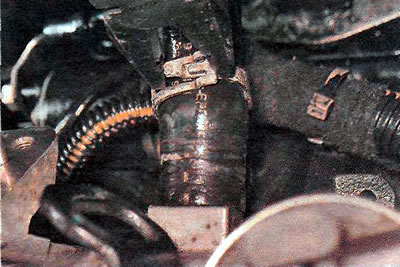
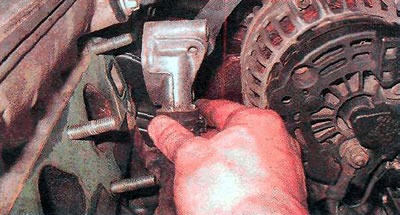
7. We sink the latch and disconnect the tube of the vacuum brake booster from the receiver.
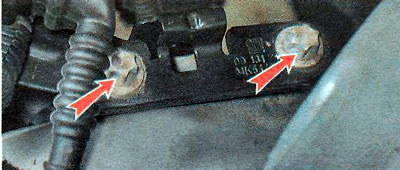
8. Using the TORX E10 key, unscrew the two bolts of the wire holder bracket on the left side of the intake manifold.
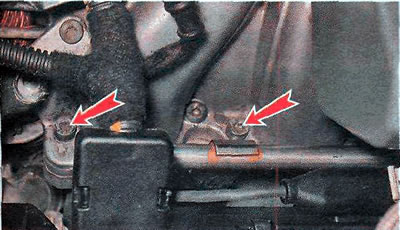
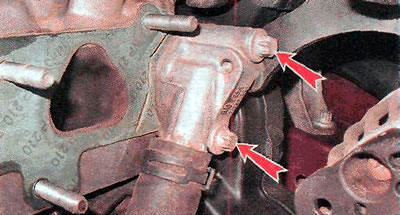
9. We unscrew the three bolts securing the right side of the receiver with a TORX T30 key...
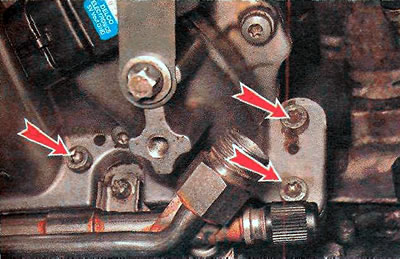
... and two bolts securing the left side of the receiver to the pipeline.
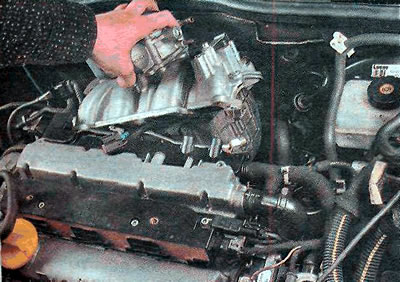
10. Remove the receiver assembly with the throttle assembly.
11. Remove the receiver gasket.
Further operations are required to replace the intake manifold gasket.
12. Drain the coolant (see «Coolant - replacement»).
Comment.
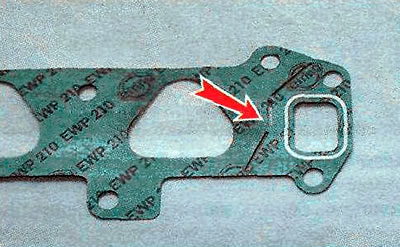
The intake manifold gasket can be replaced in whole or in parts. There are notches on the gasket, along which the gasket can be divided.
At the same time, it should be remembered that only the long part of the gasket will be damaged to air leakage into the cylinders. The following describes the procedure for replacing the entire gasket. When replacing a part of the gasket, perform only the operations necessary in this case.
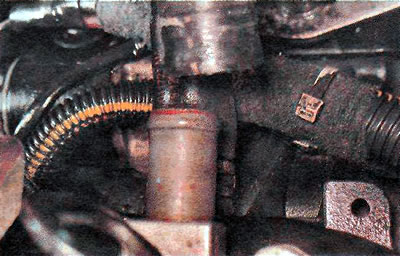
13. Use pliers to open the clamp of the coolant supply hose to the heater radiator and slide it along the hose.
14. Disconnect the hose from the intake manifold.
15. Disconnect the wiring harness from the exhaust gas recirculation valve (see «EGR valve - replacement»).
16. Remove the wiring harness from the casing on the fuel rail (see «Nozzles - check and replacement»).
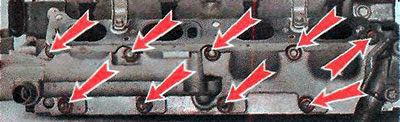
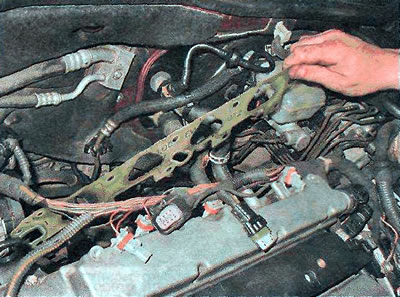
17. We turn off nine nuts of fastening of the inlet pipeline to a head of the block of cylinders (shown on removed cylinder head).
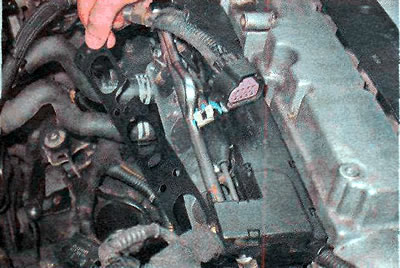
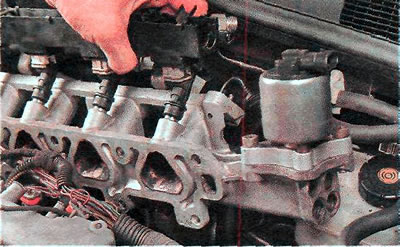
18. We shift the pipeline along the studs from the head of the block and remove it complete with the fuel rail and the exhaust gas recirculation valve.
19. Using the TORX E12 key, we unscrew the two bolts securing the cooling system flange to the cylinder head.
20. We take the flange to the side without disconnecting the hose from it.
21. Remove the intake manifold gasket.
22. Install the parts in reverse order. We tighten the nuts securing the intake manifold to the cylinder head with a torque of 20 Nm in the specified order.

Visitor comments