
Execution sequence
Comment. The operation is shown on the example of replacing a 1.6 DOHC engine. Differences in the operation on other engines are indicated in the text.
1. We prepare the car for work (see «Preparing the car for maintenance and repair»).
2. Remove the engine trim (see «Decorative overlay of the engine - removal and installation»).
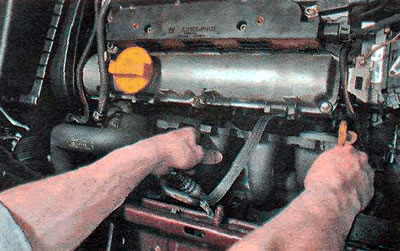
3. On cars after 2000, turn off the control oxygen concentration sensor (see «Oxygen Sensors - Replacement»).
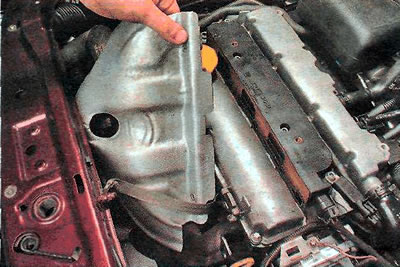
4. Using the E10 TORX key, unscrew the three bolts securing the exhaust manifold heat shield.

5. Remove the heat shield.
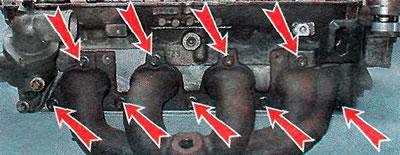
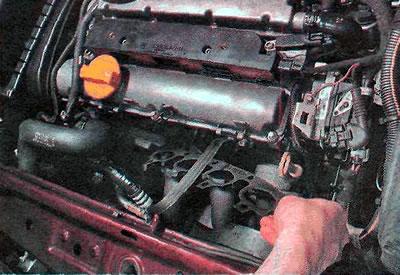
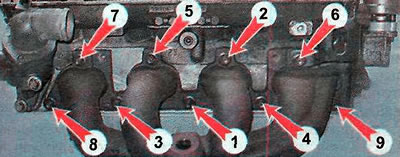
6. Using a 10 mm socket wrench, unscrew the nine nuts securing the exhaust manifold (for clarity, the fastening nuts are shown on the removed head).
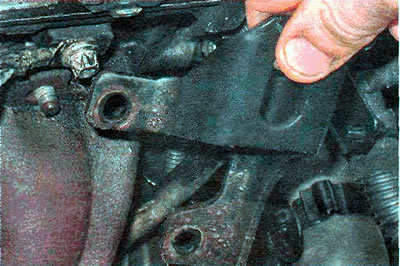
7. Remove the mounting eye from the exhaust manifold studs.
8. Gently shift the exhaust manifold along the studs and take it away from the cylinder head.
9. Remove the exhaust manifold gasket.
10. Install the parts in reverse order. We tighten the nuts of the exhaust manifold with a torque of 12 Nm in the specified order (fastening nuts are shown on the removed head).
Visitor comments