
Warning! Before performing the operation, be sure to read the section «Safety measures for the maintenance and repair of the engine management system».
Comment. The throttle assembly can be removed without draining the coolant. This will require two M10 bolts as plugs. Start work only after the engine has cooled down to a temperature of no more than 40°C due to the likelihood of getting burned.
Recommendation. It is better to replace the gasket with a new one, even if it does not have visible damage, since after reinstalling the throttle assembly, it will not ensure proper sealing of the joint.
Execution sequence on a 1.6 DOHC engine (electronic throttle assembly)
1. We prepare the car for work (see «Preparing the car for maintenance and repair»).
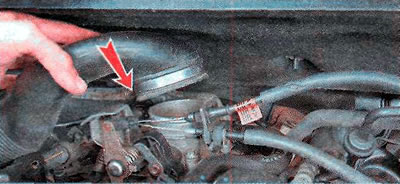
2. Having unscrewed the plug of the expansion tank, we relieve excess pressure in the engine cooling system.
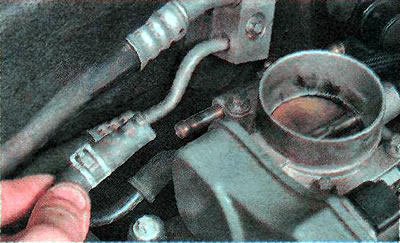
3. Disconnect the wiring harness block from the temperature sensor of the air entering the cylinders (see «The temperature sensor of the air entering the cylinders of engines 1.4 and 1.6 DOHC - check and replacement»).
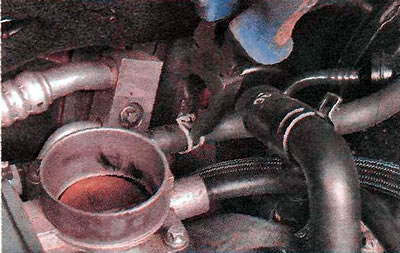
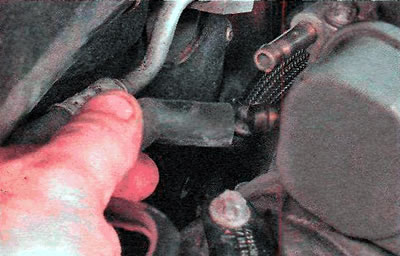
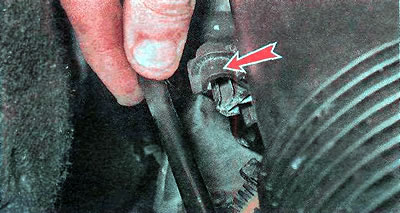
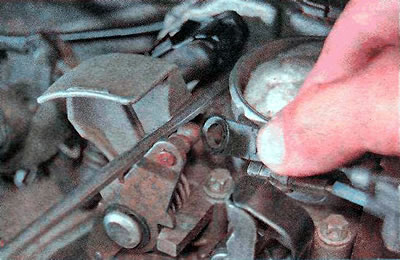
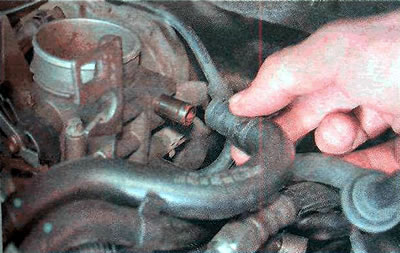
4. We remove the tube of the adsorber purge valve from one...
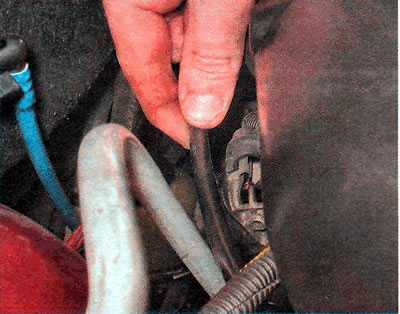
...and a second holder on the air inlet.

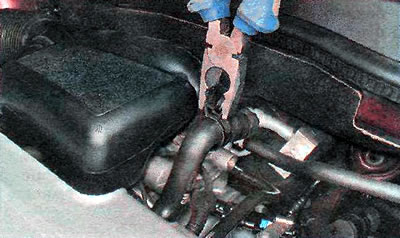
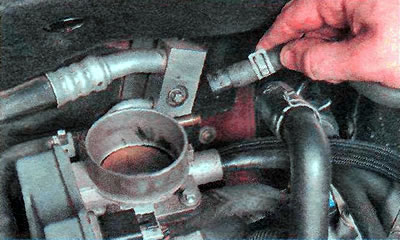
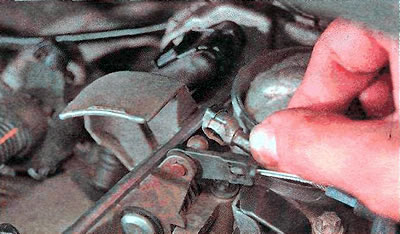
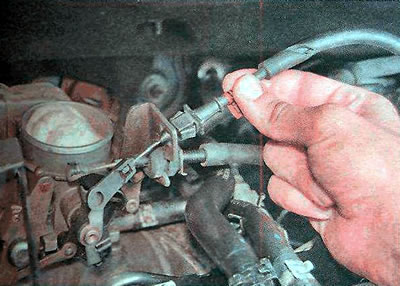
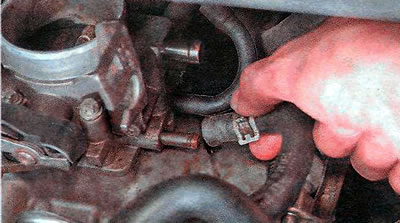
5. Loosen the clamp with pliers and disconnect the hose of the crankcase ventilation system.
6. Disconnect the air inlet from the air filter (see «Air filter - removal and installation»).
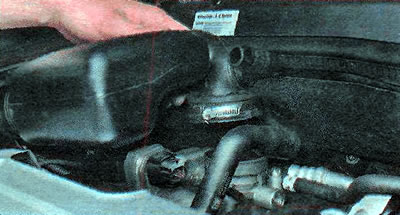
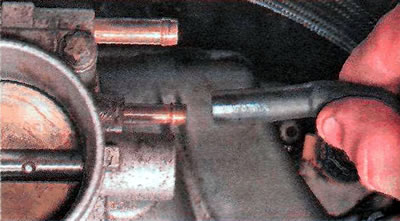
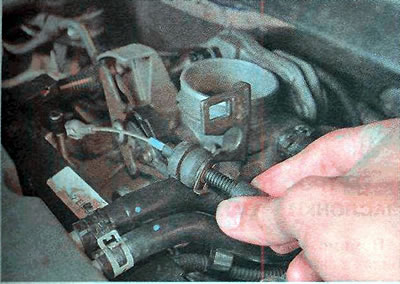
7. Using a 7 mm socket wrench, loosen the clamp securing the air inlet pipe to the throttle assembly.
8. Remove the air inlet pipe.
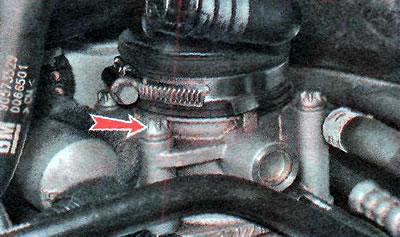
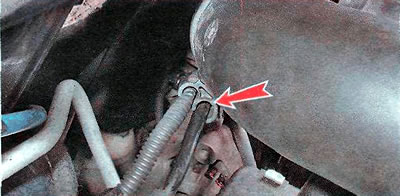
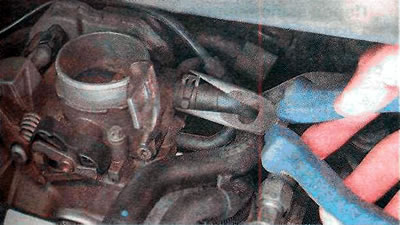
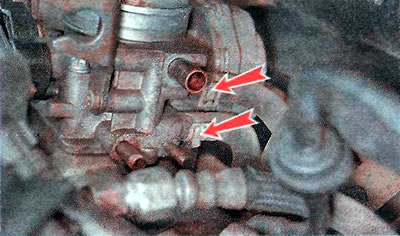
9. Using pliers, loosen the hose clamp for supplying coolant to the throttle assembly and slightly move the clamp along the hose.
10. Disconnect the hose and screw the M10 bolt into it to prevent leakage of coolant.
11. In the same way, disconnect and turn off the coolant outlet hose.
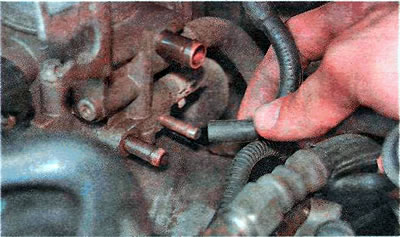
12. Disconnect the crankcase gas supply hose to the throttle space.
13. Disconnect the adsorber purge valve tube.
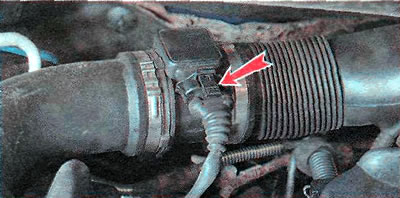
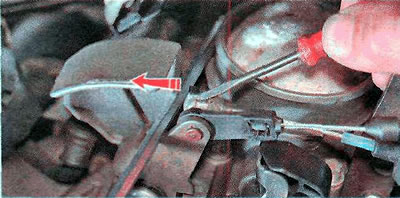
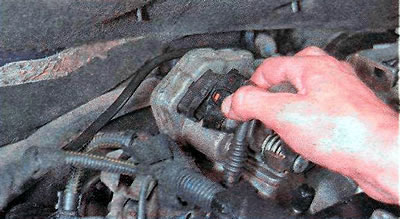
14. Using a slotted screwdriver, pry off the retainer of the throttle assembly wiring harness block and remove it.
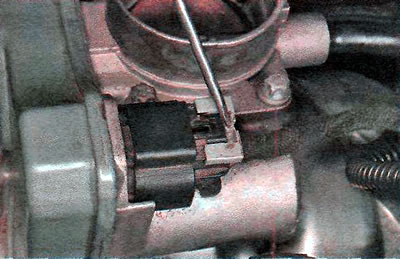
15. Disconnect the wiring harness block from the throttle assembly.
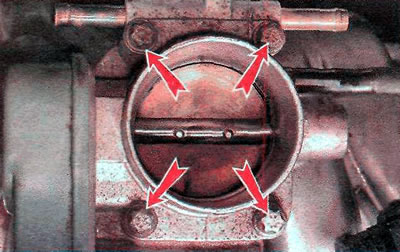
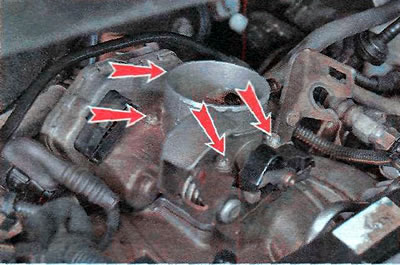
16. Using the TORX E10 key, unscrew the four bolts securing the throttle assembly to the receiver.
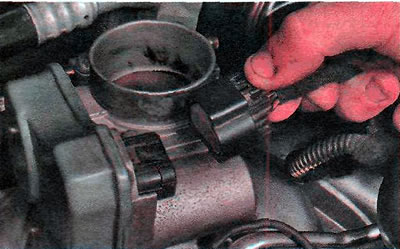
17. Remove the throttle assembly by lifting it up.
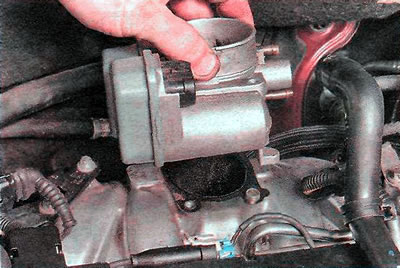
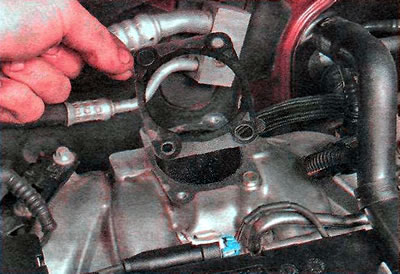
18. Remove the gasket. It must be replaced during assembly.
19. We install the parts in the reverse order. Check the level and add coolant if necessary (see «Checking the coolant level»).
Execution sequence on a 1.8 DOHC engine (Throttle assembly with cable-operated throttle)
1. We prepare the car for work (see «Preparing the car for maintenance and repair»).
2. Having unscrewed the plug of the expansion tank, we relieve excess pressure in the engine cooling system.
3. Press the latch and disconnect the wiring harness block from the mass air flow sensor (see «1.8 DOHC Engine Mass Air Flow Sensor - Check and Replace»).
4. We remove the wiring harness and the canister purge valve tube from one...
...and a second holder on the air inlet.
5. Disconnect the air inlet from the air filter (see «Air filter - removal and installation»),
6. Using a 7 mm socket wrench, loosen the clamp securing the air inlet pipe to the throttle assembly and remove the pipe.
7. Turn the throttle actuator lever slightly to the right to loosen the cable tension and fix it (e.g. screwdriver or hexagon).
8. Use a slotted screwdriver to shift the throttle cable retainer in the direction indicated by the arrow.
9. Disconnect the cable.
10. Using a slotted screwdriver, remove the locking bracket of the cruise control drive cable (if installed).

11. Disconnect the cable.
12. We press on the side latches of the cable guide of the cruise control system drive...

... and remove the cable from the bracket on the throttle body.
13. Remove the throttle cable from the bracket.
14. Using pliers, we loosen the hose clamp for supplying crankcase gases to the space in front of the throttle valve and slightly move the clamp along the hose.
15. Disconnect the hose by pulling it off the fitting.
16. Similarly, loosen the clamp and disconnect the hose for supplying crankcase gases to the throttle space.
17. Disconnect the adsorber purge valve tube.
18. We disconnect two hoses of the cooling system and screw M10 bolts into them to prevent leakage of coolant.
19. Press the lock of the throttle assembly wiring harness block and disconnect the block from the throttle assembly.
20. Using the TORX E10 key, we unscrew the four bolts securing the throttle assembly to the receiver.
21. Remove the throttle assembly by lifting it up.
22. When assembling, we replace the gasket of the throttle assembly.
We install the parts in the reverse order. Check the level and add coolant if necessary (see «Checking the coolant level»).
Visitor comments