


Warning! Before performing the operation, be sure to read the section "Safety precautions for maintenance and repair of the engine management system".
Sequence of execution on the Astra model
1. Prepare the car for work (see "Preparing the car for maintenance and repair").
2. Compress the clamps and disconnect the fuel vapor supply line from the fuel tank.
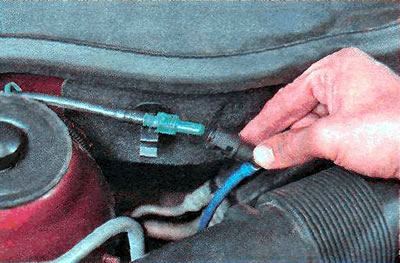
3. In a similar manner, we disconnect the purge valve pipeline of the adsorber.
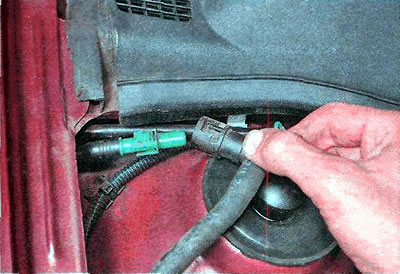
4. Remove the clamps of both pipelines.
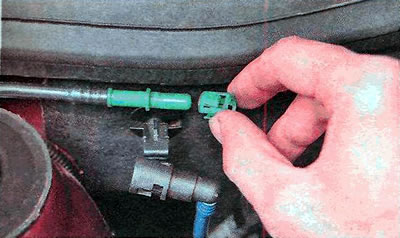
5. Remove the right front fender liner (see "Front fender liner - removal and installation").
6. Using a 10 mm socket wrench, unscrew the bolt securing the adsorber.
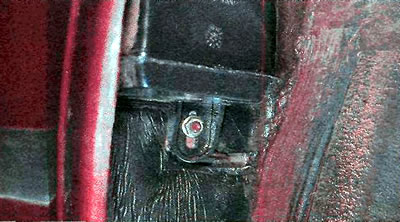
7. Disconnect the adsorber housing by moving its lower edge forward.
[Article posted on a web portal: OpelBook.ru]
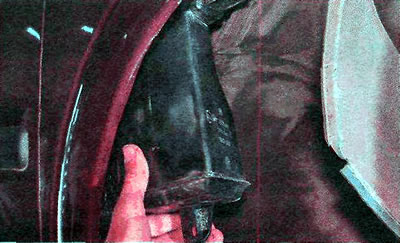
8. Remove the adsorber assembly with the pipelines, pulling them out through the body seal.
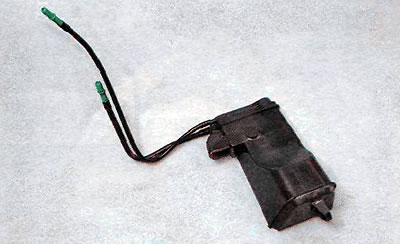
9. Install the parts in the reverse order. Replace the adsorber mounting clamps.
Sequence of execution on the Zafira model
1. Prepare the car for work (see "Preparing the car for maintenance and repair").
2. Compress the clamps and disconnect the fuel vapor supply line from the fuel tank and the purge valve line of the adsorber (similar to the Astra model, see above).
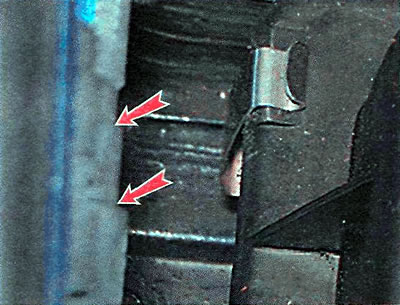
3. Remove the clamps of both pipelines (similar to the Astra model, see above).
4. Remove the right front fender liner (see "Front fender liner - removal and installation").
5. Using a 10 mm socket wrench, unscrew the adsorber mounting nut.
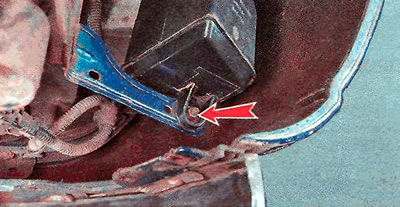
6. Disconnect the adsorber housing from the body, moving its lower edge forward...
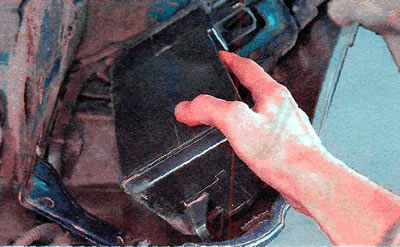
...and at the same time releasing its upper holders from the body bracket.
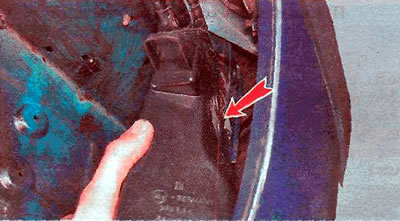
7. Remove the adsorber assembly with the breather located in the wheel arch and two pipes, pulling them out through the body seal.
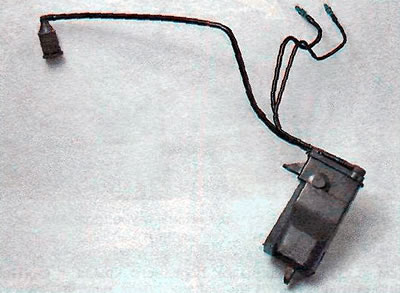
8. Install the parts in the reverse order. Replace the adsorber mounting clamps.
Visitor comments