


To carry out the work, you will need an inspection pit or overpass.
Replacing the generator on an Astra model with a 1.6 DOHC engine produced after 2000.
1. Prepare the car for work (see "Preparing the car for maintenance and repair").
2. Remove the accessory drive belt (see "Accessory Drive Belt - Checking Condition and Replacing").
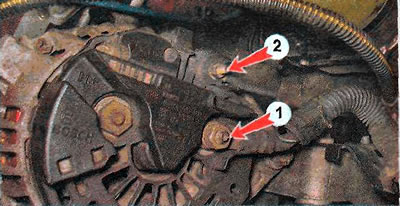
3. Using a 13 mm wrench, unscrew nut 1 and remove the wire from the B+ terminal of the generator, and using an 8 mm wrench, unscrew nut 2 and remove the wire from the L terminal of the generator.
4. Using a 13 mm wrench, unscrew the bolt securing the wiring harness pad holder.
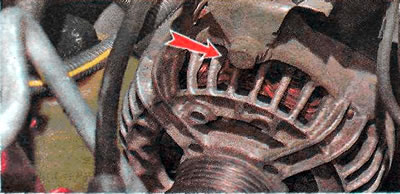
5. Using the TORX E14 key, unscrew the bolts securing the upper generator bracket to the generator, intake manifold...
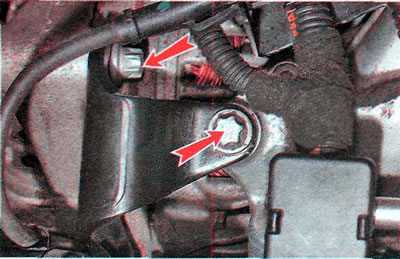
...to the cylinder head...
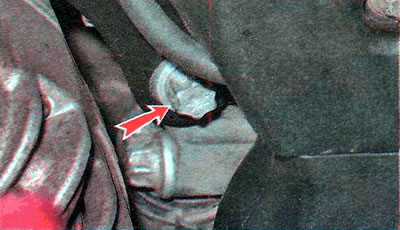
...and remove the bracket.
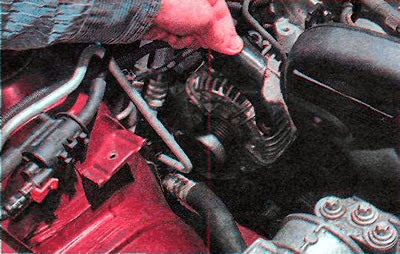
6. Use a TORX E14 key to hold the bolt from turning, and use a 16 mm key to loosen the tightening of the generator lower mount nut (shown on a removed unit)...
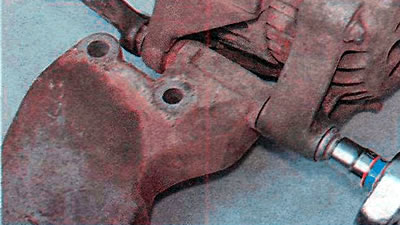
...and remove the generator.
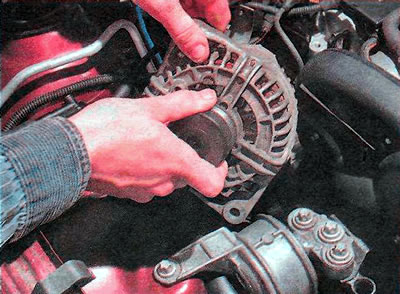
7. Install the parts in reverse order.
Replacing the generator on a Zafira model with a 1.8 DOHC engine manufactured before 2000.
Original posted on the website OPELBOOK.ru
1. Prepare the car for work (see "Preparing the car for maintenance and repair").
2. Remove the accessory drive belt (see "Accessory Drive Belt - Checking Condition and Replacing") and its tensioning device (see "Accessory Drive Belt - Tensioner Replacement").
3. Using an 8 mm wrench, unscrew the nut...
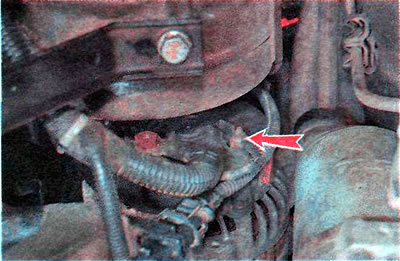
...and remove the wire from the L terminal of the generator.
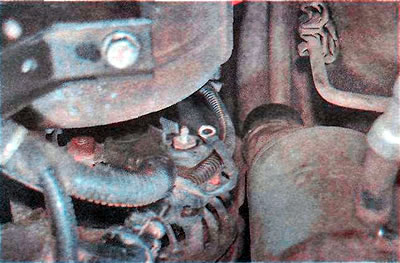
4. Using a 13 mm wrench, unscrew the nut...
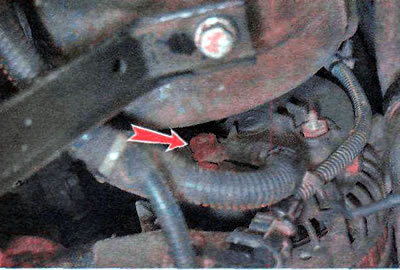
...and remove the wire from the B+ terminal of the generator.
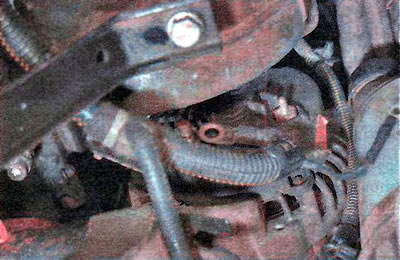
5. Using a 13 mm wrench, unscrew the nut...
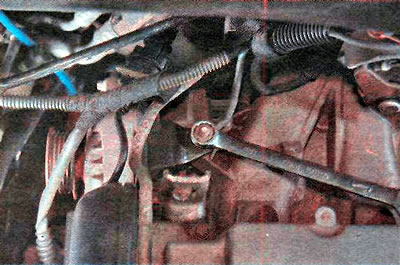
...and disconnect the tip of the "ground" wire.
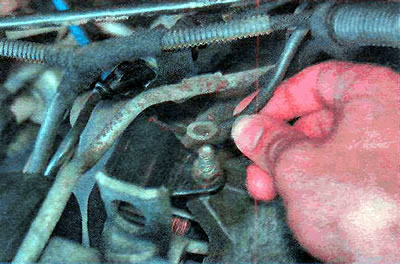
6. Using the same key, unscrew the pin.
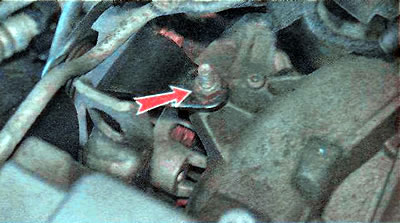
7. Using the TORX E14 key, unscrew the bolts securing the upper bracket to the generator...
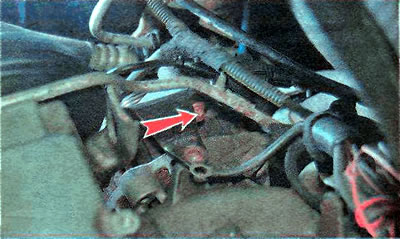
...and to the cylinder head and remove the bracket.
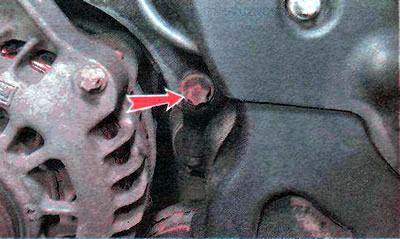
8. Use a TORX E14 key to hold the bolt from turning, and use a 16 mm key to loosen the tightening of the generator lower mount nut (shown on a removed unit).
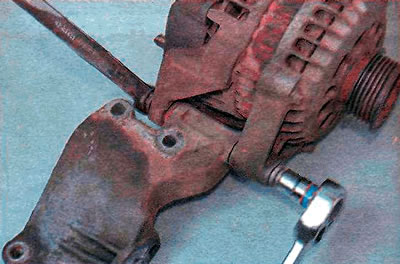
9. Using a TORX-E14 key, unscrew the three bolts securing the lower bracket...
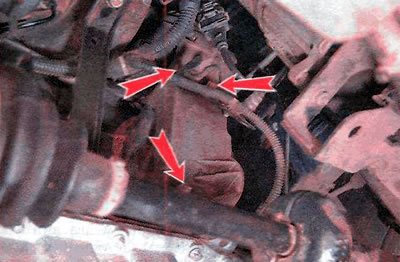
...and remove the generator assembly with the lower bracket.
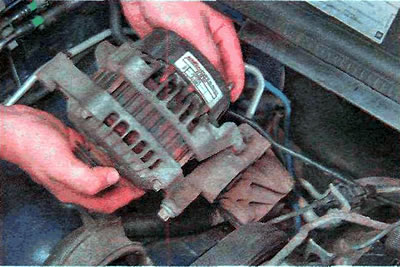
10. Finally, unscrew the nut, remove the bolt and disconnect the generator from the bracket.
11. Install the parts in reverse order.
Visitor comments