


Contents: Removal ⬇ Installation ⬇
Removing the gearbox is necessary for its repair or for replacing the clutch release drive parts. This operation is quite labor-intensive and requires certain skills and equipment, so if you are not confident in your own abilities, it is better to entrust this work to a specialized service.
Recommendation: The gearbox weighs over 30 kg, so work should be done with an assistant or using an adjustable stop or lifting device.
Removal
1. Prepare the vehicle for work and install it on the inspection pit and overpass (see "Preparing the car for maintenance and repair").
2. Disconnect the wiring harness connectors from the reversing light switch (see "Reverse light switch") And (if installed) vehicle speed sensor.
3. Remove the gear shift mechanism drive (see "Gear shift mechanism drive - removal, repair and installation").
4. Remove the retainer from the bleed nipple housing of the clutch release hydraulic drive.
Warning! To avoid emptying the brake master cylinder reservoir, it is necessary to pinch the clutch release hydraulic hose.
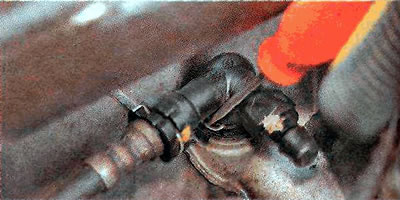
5. Remove the housing of the bleed nipple of the clutch release hydraulic drive...
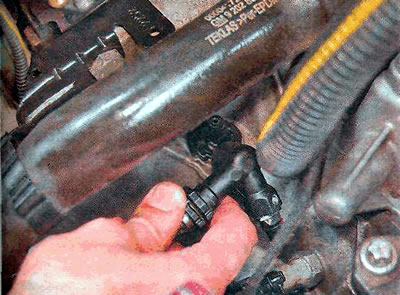
...and we plug the pipe of the clutch release working cylinder (transport plugs for fuel filter fittings are ideal for this purpose).
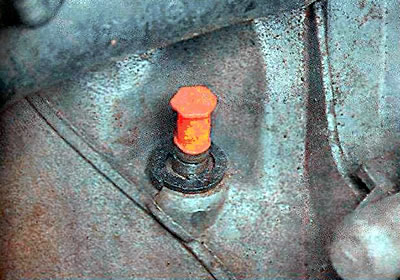
6. Drain the oil from the gearbox and install the differential cover back (see "Gearbox - Checking the level and changing the oil").
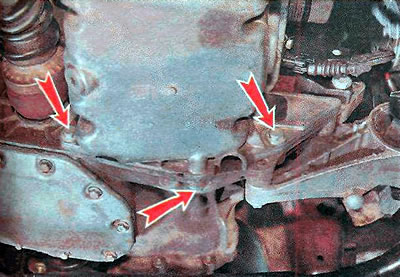
7. Using a 15 mm wrench, unscrew the three bolts securing the gearbox to the engine oil pan.
8. Remove the front wheel drives (see "Front Wheel Drive - Removal and Installation").
9. Remove the front suspension subframe (see "Front Suspension Subframe - Removal and Installation").
10. Install adjustable stops under the engine and gearbox.
11. Using a 19 mm wrench, unscrew the two upper bolts securing the gearbox to the engine cylinder block.
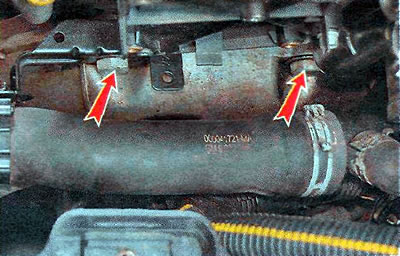
12. Using the same key, unscrew the rear...
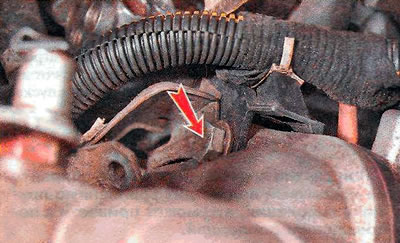
...and the front upper bolts securing the gearbox to the cylinder block.
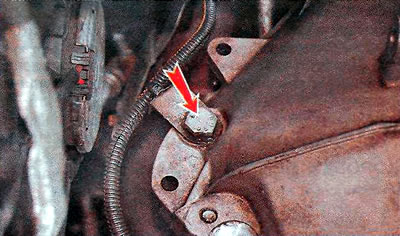
13. Using the same key, unscrew the rear...
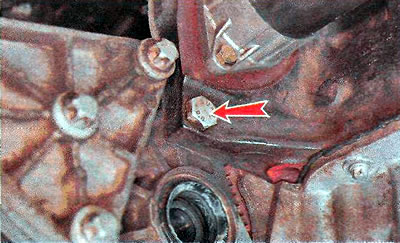
...and the front lower bolts securing the gearbox to the cylinder block.
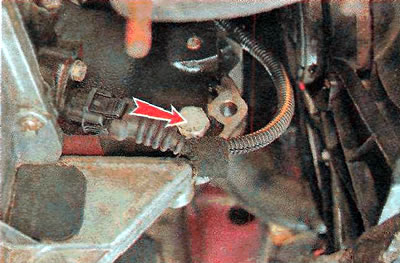
14. Disconnect the intermediate bracket of the left support of the power unit from the gearbox bracket (see "Powertrain Mounts and Rods - Replacement"),
15. We perform further work with an assistant. We lower the left edge of the power unit down a little. We move the gearbox away from the engine to the left side member as much as possible and carefully lower the gearbox to the floor.
Warning! When removing the gearbox, do not rest its input shaft on the clutch diaphragm spring, this may damage the latter.
Installation
1. Apply plastic grease to the splines of the gearbox input shaft.
2. Install the gearbox in reverse order.
3. Bleed the clutch release hydraulic drive (see "Clutch release hydraulic drive - bleeding").
Visitor comments