
To complete the work you will need:
- transparent vinyl tube of suitable diameter;
- container for draining brake fluid;
- clean brake fluid (see «Reference data»);
- a special key for fittings or a 10 mm key.
We work with an assistant.
Execution sequence
1. Prepare the car for work (see «Preparing the car for maintenance and repair»).
Warning! To prevent air from entering the hydraulic brake actuators and disengaging the clutch during pumping, make sure that the brake fluid level in the GTZ reservoir does not fall below the MIN·mark.
2. Remove the protective cap from the bleeder valve of the hydraulic clutch.
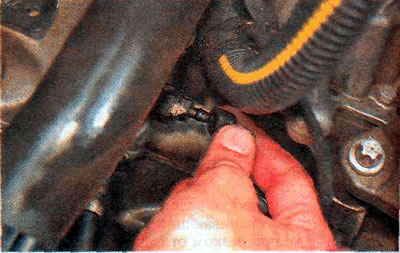
3. Connect the rubber tube to the bleed valve.
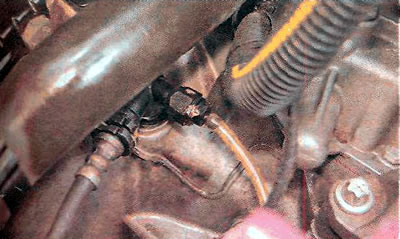
4. Place the other end of the tube in a transparent vessel partially filled with brake fluid.
5. We ask the assistant to slowly squeeze the clutch pedal several times and, after the last pressing, hold the pedal in the depressed position.
6. With an 11 mm wrench, we slightly unscrew the rolling fitting so that the liquid begins to come out of the tube, while the assistant continues to press the pedal.
7. After the brake fluid stops coming out of the tube, we wrap the fitting.
Warning! Do not forget to periodically check the level of brake fluid in the tank GHC.
8. Repeat the steps described in paragraphs 5-7 until the release of brake fluid with air bubbles from the bleeder valve stops, after which we finally tighten the connector.
Comment. During the replacement of the brake fluid, continue pumping until fresh brake fluid begins to come out of the bleeder (lighter). If after five or six repetitions air continues to come out of the tube and the number of air bubbles does not decrease, the system is leaking! It is necessary to check the tightness of the system (see «Clutch - condition check»).
9. Remove the rubber tube from the fitting, put a protective cap on the fitting.
Visitor comments