


Sequence of execution
1. Prepare the car for work (see "Preparing the car for maintenance and repair").
2. Shift into neutral.
3. Disconnect the gear shift mechanism drive from the gear shift mechanism rod (see "Gearshift Drive - Removal, Repair and Installation").
4. Using an 11 mm socket wrench, unscrew the four bolts securing the gearshift mechanism housing.
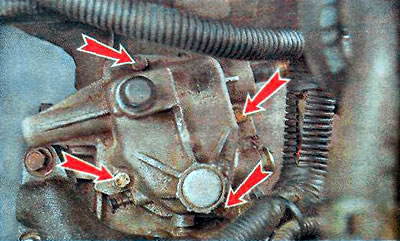
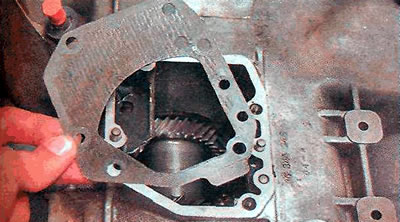
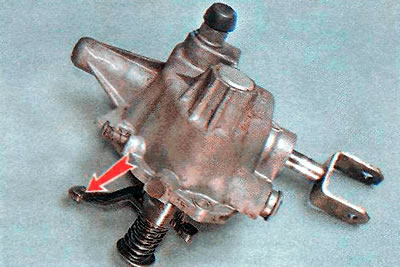
5. Pull up and remove the gear shift mechanism and its sealing gasket (for clarity, shown on a removed gearbox).
Recommendation: Replace the gasket with a new one during assembly.
6. Clamp the gearshift mechanism housing in a vice using soft spacers.
7. Place a wooden block under the gear shift mechanism bushing so that the pin of the ball joint of the rod is perpendicular to the plane of the gear shift mechanism housing connector.
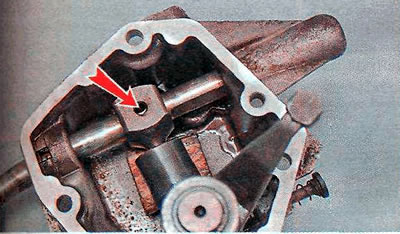
8. Using a 4 mm diameter punch, knock out the pin and remove the gear shift mechanism rod.
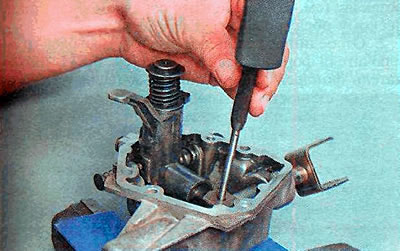
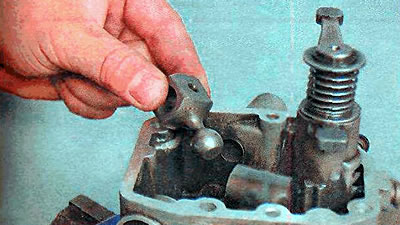
9. Remove the ball joint.
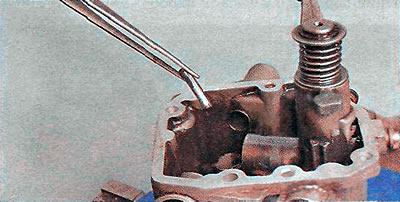
10. Using tweezers, remove the pin.
11. Using a slotted screwdriver, remove the rod seal.
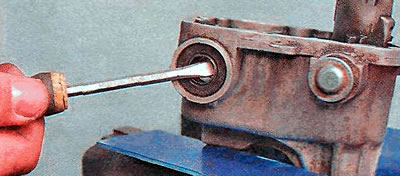
12. Press in the seal using a mandrel of suitable diameter.
13. Insert the ball joint and the gearshift rod so that the flat surface of the rod is directed towards the inside of the housing.
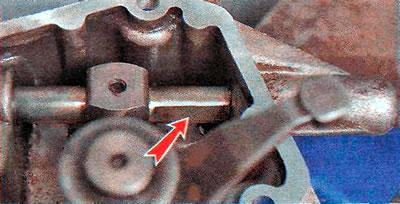
14. Install the pin.
15. Remove the wooden block.
16. Install a new gearshift mechanism housing gasket.
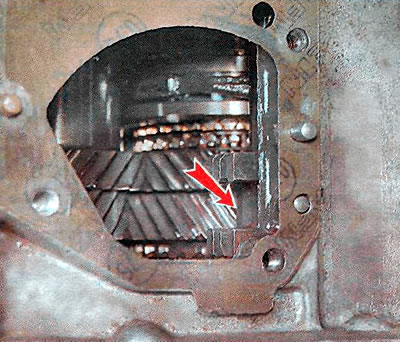
17. Install the gear shift mechanism. While doing this, make sure that the gear shift lever...
(Material published on the website: www.OpelBook.ru)
...aligned with the grooves of the gear shift forks.
18. Install the remaining parts in reverse order.
Visitor comments