
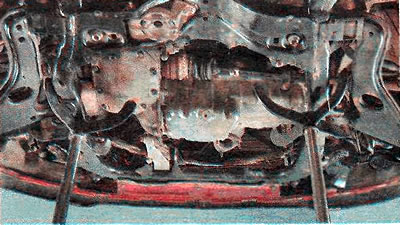
To perform the work, an inspection ditch or overpass is required.
Removing
1. We prepare the car for work (see «Preparing the car for maintenance and repair»).
2. Disconnect the terminal from the negative battery terminal (see «Preparing the car for maintenance and repair») and with a 13 mm wrench, unscrew the bolt securing the negative wire of the power steering pump.
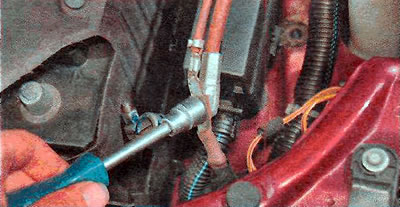
3. Disconnect the power steering pump wiring harness block.

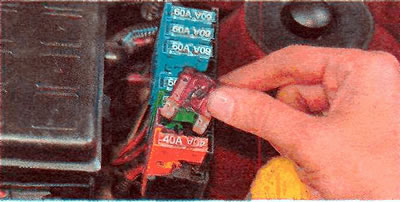
4. Remove the cover from the fuse box (see «Mounting Blocks - Replacing Fuses and Relays») and remove the power steering pump fuse.
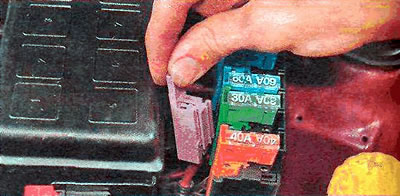
5. Disconnect the power steering pump fuse block from the bracket.
6. Remove the battery (see «Battery - removal and installation») and his shelf (see «Power unit mounts - replacement»).
7. Lower the power steering pump harness down onto the steering gear.
8. We fix the radiator on the front panel, put the pins into the side mounts on the right and left sides.

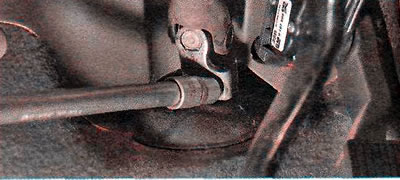
9. Using a 13 mm socket wrench, unscrew the coupling bolt securing the steering column shaft to the steering gear shaft (see «Steering shaft - replacement»).
10. We hang out the front of the car and install the car on the stops.
11. Remove the front wheels (see «Wheel - replacement»).
12. Remove the lower mudguard of the right wheel arch (see «Accessory Drive Belt - Tensioner Replacement»).
13. We install reliable supports under the subframe.
14. We remove the fingers of the ball bearings from the steering knuckles (see «Ball joint - replacement»).
15. Disconnect the anti-roll bars from the bar (see «Front anti-roll bar - strut replacement»),
16. Disconnect the steering tips from the levers of the gate fists (see «Tie Rod End - Replacement»).
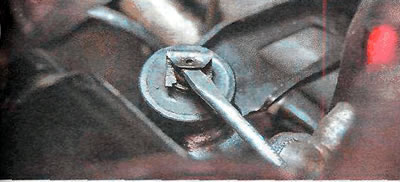
17. Using a slotted screwdriver, remove the locking bracket and remove the gear rod pin from the bracket on the subframe.
18. Remove the exhaust pipe of the muffler (see «Downpipe - replacement»).
19. Remove the rear engine mount and remove the bolt securing the front mount to the subframe (see «Supports and rods of the power unit - replacement»).
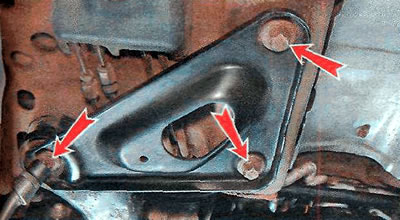
20. Using the TORX E18 key, unscrew the bolts of the rear subframe mounting bracket.
21. Through the holes in the lower arms of the front suspension, use the TORX El 8 key to unscrew the bolts of the side mounting of the subframe.
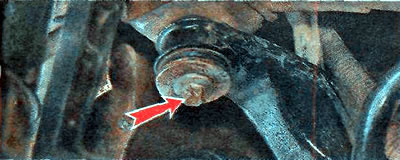
22. Using the E18 TORX key, we unscrew the front subframe mounting bolts.
23. Remove the subframe assembly with the lower arms, stabilizer bar and steering gear.
24. If necessary, remove the anti-roll bar (see «Anti-roll bar of the front suspension - removal and installation of the rod, replacement of pillows») and steering gear (see «Steering gear - removal and installation»).
Installation
Install the parts in reverse order. When assembling, we apply an anaerobic thread lock to the bolts and nuts of the subframe. Fastening bolts and nuts are tightened to the prescribed torques (see «Reference data»).
Visitor comments