
Warning! Shock absorber struts and springs should be replaced in pairs, even if one is defective. Springs differ in stiffness and are marked with paint depending on the stiffness class. Both sides of the car should have springs of the same stiffness.
To complete the work you will need:
- spring ties;
- special tool for loosening the shock absorber rod nut (a tall socket head can be used instead of a fixture. 18 mm with turnkey flats) or 18mm I z-key and T30 TORX key.
Execution sequence
1. Remove the rack from the car (see «Front suspension strut - removal and installation»).
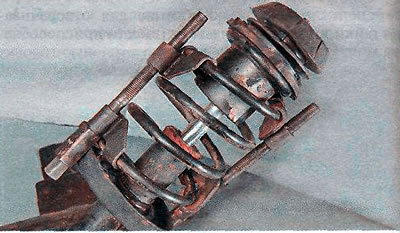
2. We clamp the rack in a vice.
Warning! Be careful! A compressed spring has great strength and, if the tie is broken, straightening out, it can cause injury.
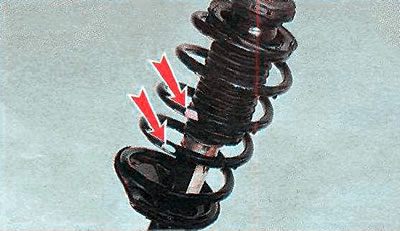
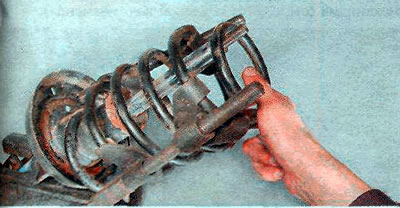
3. We install the spring ties and evenly tighten the spring until the load is removed from the upper cup of the spring.
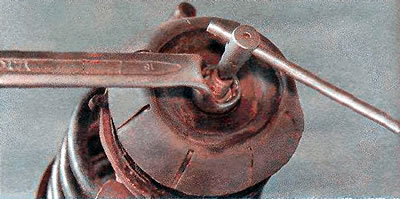
4. Holding the shock absorber rod with a TORX T30 wrench, loosen the nut of the upper mount of the strut with an 18 mm wrench.
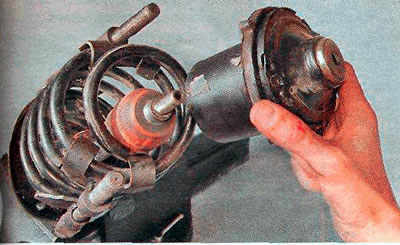
5. Remove the top support of the rack (damper).
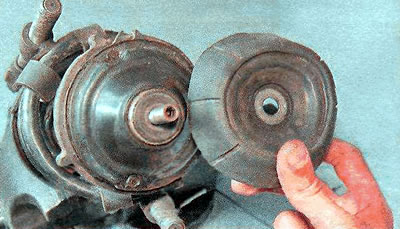
6. Remove the upper spring cup assembly with the thrust bearing.
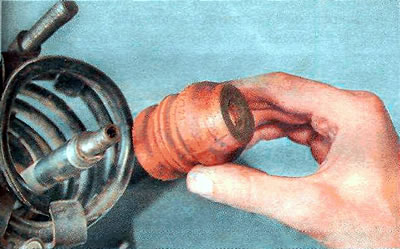
7. Remove the compression stroke buffer.
8. Remove the spring (without removing the straps).
9. Fully extending and sinking the rod, make sure that the shock absorber is in good condition. If dips, jerks or extraneous sounds are heard when moving the rod, we replace both shock absorbers.
10. We check the integrity and serviceability of all elements installed on the rack. Damaged or badly worn parts are replaced.
11. We assemble and install the front suspension strut in reverse order.
Visitor comments