
2. Use a lever to remove the metal caps and unscrew the brake caliper mounting bolts using a socket wrench.
3. Remove the brake caliper and tie it up so as not to damage the hydraulic hose.
4. Pull out the brace and disconnect the hydraulic hose from the strut hanger.
5. On models with ABS, remove the wheel speed sensor and cable.
6. Turn off a nut and separate the basis of a bar of the stabilizer of cross-section stability.
7. Unscrew the nut from the tie rod ball joint, and using the ball joint connector, release the ball pin from the steering knuckle.
8. Remove and discard the pinch bolt and lower the lower control arm to remove the ball joint from the steering knuckle.
9. Support the suspension strut, then unscrew the nut from the top setting. Get out the rack (photo).
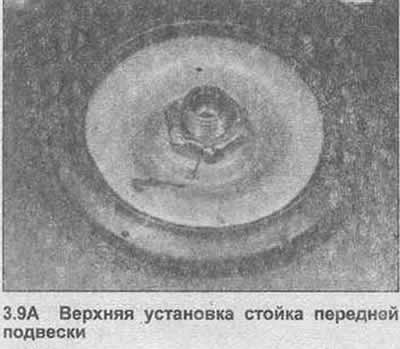
10. When installing, insert the stand into the top installation first. Install the nut and tighten it with the torque specified in the Specification.
11. Insert the ball joint into the steering knuckle, then install a new pinch bolt. Tighten with the torque specified in the Specification.
Note: Do not reuse the old tie bolt.
12. Reconnect the tie rod ball joint and tighten the nut to the specified torque.
13. Reattach the bar to the anti-roll bar and tighten the nut to the specified torque.
14. On models with ABS, install the wheel speed sensor and cable.
15. Attach the hydraulic hose to the stand.
16. Install the brake caliper.
17. Install the front wheel and lower the vehicle to the ground.
18. Finally, check the front wheel alignment and adjust if necessary. If the rack has been dismantled, the camber must be checked on specialized equipment.
Visitor comments