


Note: This operation requires a torque wrench capable of measuring high torque values on the front hub nut threads.
1. Apply the handbrake, then jack up the front of the vehicle and secure it on axle stands. Remove the relevant front wheel. On vehicles with alloy wheels, remove the wheel center.
2. Lift the metal cap on the hub, install the wheel and lower the car to the ground. (Remove the wheel trim, if applicable).
3. Place a wooden block under each wheel and check that the car cannot move in any direction.
4. Using a socket and extension arm, loosen the hub nut about half a turn. Note that the nut is very tight and will require considerable force to loosen.
5. Jack up the front of the car and secure it on axle stands. Remove the corresponding wheel.
6. Remove the metal caps with a lever and unscrew the brake caliper mounting bolts using a socket wrench.
7. Remove the brake caliper and tie it up so that the hydraulic hose is not under tension.
8. Loosen the mounting screw and remove the brake disc.
9. Remove the hub nut and separate the hub from the stub axle. If the inner bearing track remains on the stub axle, remove it with an extractor and take the seal, which will be on the hub (photo).
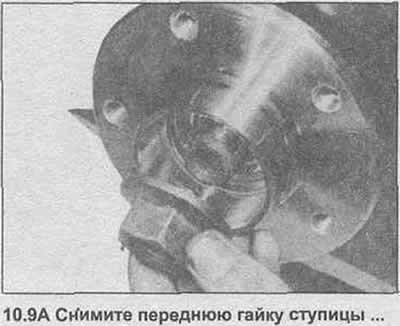
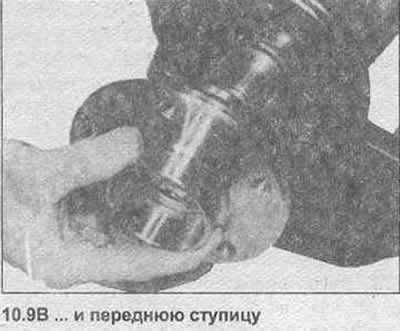
10. Bearings are not replaced separately from the hub, because if the bearings are worn out or the seal is defective, the hub must be replaced entirely. The new hub has a plastic sleeve that clamps the inner bearing track (photo).
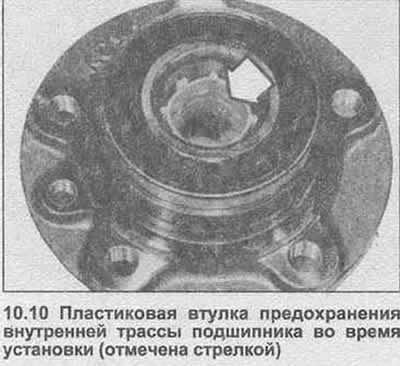
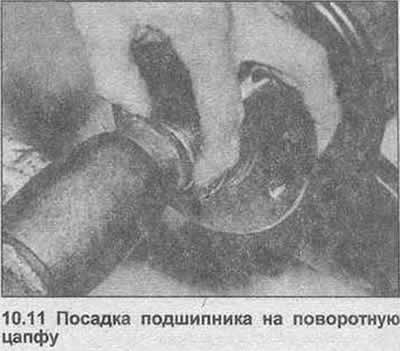
11. Place the hub and plastic sleeve on the stub axle, then carefully guide the inner bearing races onto the stub axle using a suitable sized socket or metal pipe (photo). Remove the plastic sleeve.
12. Install the components in the reverse order of removal, noting the following points:
- a) Tighten all nuts and bolts to the specified tightening torque Specification.
- b) Coat the threaded connections of the brake disc mounting bolt with thread locking liquid and tighten to a torque of 4 Nm.
- c) Install the brake caliper as described in Section 9.
Visitor comments