


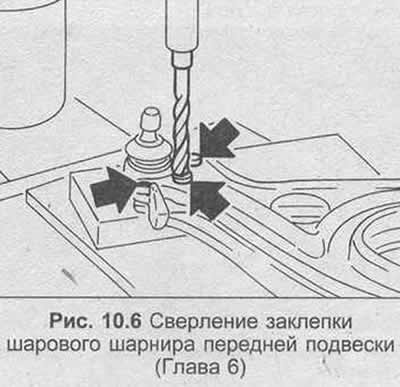
2. The ball joint is initially riveted to the control arm. If the rivets need to be drilled out, use a 12.0mm drill bit. One side of each rivet has a center recess to facilitate accurate drilling and prevent flared holes in the control arm (Figure 10.6).
3. Using only the specified bolts, install the new ball joint and tighten the nuts to the specified torque Specification. The nuts should be facing down.
4. Install the front lower control arm.
[The source is on the online website OpelBook.ru]
Visitor comments