


Contents: Sequence of execution ⬇ Installation ⬇
To perform the work you will need a ball joint puller.
Note: The work is shown using the example of replacing the left steering tip. The right steering tip is replaced in the same way.
Sequence of execution
1. Prepare the car for work (see "Preparing the car for maintenance and repair").
2. Remove the wheel (see "Wheel - replacement").
3. Clean the rod and tip from dirt and treat the threaded connection with penetrating lubricant.
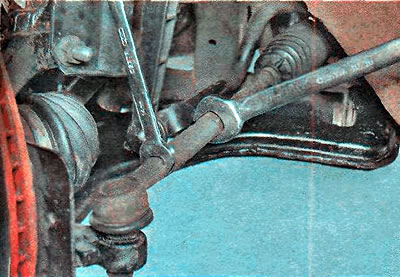
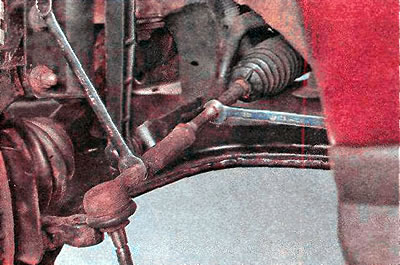
4. Using a 21 mm wrench, loosen the lock nut on the tie rod end, holding the end from turning with a 14 mm wrench and unscrew the nut a few turns.
The source is on the online website [OpelBook]
5. Using a 19 mm wrench, unscrew the nut securing the ball joint pin of the steering rod end.
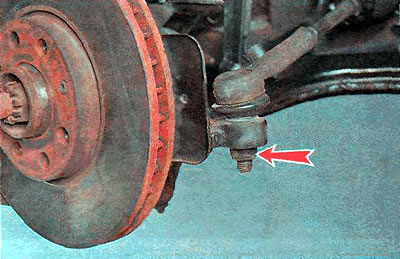
Note: The ball joint pin mounting nut is self-locking and cannot be reused, so it must be replaced during assembly.
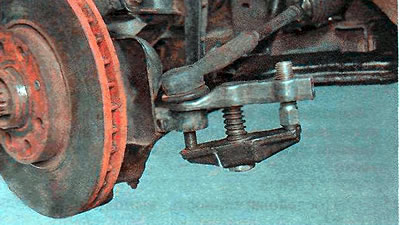
6. Install the ball joint puller and press the ball joint pin out of the steering knuckle arm.
Recommendation.
To approximately maintain the wheel alignment angle, mark the position of the tip on the steering rod or, when performing the next operation, count the number of turns made.
When installing the tip, screw it on to the mark or to the number of turns calculated during removal.
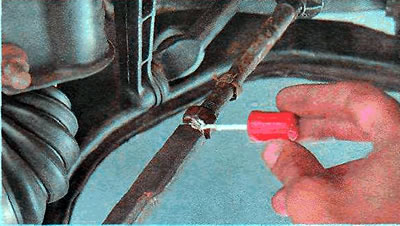
7. Using a 14 mm wrench, unscrew the steering rod end, holding the rod with a 13 mm wrench.
Installation
We install the parts in the reverse order. We tighten the lock nut of the steering rod end and the nut of the ball joint pin to the prescribed torques (see "Reference data"). We check the wheel alignment angles in a specialized workshop.
Visitor comments